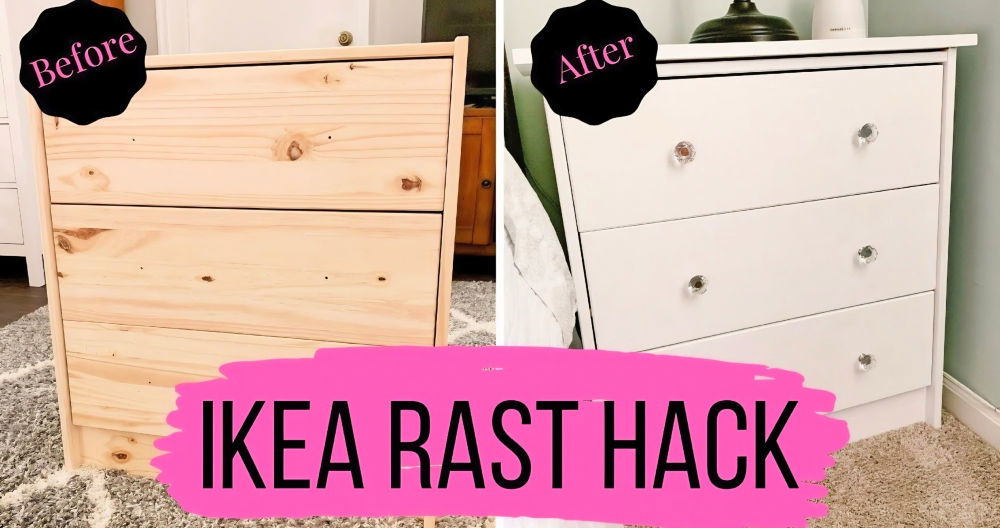
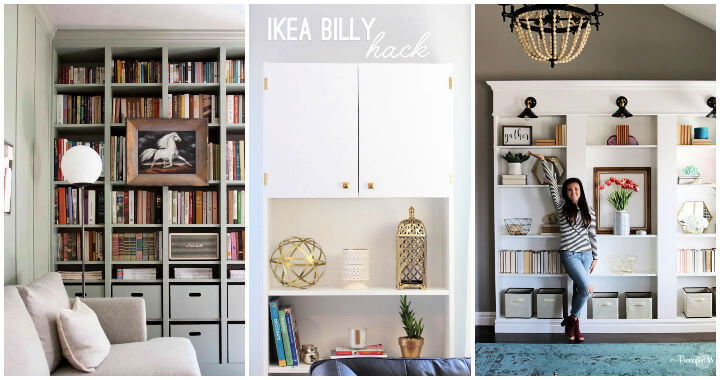
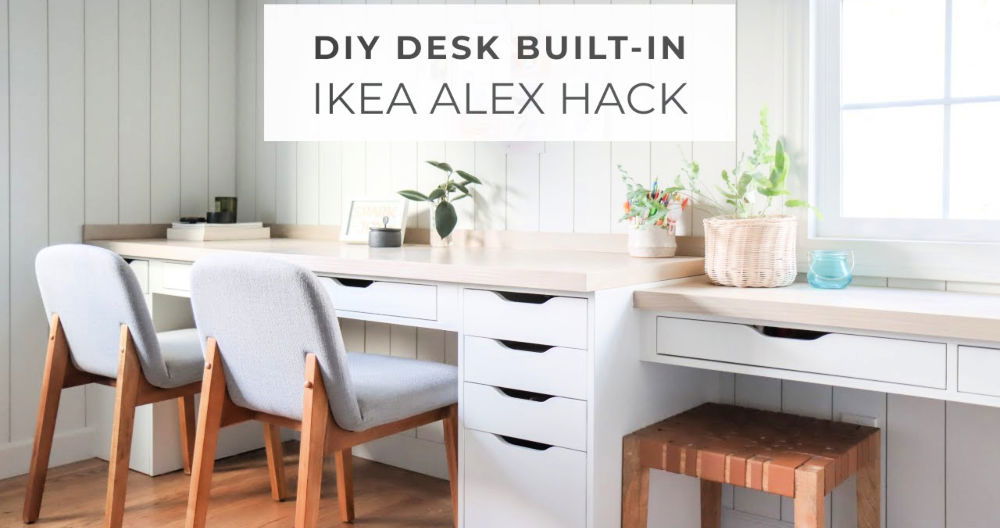
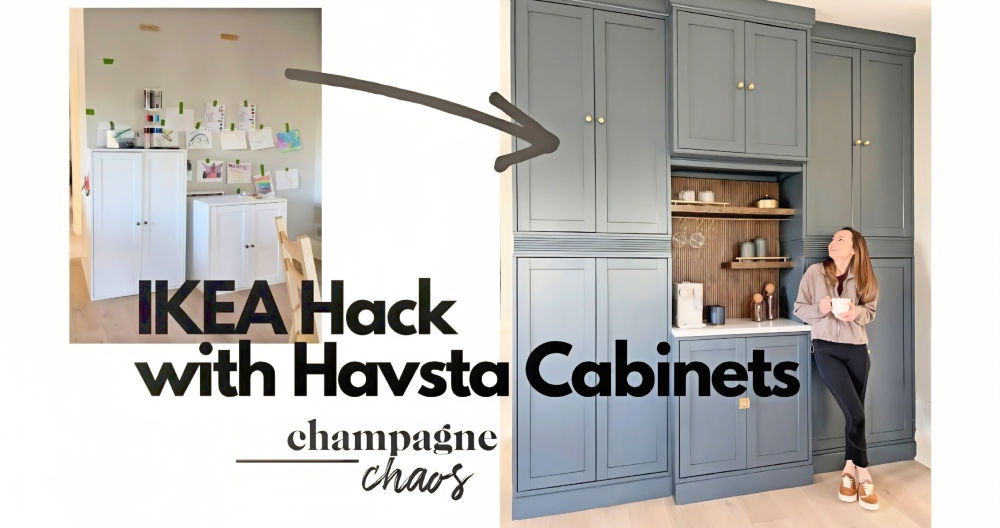
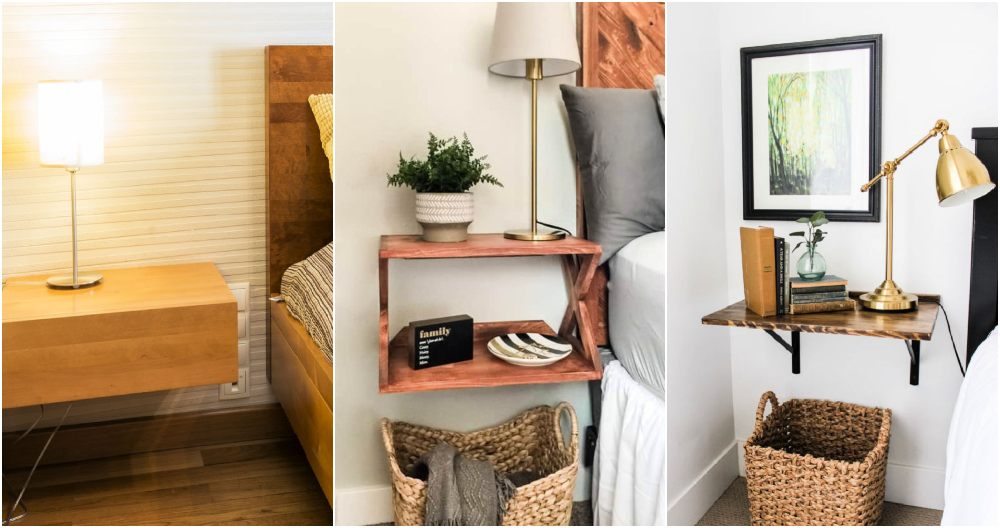
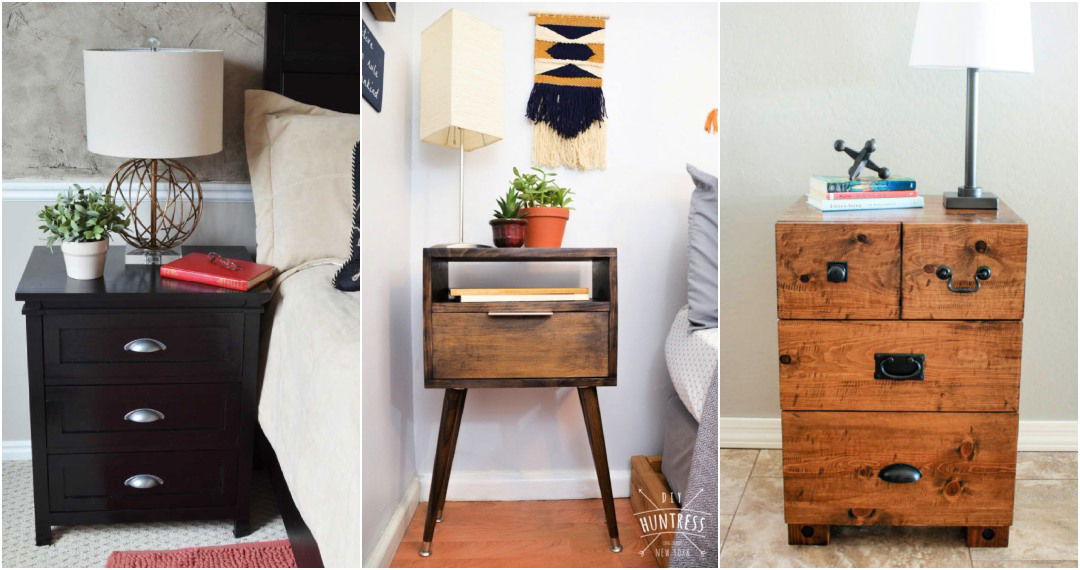
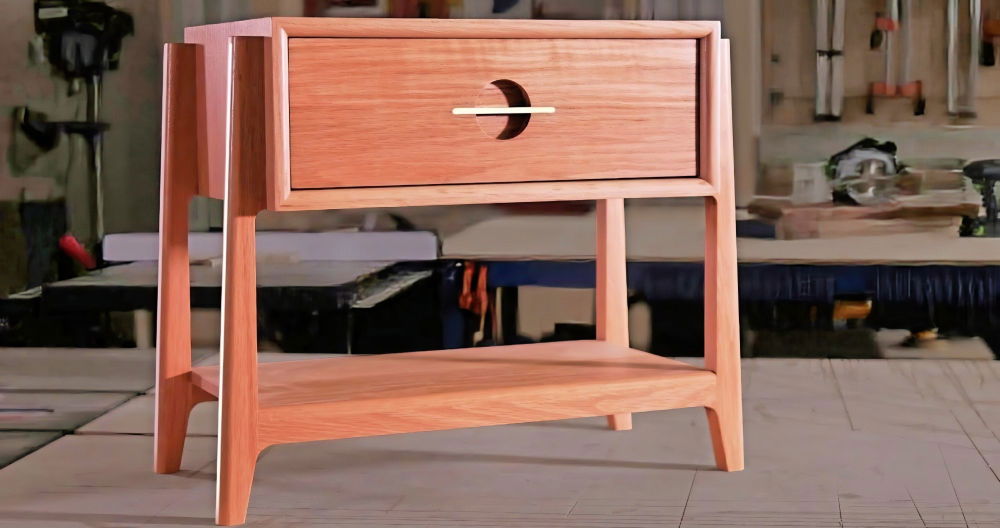
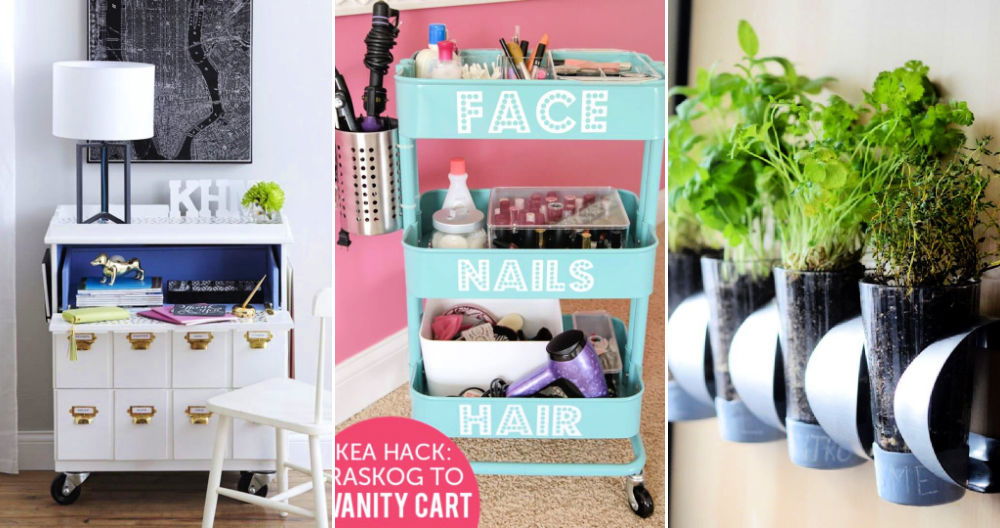
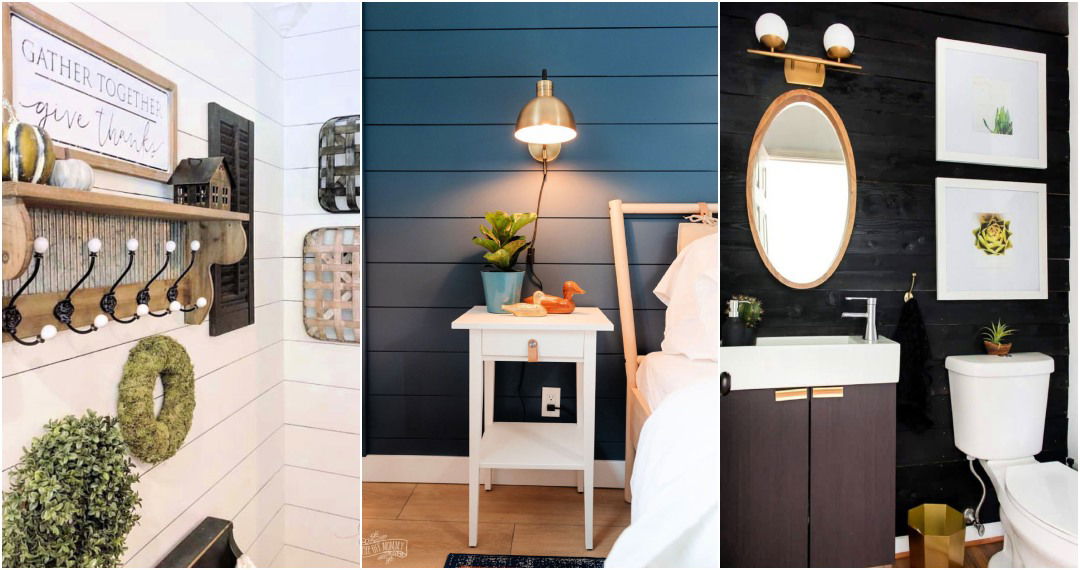
IKEA hacks are such a satisfying way to give basic pieces a custom, high-end look without the luxury price tag. One DIY ikea nightstand hack project that has been buzzing recently is transforming the budget-friendly IKEA Rast Nightstand into an elegant piece of furniture. Let me walk you through my personal experience of hacking this nightstand, accompanied by some simple steps and tips to make your own IKEA Rast Nightstand look expensive.
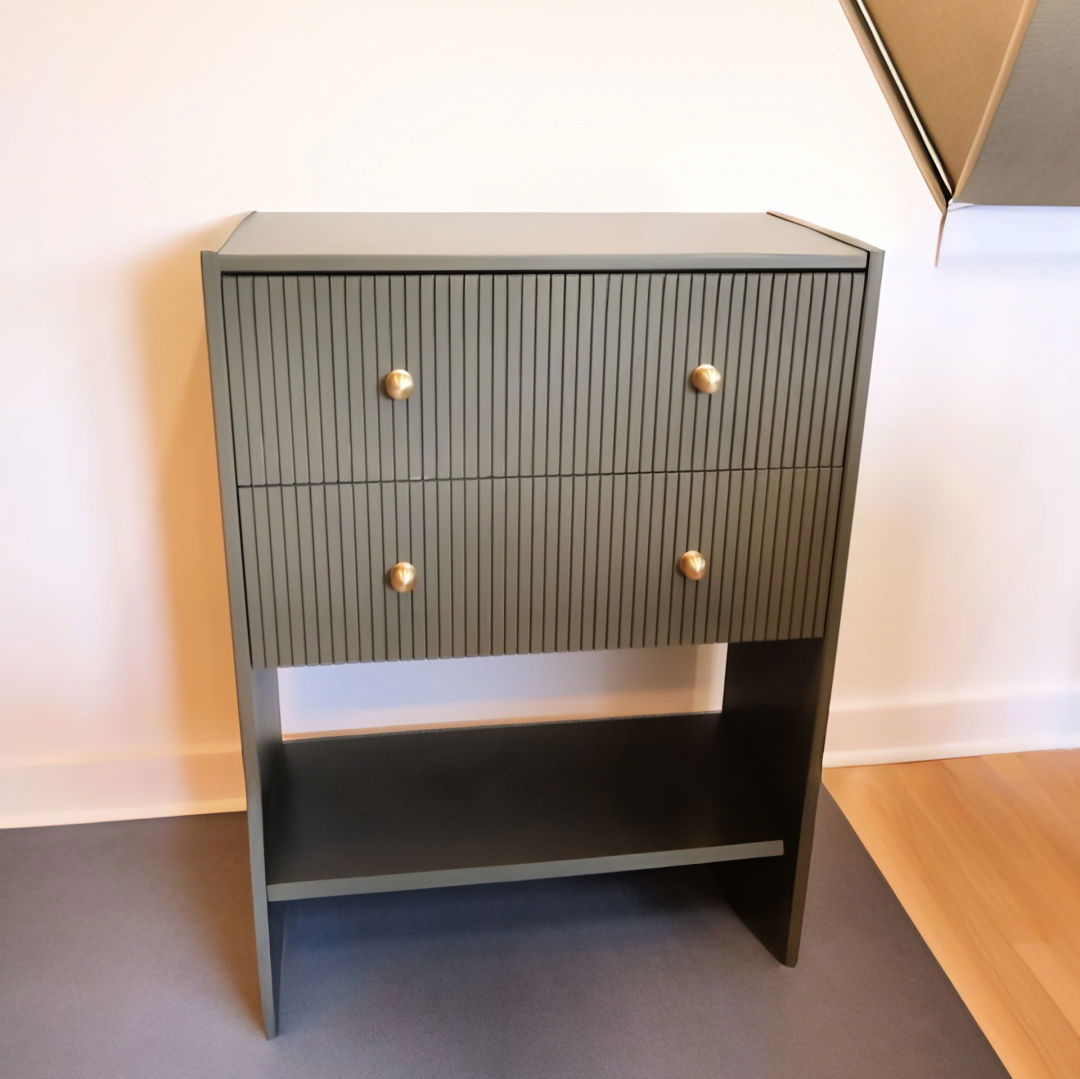
Choosing the Victim: The IKEA Rast Nightstand
The adventure began at my local IKEA, where I was on the lookout for a basic, solid wood piece. My target? The Rast nightstand. Affordably priced and brimming with potential, it was the perfect candidate for my project. I aimed to elevate its look with some creative tweaks and was keen to guide you through the whole process, ensuring you could easily replicate the project.
Materials Needed and Their Purpose
- IKEA Rast Nightstand: The base of our project, chosen for its simplicity and solid wood construction.
- Sandpaper & Primer: Essential for prepping our nightstand for its luxurious makeover.
- Circular Saw and Drill: For resizing and adding elements to the nightstand.
- Wood Glue & Screws: To assemble our added features securely.
- Paint (Gladiator Gray): The chosen hue to give our piece a deep, vintage feel.
- Furniture Legs: To add height and transform the nightstand's overall appearance.
- Knobs (Brass): The finishing touch to add a bit of pizzazz and vintage charm.
- Polyurethane: To seal and protect the nightstand's new look.
Each material was selected with care, chosen to ensure the transformation would not only look stunning but would stand the test of time.
Step by Step Instructions
Discover step-by-step instructions on an ikea nightstand hack to build a customized, stylish piece for your bedroom.
Step 1: Assembly and Dis-Assembly
First things first, I put the nightstand together, following IKEA's straightforward instructions. I decided against installing the bottom drawer, opting instead to build an open shelf for a more airy feel. This decision instantly lent the piece a more unique look, setting the stage for the rest of the transformation.
Step 2: Adding Height
Next up, it was time to give the nightstand some legs. Using 2x2 pieces of wood left over from another project, I cut four legs to my desired height, aiming to add a bit of grandeur to the piece. This step involved measuring, cutting, and a bit of sanding before attaching the legs to the nightstand using wood glue and screws.
Step 3: Building an Open Shelf
With the legs in place, I focused on making the open shelf where the bottom drawer would have been. Using a piece of plywood, I measured and cut it to fit the newly buildd space, attaching it using screws. This added shelf provided a perfect spot for displaying books or decorative items, further enhancing the nightstand's functionality and style.
Step 4: The Magic of Paint
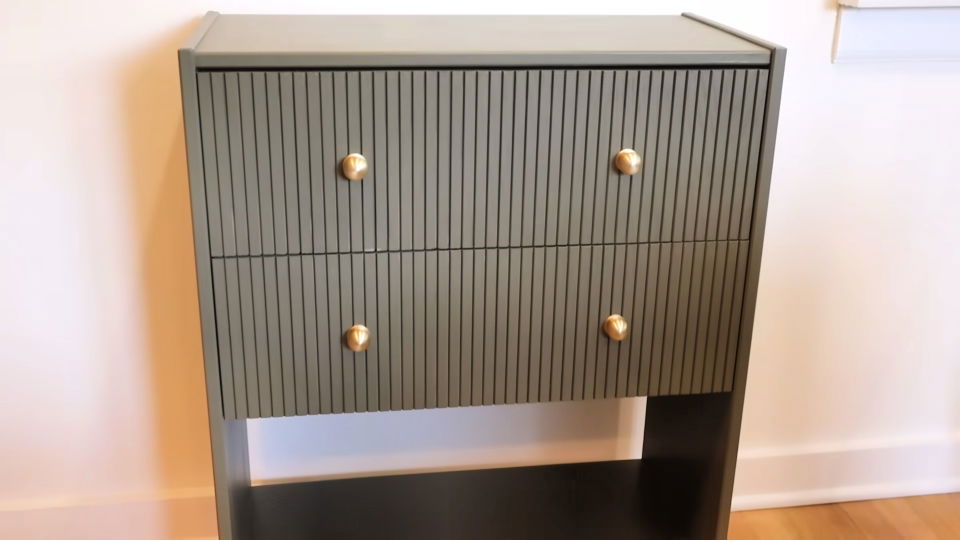
After sanding the entire piece and applying a coat of primer, it was time to bring in some color. The dark green, almost gray paint (Gladiator Gray) was my color of choice, promising to imbue the piece with a rich, vintage feel. After diligently applying two coats, the transformation was already remarkable.
Step 5: The Final Touches
The finishing touches included installing new brass knobs, adding an unexpected pop of luxury and vintage flair. Additionally, applying a coat of polyurethane ensured the nightstand's new look was not only gorgeous but durable.
Customization Ideas for Your IKEA Nightstand
Transforming your IKEA nightstand into a personalized piece of furniture not only adds a touch of individuality to your bedroom but also allows you to express your creativity. Here are some customization ideas to inspire your next project:
Choose Your Style
First, decide on the style that best reflects your personality and complements your bedroom's decor. Whether you're drawn to the clean lines of modern design, the warmth of rustic charm, or the sleekness of a mid-century look, your IKEA nightstand is the perfect canvas.
Paint and Color
A simple yet effective way to customize your nightstand is with paint. Select a color that matches your room's palette or go bold with a contrasting hue for a statement piece. Remember, a little paint can go a long way in transforming the overall feel of the furniture.
Hardware Upgrades
Swapping out the standard knobs or handles for something more unique can instantly elevate the look of your nightstand. Choose from a variety of materials like brass for elegance, leather for texture, or ceramic for a playful touch.
Add Texture
Consider adding texture to your nightstand for a tactile and visual upgrade. Techniques like fluting or applying rattan panels can add depth and interest to an otherwise plain surface.
Creative Coverings
For a quick and reversible change, use adhesive vinyl or contact paper to give your nightstand a new look. These come in various patterns and finishes, allowing for endless possibilities.
Functional Additions
Think about how you can make your nightstand more functional. Adding a shelf for extra storage, installing a pull-out tray for additional surface space, or attaching wheels for mobility are practical customizations that enhance usability.
Personal Touches
Finally, add personal touches that make the nightstand uniquely yours. This could be a stenciled design, a decoupage of your favorite images, or even a hand-painted motif. It's all about making the piece resonate with your personal style.
By incorporating these ideas, you'll build a nightstand that's not only stylish and unique but also tailored to your needs and preferences. The best part about customizing is that there are no rules – let your imagination lead the way!
Design Philosophy Behind IKEA Nightstands
When it comes to the design of IKEA nightstands, the philosophy is deeply rooted in Scandinavian design principles. These principles focus on minimalism, simplicity, and functionality. The idea is to build pieces that are not only beautiful but also practical, enhancing the quality of everyday life.
Minimalism
The minimalist approach is about having less that is more valuable. IKEA nightstands are designed to be straightforward and uncluttered, providing just what is needed in a stylish and efficient manner.
Simplicity
Simplicity in design means that the nightstands are easy to use and fit seamlessly into any space. They are buildd with clean lines and a neutral palette, ensuring they complement various interior styles.
Functionality
Functionality is key. These nightstands are not just about looks; they serve a purpose. Whether it's providing storage, a place to set your book, or keeping your alarm clock within reach, every aspect of their design has a function.
Sustainability
IKEA also emphasizes sustainability in its design philosophy. The nightstands are made with the intention of minimizing environmental impact, using materials and methods that are eco-friendly and sustainable.
Personal Expression
While IKEA nightstands come in standard designs, they are also made to be personalized. The simple structures invite creativity, allowing you to hack and customize them to suit your individual tastes and needs.
Understanding IKEA nightstands' design lets you appreciate their thoughtful creation—enhancing life with smart, simple, and sustainable furniture.
Troubleshooting Common Issues with IKEA Nightstand Hacks
When you're diving into the world of IKEA nightstand hacks, you might encounter a few hiccups along the way. Here's a guide to help you troubleshoot some of the most common issues so you can enjoy a smooth hacking experience.
Paint is Not Adhering Properly
If you find that paint isn't sticking to your nightstand, it could be due to a laminate or veneer finish. These surfaces are often slick and repel liquids, making it difficult for paint to adhere.
- Solution: Sand the surface lightly with fine-grit sandpaper to build a texture that the paint can grip. Always clean the dust off thoroughly and apply a primer designed for slick surfaces before painting.
Uneven Surfaces After Assembly
Sometimes, after assembling the nightstand, you might notice that the surfaces aren't perfectly aligned, which can be problematic when applying any coverings.
- Solution: Use a joint compound to fill in any gaps or uneven joints. Once it dries, sand it down to build a smooth, even surface that's ready for wrapping or painting.
Stain Not Absorbing
Staining is a great way to bring out the natural beauty of wood, but if you're working with a veneer or laminate IKEA nightstand, the stain may not absorb as expected.
- Solution: For real wood nightstands, sand the surface first and then apply the stain. If it's veneer or laminate, consider using a gel stain or a paint that mimics the look of the stain instead.
Hardware Not Fitting
You've found the perfect new knobs or pulls, but they don't fit the existing holes or the hardware is too loose.
- Solution: Fill the old holes with wood filler, sand it down, and then drill new holes that match your new hardware. If the hardware is loose, use a washer or a slightly larger screw to secure it in place.
Drawer Slides Not Working Smoothly
After customizing your nightstand, you might find that the drawers aren't sliding in and out as smoothly as before.
- Solution: Check if the drawer slides are properly aligned, and if not, adjust them. You can also apply a silicone-based lubricant to the slides to ensure smooth operation.
Anticipating and fixing common issues prepares you to tackle your IKEA nightstand hack for a custom look.
Maintenance Tips for Your IKEA Nightstand
Keeping your IKEA nightstand in top condition doesn't have to be a chore. With these simple maintenance tips, you can ensure your nightstand remains as functional and beautiful as the day you hacked it.
Regular Cleaning
Dust and clean your nightstand regularly to maintain its appearance. Use a soft, damp cloth to wipe the surfaces gently. Avoid harsh chemicals or abrasive cleaners that can damage the finish.
Protect the Surface
Prevent scratches and stains by using coasters for drinks and placing felt pads under decorative items. If your nightstand has a glass top, consider using a window cleaner for a streak-free shine.
Tighten Loose Joints
Over time, the joints and hardware on your nightstand may loosen. Periodically check and tighten any screws or bolts to ensure stability and prevent wobbling.
Address Spills Immediately
If any spills occur, clean them up promptly to avoid staining or damaging the material. For wood nightstands, use a dry cloth to absorb the liquid and then a damp cloth to clean the area.
Refresh the Paint
If the paint on your nightstand starts to chip or wear, touch it up with a small brush. Always match the paint type and color for a seamless look.
Care for Moving Parts
If your nightstand has drawers, keep the tracks and rollers clean. Remove any debris and apply a light lubricant if they start to stick.
Avoid Direct Sunlight
Prolonged exposure to sunlight can fade the color of your nightstand. Position it away from direct sunlight or use curtains to minimize the effect.
By following these maintenance tips, you'll extend the life of your IKEA nightstand and keep it looking great for years to come.
FAQs About IKEA Nightstand Hack
Discover tips and answers on IKEA nightstand hacks, from creative ideas to step-by-step guides. Transform your nightstand into a stylish piece!
IKEA nightstands like Malm, Tarva, and Hemnes are quite popular for hacks due to their simple design and versatility. These models offer a great foundation for creative customization, whether you want to add a fresh coat of paint, new drawer pulls, or even a completely new structure.
To achieve a mid-century style, you can add fluting to the Tarva nightstand and stain it in a dark oak color. This simple modification can significantly change the appearance and feel of the nightstand, making it blend well with various decor styles.
Yes, the Malm nightstand is perfect for a modern farmhouse transformation. You can add molding and elegant brass handles to enhance its appearance. Starting with a pre-loved Malm table can also make this a budget-friendly project.
For a touch of simple sophistication, you can add flat wooden slats to the drawer fronts, switch out the pulls, and paint the nightstands in a color that complements your decor. This hack is easier than it looks and can completely revamp the Hemnes nightstand.
You can build a stylish rattan nightstand by adding a rattan door to the Tarva model. Staining the nightstand in a dark color with the contrasting rattan door can give it a high-end look, and extending the door over the open shelf adds both practicality and style.
The Reveal
Wrapping up, this cheap IKEA nightstand hack for a high-end look transforms your space with minimal effort and cost. By following these simple steps, you can achieve a luxurious aesthetic without breaking the bank. Enjoy your newly-upgraded nightstand and the sophisticated vibe it adds to your room!


