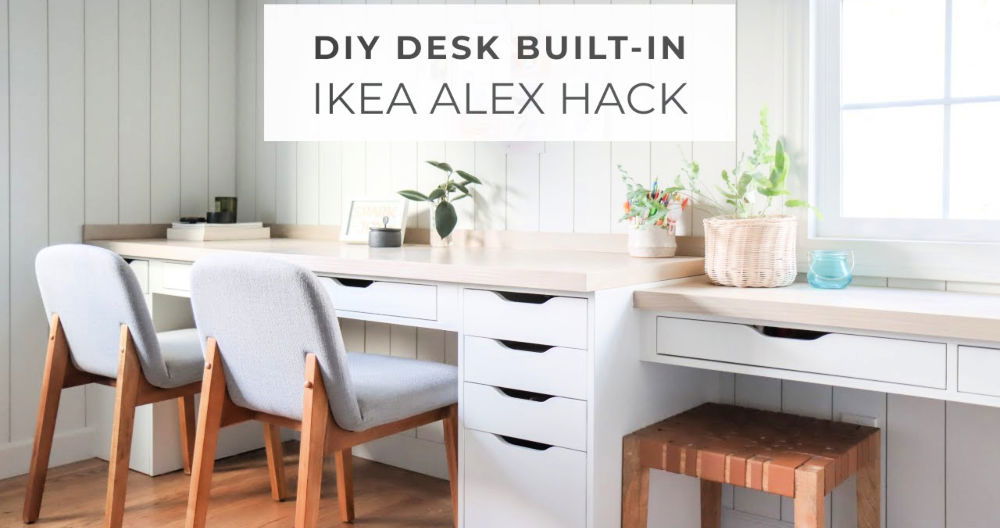
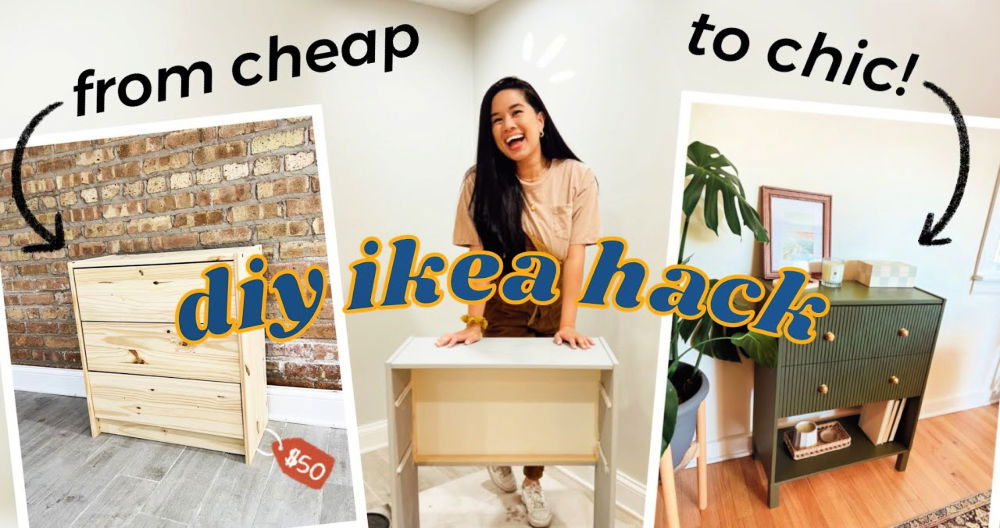
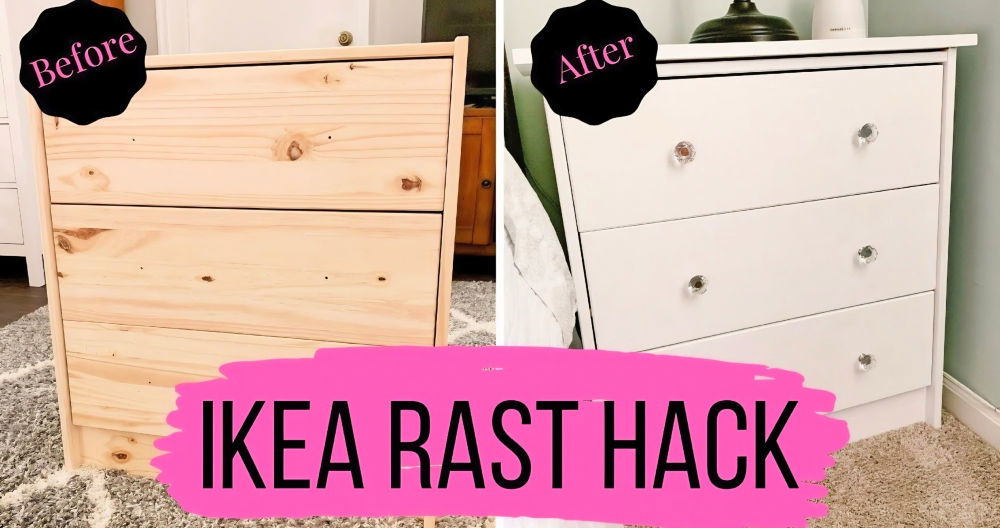
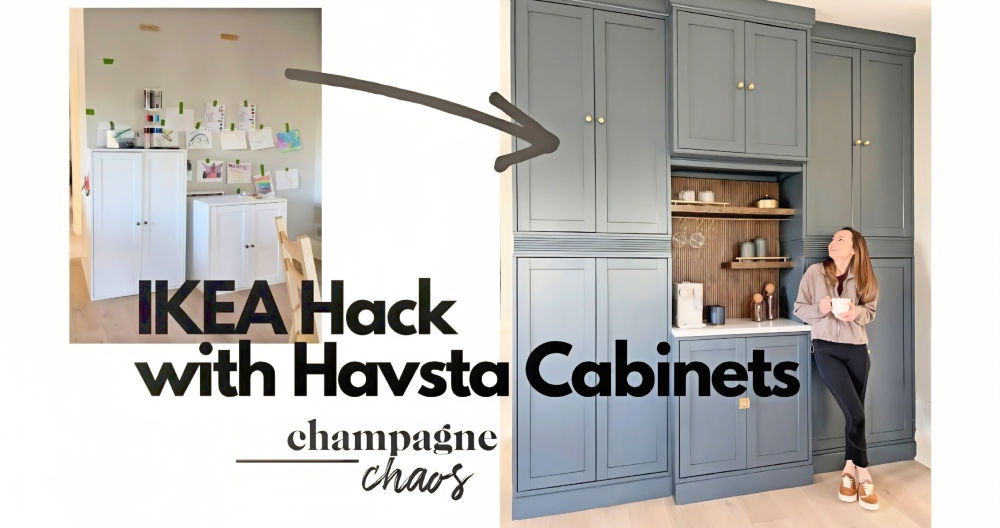
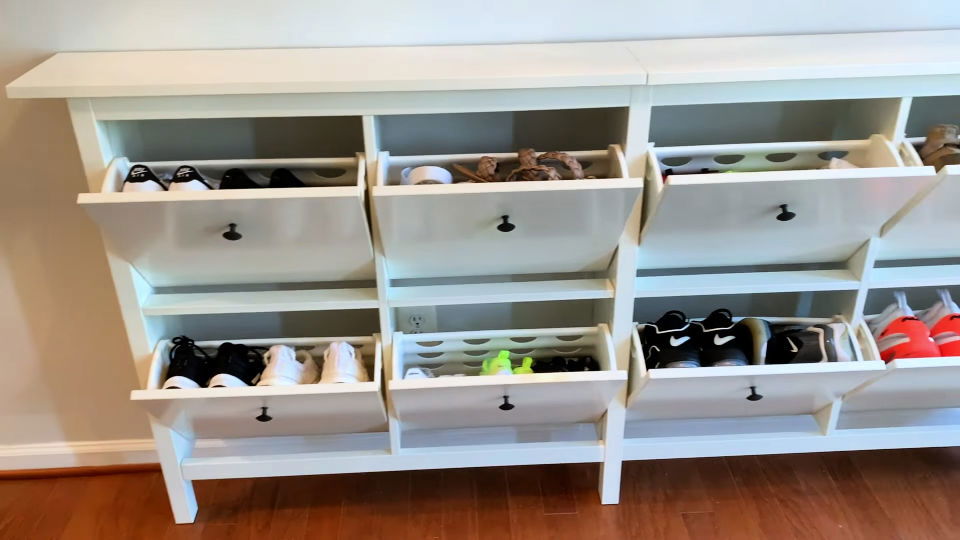
Last month, I decided my entryway needed a fresh look. It was cluttered with shoes, and I wanted a stylish solution. After some research, I chose the HEMNES Shoe Cabinet from IKEA. It had a simple design that I knew could be customized. With a little creativity and effort, I turned it into something unique.
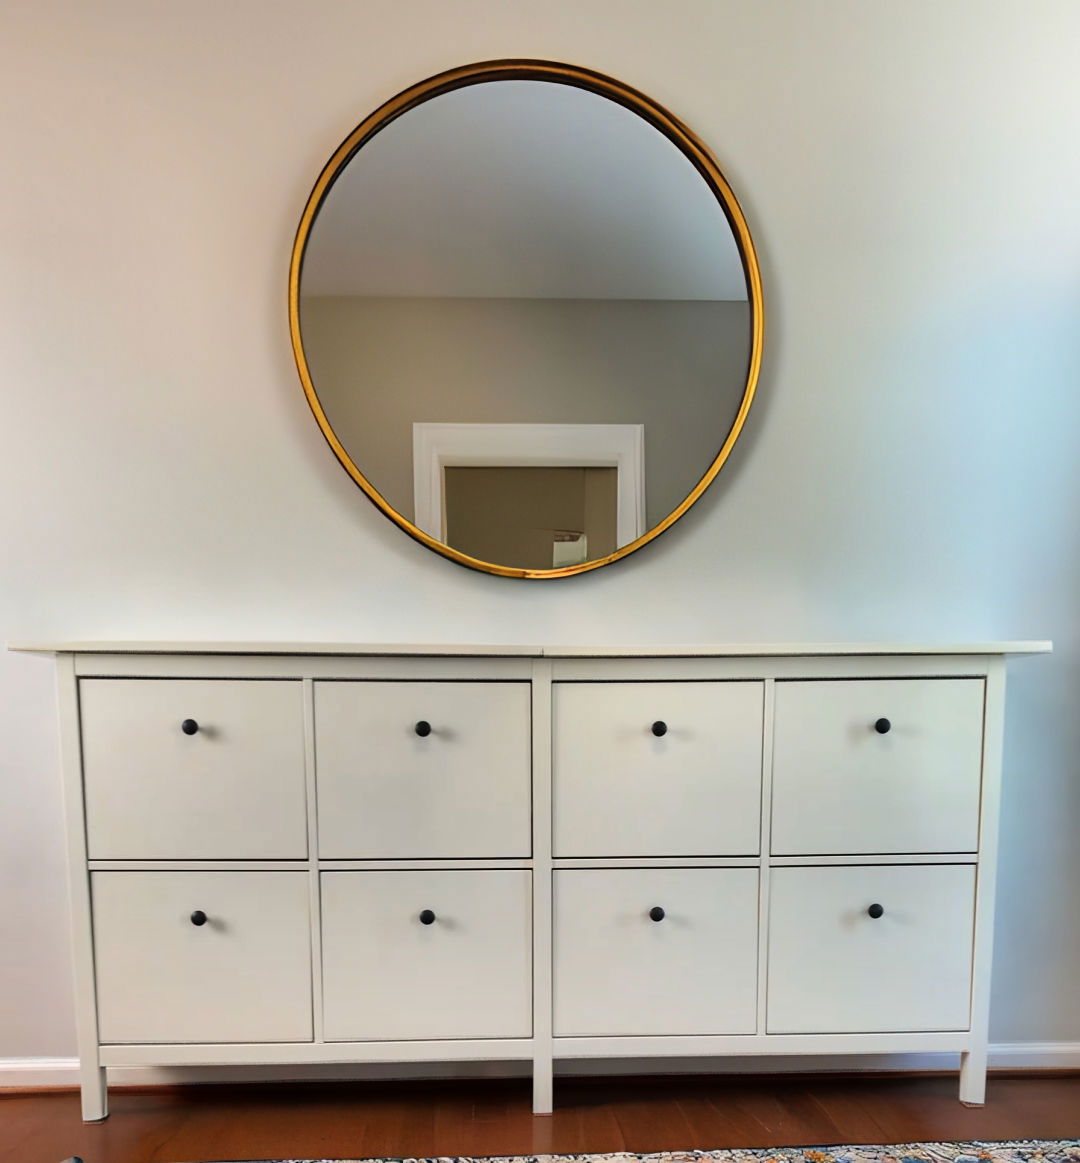
As I worked on this IKEA shoe cabinet hack project, I realized how rewarding DIY projects can be. I added new handles and a coat of paint to the cabinet. The small changes made a big difference in my entryway. My friends admired the transformation, and it even inspired them to start their own projects. With some basic tools and a bit of imagination, you can build something amazing.
Step by Step Instructions
Discover easy, step-by-step instructions for an ikea shoe cabinet hack to build stylish and functional shoe storage. Perfect for any home!
Step 1: Planning and Materials Needed
- Why a Shoe Cabinet? The appeal of the IKEA HEMNES shoe cabinet was its narrow profile and aesthetic appeal. However, to accommodate my family's shoe storage needs, simply assembling two units side by side wouldn't suffice. The gap between them would disrupt the seamless look I was aiming for.
Materials:
- Two IKEA HEMNES shoe cabinets
- Gorilla wood glue
- Clamps
- Frog tape
- Screw and drill bit set
- Hobby drill gauge
- Super sticky tape
Each material played a crucial role in the transformation. The wood glue and clamps ensured sturdy assembly, while the frog tape aided in precise drilling. The hobby drill gauge was key for accurate hole sizes, ensuring a professional finish.
Step 2: Assembling the First Cabinet
I assembled the first HEMNES shoe cabinet following IKEA's instructions but omitted attaching the top panel. This left an open surface to eventually connect both cabinets seamlessly.
Step 3: Modifying the Second Cabinet
The second cabinet needed a slight modification. To make both units look like a single piece, one of the side legs was not attached. Instead, I used it temporarily for alignment purposes. This trick was vital for the next steps, ensuring the cabinets would align perfectly.
Step 4: Building a Unified Look
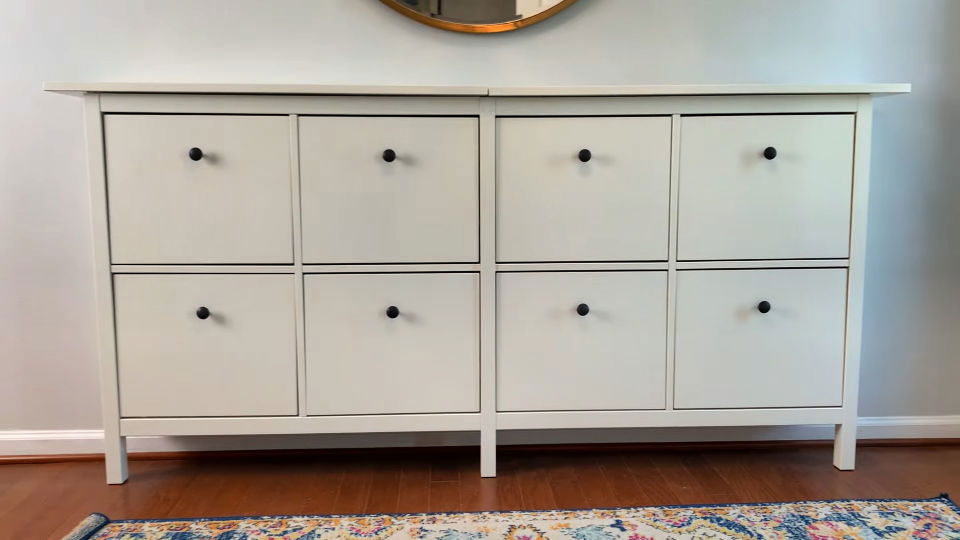
By using wood glue and clamps, I attached the cabinets at their adjoining sides. This step was crucial for stability and achieving the appearance of a single, larger unit. After letting the glue dry, I encountered a minor setback - a small gap between the cabinets. Applying more glue and securing it with frog tape solved the issue, ensuring a snug fit.
Step 5: Securing the Cabinets Together
My initial attempt with glue proved less durable than I hoped. I decided to drill holes and use screws for a more secure connection. Using a homemade template from frog tape marked with drill points ensured precision. The drilling process was meticulous, ensuring not to drill too deeply, maintaining the integrity of the cabinets' structure.
Step 6: Finishing Touches
Instead of replacing the top panels with a single piece of wood, I chose to keep the original tops for flexibility in future decor changes. I used super sticky tape to join the tops securely, a solution that allowed for easy removal if needed. Finally, aligning the newly unified cabinet with existing decor elements like the mirror confirmed its perfect placement in our entryway.
Future-Proofing Your Design
When it comes to modifying your IKEA shoe cabinet, you want to ensure that the design remains stylish and functional for years to come. Here are some tips to help you future-proof your design:
- Choose Timeless Styles Opt for simple and classic designs that have stood the test of time. Avoid overly trendy modifications that might look dated in a few years.
- Select Neutral Colors Neutral colors like whites, grays, and natural wood tones are more likely to blend with future decor changes. They also appeal to a wider audience if you plan to sell your home.
- Invest in Quality Hardware If you're adding knobs or pulls, choose high-quality hardware. Metal finishes like brushed nickel or brass can offer durability and a lasting appeal.
- Modular Elements Consider incorporating modular components that can be easily rearranged or repurposed as your needs change.
- Adaptability: Make sure any additions to the cabinet, such as extra shelves or organizers, can be adjusted or removed without damaging the unit.
- Eco-Friendly Materials: Use sustainable materials for any modifications. This not only helps the environment but also appeals to the growing number of eco-conscious consumers.
- Smart Storage Solutions Incorporate smart storage solutions that maximize space and can be easily updated, like adjustable dividers or stackable bins.
Follow these steps to make a practical, beautiful, and long-lasting shoe cabinet. Adaptability and durable choices ensure future relevance.
Troubleshooting Common Issues with IKEA Shoe Cabinet Hacks
When undertaking an IKEA shoe cabinet hack, you might encounter a few hiccups along the way. Here's a helpful guide to troubleshoot common issues, ensuring your project stays on track:
Paint Not Adhering
- Solution: Ensure the surface is clean and sanded before painting. Use a primer designed for laminate surfaces to improve paint adhesion.
Cabinet Doors Not Aligning
- Solution: Check the hinges and make sure they are tightly screwed in. Adjust the hinge tension screws to align the doors correctly.
Drawers Sticking
- Solution: Apply a thin layer of lubricant, like beeswax or soap, on the drawer tracks. Avoid overloading the drawers to prevent warping.
Knobs or Handles Loose
- Solution: Tighten the hardware with a screwdriver. If the screw holes have become too large, use wood filler to secure the screws firmly.
Cabinet Wobbling
- Solution: Ensure all screws are tightened. If the floor is uneven, adjust the cabinet's legs or add shims under the base for stability.
Difficulty in Customizing
- Solution: Use templates for drilling holes or cutting materials. Measure twice before making any modifications to avoid mistakes.
Decorative Elements Peeling Off
- Solution: Use a strong adhesive suitable for the material you're applying. Press firmly and allow it to cure for the recommended time.
Scratches and Dents
- Solution: Use a wood marker or filler that matches the cabinet's color to conceal minor imperfections.
Anticipate these issues and learn fixes to handle challenges during your IKEA shoe cabinet hack. Patience and planning are key to DIY success.
Maintenance and Care Tips
Keeping your IKEA shoe cabinet in top condition is essential for extending its life and ensuring it continues to look great in your home. Here are some straightforward maintenance and care tips:
Regular Cleaning
- Dust Often: Use a soft cloth or duster to remove dust particles.
- Wipe Spills Immediately: Clean any spills quickly to prevent stains.
Protect Surfaces
- Use Coasters: Place coasters under any decorative items to avoid rings and scratches.
- Avoid Direct Sunlight: Position your cabinet away from prolonged exposure to sunlight to prevent fading.
Handle with Care
- Gentle Use: Open and close doors and drawers softly to avoid loosening hinges and runners.
- Mind the Weight: Do not overload compartments; adhere to the recommended weight limits.
Seasonal Checks
- Tighten Fittings: Once a season, check and tighten screws and hinges.
- Refresh Finish: If your cabinet is painted or stained, touch up any chipped areas to keep it looking fresh.
Deep Cleaning
- Vacuum Inside: Use a handheld vacuum to clean inside compartments.
- Clean Handles: Handles can gather germs and disinfect them regularly.
Avoid Harsh Chemicals
- Mild Cleaners: Use gentle cleaning solutions to avoid damaging the finish.
- Soft Cloths: Always use non-abrasive cloths for cleaning.
Maintain your IKEA shoe cabinet regularly to keep it functional and attractive for years. Regular care boosts both appearance and efficiency in your daily routine.
FAQs About IKEA Shoe Cabinet Hack
Discover answers to common questions about ikea shoe cabinet hacks and learn how to maximize storage and organize your space efficiently.
A straightforward and effective hack is to replace the top of the cabinet with a walnut wood plank and add new knobs for a refined look. For a more traditional design, consider adding curved plywood to the sides or mother of pearl strips for a touch of elegance.
If you need more storage, you can join two cabinets together to double the space. Utilize the compartments to build a motif design or add fluted fronts with pole wrap for a trendy look.
Absolutely! With some creativity, you can transform your shoe cabinet into a classy wine cabinet by adding wood dowels and painting it to match your decor.
Yes, for a non-invasive update, consider changing the hardware like handles or knobs to instantly change the cabinet's style. Adding decorative elements like trim or moldings can also make a significant impact without altering the structure.
Remember that the HEMNES shoe cabinet must be secured to the wall due to its two front feet design. Always ensure stability and safety when making modifications. Also, consider the material compatibility when adding new elements to the cabinet.
Conclusion
Wrapping up, this IKEA shoe cabinet hack provides an easy and stylish solution for organizing your footwear. Transforming a simple Ikea cabinet into a shoe storage masterpiece can enhance your home's functionality while adding a touch of personal flair. Follow these steps and build a customized space that meets your needs.


