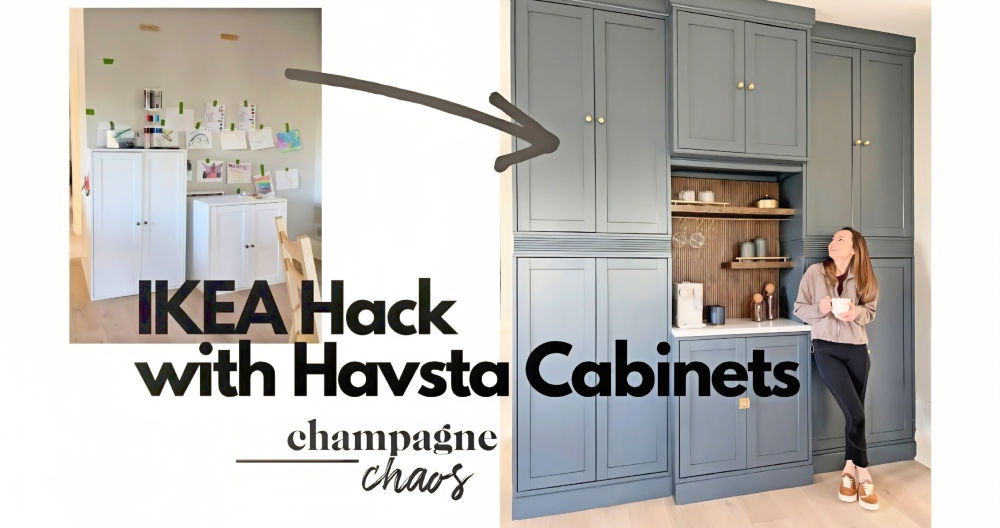
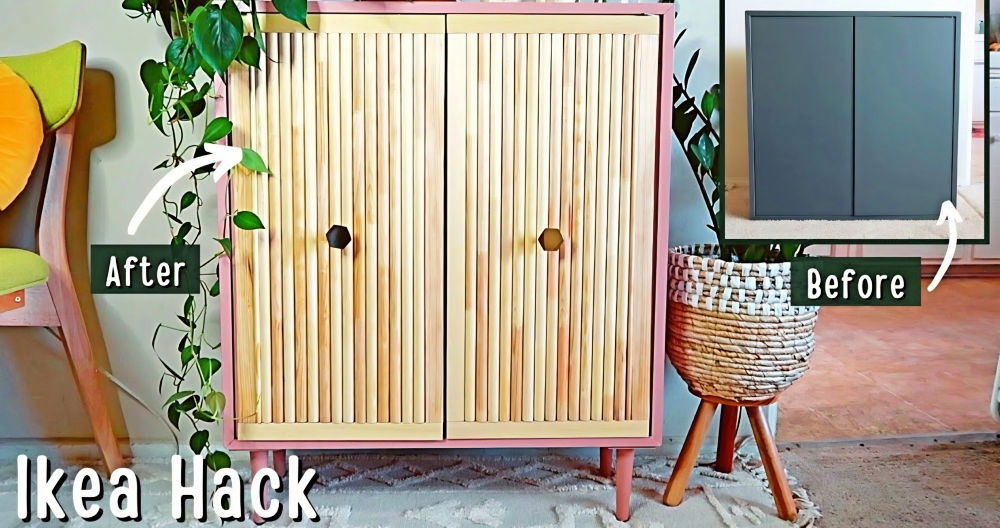
Today, I want to share a personal story that takes you on a journey of transforming the humble IKEA Trofast toy storage into a stylish piece of furniture. This isn't just about a makeover; it's about overcoming challenges and learning new skills. So, if you're ready to embark on your own transformation journey, stick with me as I guide you through this step-by-step process on IKEA trofast hack.
Understanding the Trofast Transformation
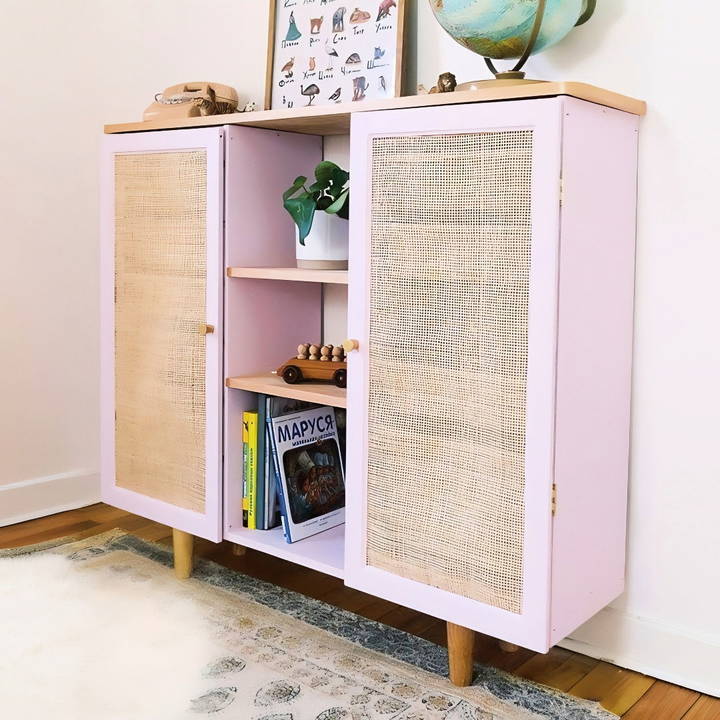
Before diving into the how-to, let's discuss why this project is worth your while. The IKEA Trofast storage unit is undeniably functional, keeping toys organized and within reach. However, its utilitarian look may not blend seamlessly with your living space. So, my goal was to retain its practicality while elevating its appearance to make it look like an elegant piece of furniture—a task easier said than done!
Materials Needed and Why
- IKEA TROFAST unit: The starting point for our makeover.
- Poplar boards: Selected for their fine grain, making them ideal for building delicate yet sturdy doors.
- Miter saw: For precise cutting of boards and trims.
- Doweling jig: Though a bit of a learning curve, it's essential for building strong, aligned joints without prior carpentry experience.
- Wood glue & filler: To fix any mishaps and ensure smooth, professional finishes.
- Sandpaper (220 grit): For that buttery smooth touch before painting or staining.
- Primer & paint: A must-have for any furniture makeover to ensure a lasting, sleek finish.
- Cane webbing: Its natural texture adds a touch of elegance to the doors.
- Staples (* ¼ inch): Perfect size for attaching cane without protruding.
- Plywood & legs: To make a seamless, cohesive look that complements the original TROFAST unit.
- Edge banding: A simple addition that immensely elevates the look of cut plywood edges.
Step by Step Instructions
Learn how to make a stylish storage solution with our step-by-step instructions on the ikea trofast hack. An easy DIY guide for organizing your space!
Step 1: The Vision
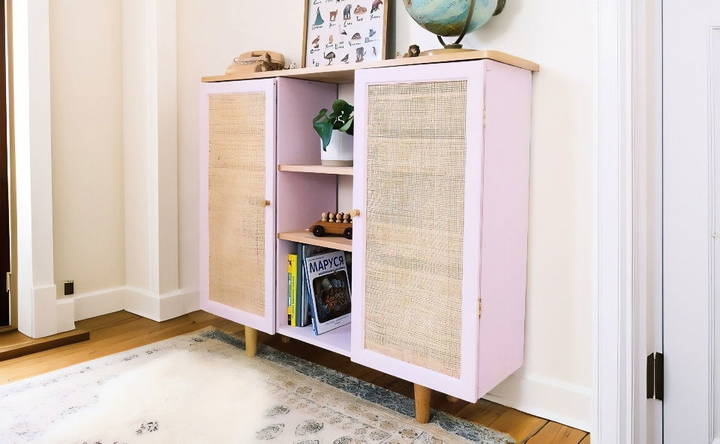
The journey began with a simple desire to transform the TROFAST unit into something less…IKEA. While functional, its aesthetic felt lacking for my space. The plan? Make a chic, furniture-like appearance with custom doors and a unified structure that wouldn't scream its origin.
Step 2: Reimagining Storage
While contemplating between removing the plastic bins for shelves or concealing them behind doors, I settled on the latter. The thought of adding cane webbing to the doors captivated me, promising a blend of functionality and style.
Step 3: The Build Begins
Cutting the poplar boards for door frames with my miter saw was straightforward. The challenge arose when joining the pieces. Initially opting for a doweling jig (a new tool for me), I learned the hard way that precision is key, and sometimes the simplest methods (like wood glue) can be incredibly effective.
Step 4: The Caning Conundrum
Adding the cane was a fun twist, though it required patience and a bit of warm water to become malleable. Cutting it to size and securing it with staples seemed easy enough, but ensuring it didn't fray or sag required careful handling.
Step 5: Painting and Staining
A coat of primer followed by a beautiful color transformed the pieces. The spray paint ensured a smooth finish, turning the individual elements into what would soon be a cohesive piece.
Step 6: Assembly and Finishing Touches
With the painting done, I focused on assembling the unit. Securing the bottoms first, then strategically attaching the legs, ensures stability. Adding the doors was a triumphant moment despite the earlier setbacks with the doweling jig.
Step 7: The Final Touches
Edge banding was the cherry on top, giving the plywood a finished, polished look. It's an easy step that significantly raises the project's quality.
Customization Ideas for Your IKEA Trofast
Transforming your IKEA Trofast storage unit into a piece that perfectly fits your space and style doesn't have to be complicated. Here are some simple yet effective customization ideas that can help you make the most out of your Trofast system:
- Choose Your Palette: Start by selecting a color scheme that complements your room. Whether you prefer pastel hues for a soft touch or bold colors for a statement piece, painting your Trofast can instantly uplift the look. Use paints that adhere well to plastic and wood, and always prime your surfaces for the best results.
- Add Some Patterns: If you're feeling artistic, why not add patterns or stencils to your Trofast bins? Geometric shapes, stripes, or even themed designs like stars or animals can add a playful element, especially in children's rooms.
- Change the Knobs: Swapping out the standard knobs for something more unique is a quick fix with a big impact. Choose from a variety of materials like ceramic, metal, or wood to find the perfect knobs that reflect your personal style.
- Make Labels: Labels help with organization and contribute to the overall aesthetic. You can use vinyl stickers, chalkboard labels, or even hand-painted signs to label the bins, making it easy for everyone to find what they need.
- Mix and Match: Who says you have to stick to one type of bin? Mix and match different colors and sizes of Trofast bins to suit your storage needs and add visual interest.
- Add Accessories: Consider adding accessories such as wheels for easy mobility or top cushions to turn your storage into a bench. These functional additions can enhance the utility and comfort of your Trofast unit.
- Incorporate Lighting: Installing LED strips under the shelves or around the bins can make a warm ambiance and highlight the items you're storing. It's also practical for finding things in dimly lit areas.
- Use Wallpaper: Wallpapering the sides of your Trofast frame can instantly elevate its appearance. Choose a pattern that matches your decor for a cohesive look.
Make your Trofast unit practical and unique by customizing it to reflect your taste. Enjoy the process and make a storage solution that works for you.
Maintenance and Care for Your IKEA Trofast
Keeping your IKEA Trofast in top condition is key to ensuring it serves you well for years to come. Here's a straightforward guide to maintaining and caring for your Trofast storage system:
- Regular Cleaning: Dust and wipe down your Trofast unit regularly. For the wooden frame, use a mild soap and a damp cloth, then dry it with a clean towel. For the plastic bins, you can wash them with soapy water. Avoid abrasive cleaners that can scratch the surfaces.
- Spot Treatment: If there are any stubborn stains, tackle them promptly. Use a gentle stain remover suitable for the material of your Trofast. Always test it on a small, inconspicuous area first.
- Avoid Overloading: To maintain the structure and integrity of your Trofast, avoid overloading the bins. Stick to the recommended weight limits to prevent any warping or damage.
- Check for Wear and Tear: Inspect your Trofast regularly for any signs of wear and tear. Tighten any loose screws and replace bins that may have cracked or become brittle over time.
- Protect from Sunlight: Prolonged exposure to direct sunlight can fade the colors of your Trofast. Position it away from windows or use curtains to minimize sun damage.
- Child Safety: If you have children, ensure the unit is anchored to the wall to prevent tipping. Also, smooth out any sharp edges with sandpaper to keep it kid-friendly.
- Refresh the Look: After some time, you might want to refresh your Trofast look. A new coat of paint or new labels can make it feel brand new again.
By following these simple care instructions, you'll keep your Trofast looking great and functioning perfectly, making it a lasting part of your home organization.
FAQs About IKEA Trofast Hack
Discover everything you need to know about the ikea trofast hack in our comprehensive faqs, including tips, ideas, and common questions answered.
IKEA Trofast units are incredibly versatile. Beyond toy storage, they can be transformed into art and crafts stations, desks for children, LEGO tables, changing tables, and even movable storage with the addition of casters. People have also turned them into play kitchens, storage for shared rooms, and even integrated them with other furniture pieces for a more adult aesthetic.
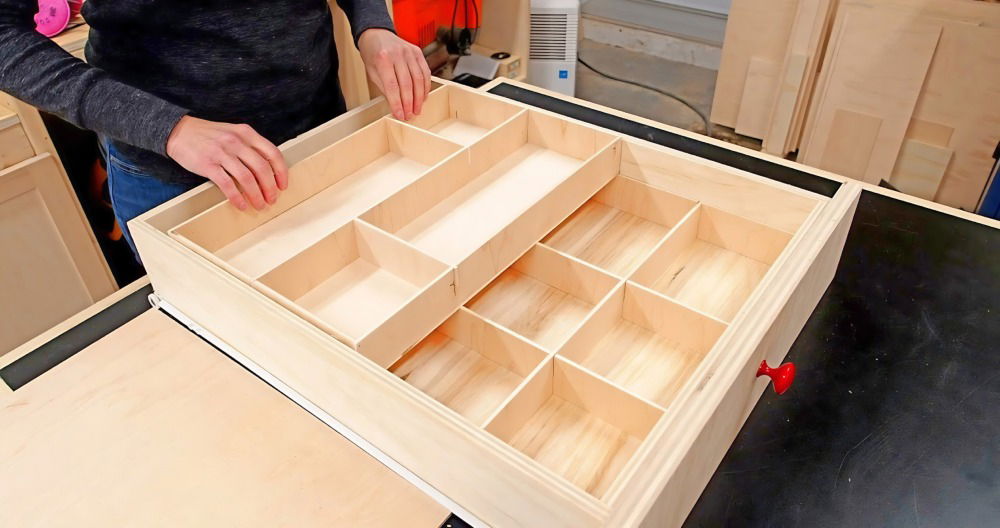
Absolutely! The Trofast bins are designed to be easy to use and can be customized with DIY drawer dividers. Adhesive divider holders can be added to the bins, allowing you to adjust the spacing as needed. This way, you can keep the contents of your bins organized and easily accessible.
Yes, there are several hacks for using Trofast in small spaces. For example, you can make a benchtop tool stand for workshops, a dresser system for organizing clothes, or a window seat with storage. Additionally, Trofast can be used to build a platform bed with storage, which is great for maximizing space in small bedrooms.
Adding doors to your Trofast unit is a popular hack to hide the bins and give the unit a cleaner look. You can use various types of wood for the doors and install them with hinges. This modification requires some basic DIY skills but can significantly enhance the appearance of your Trofast storage.
The Trofast system is known for its ease of assembly. The frames and bins are straightforward to put together, and the simplicity of the design makes it easy to modify. Whether you're adding doors, building a desk, or building a bed frame, the Trofast's modular nature allows for a wide range of customizations.
Reflections and Advice
There you have it, a detailed journey of transforming a basic IKEA Trofast unit into a piece of art. Every step taught me something new about craftsmanship, patience, and problem-solving. By harnessing creativity and persistence, anyone can transform commonplace items into conversation-worthy pieces. So, whether it's the doors, cane, or overall structure, let your creativity flow.
This project enhanced not only the playroom but also my confidence in tackling future DIY endeavors. If you have similar furniture projects or ideas, I'd love to hear about them in the comments! Remember, it's not just about the end result but the story and experience that every hammer hit, saw stroke, and drop of paint contributes to your home.


