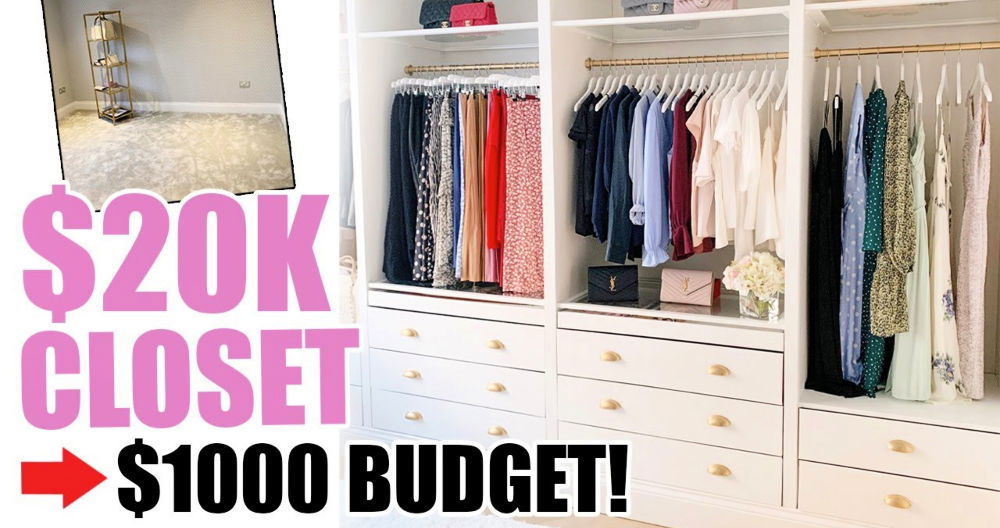
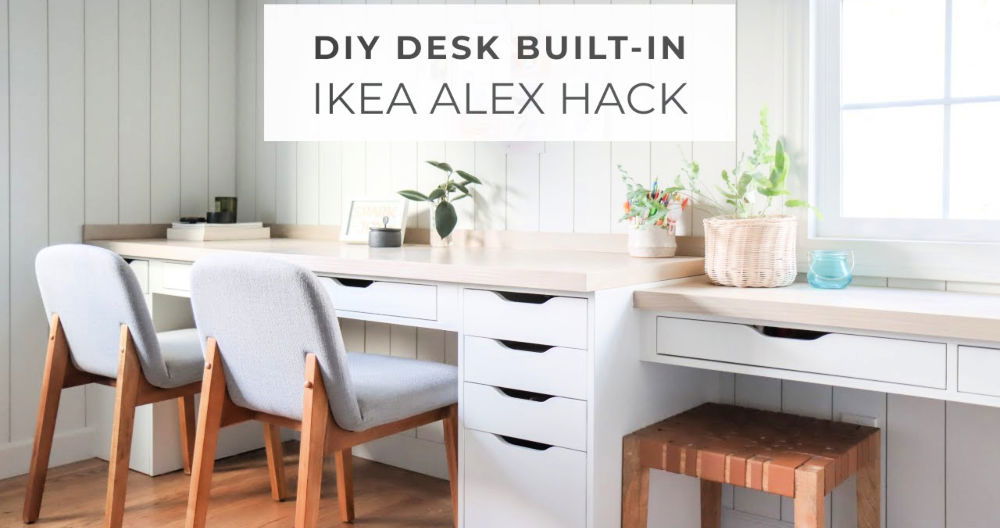
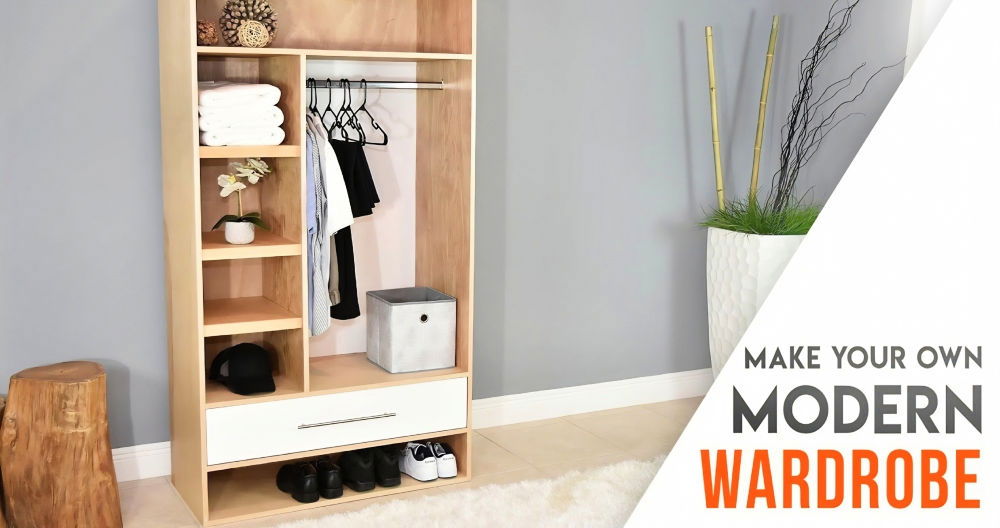
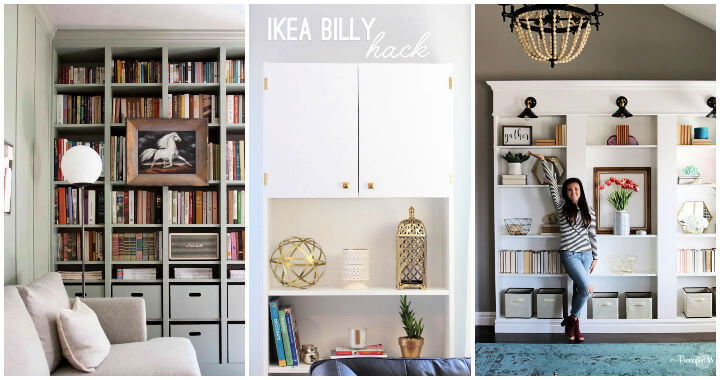
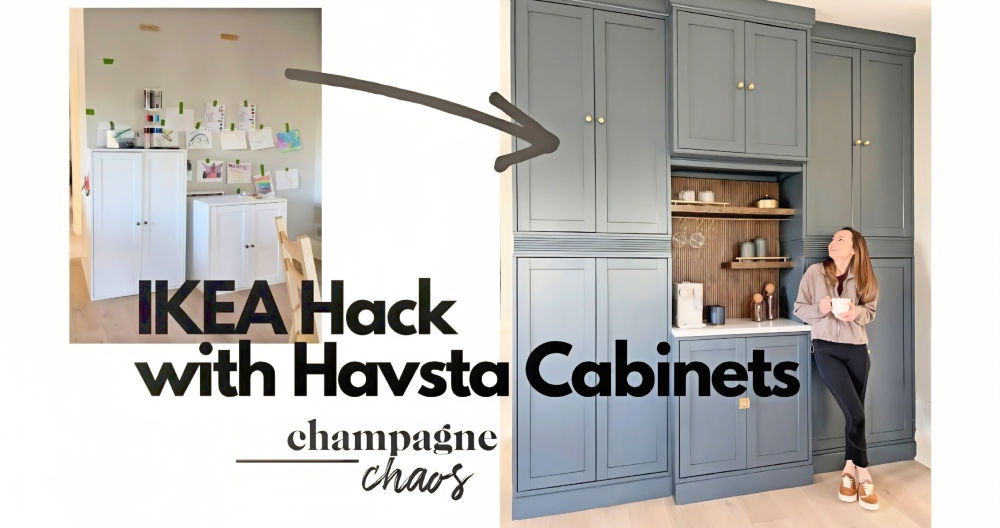
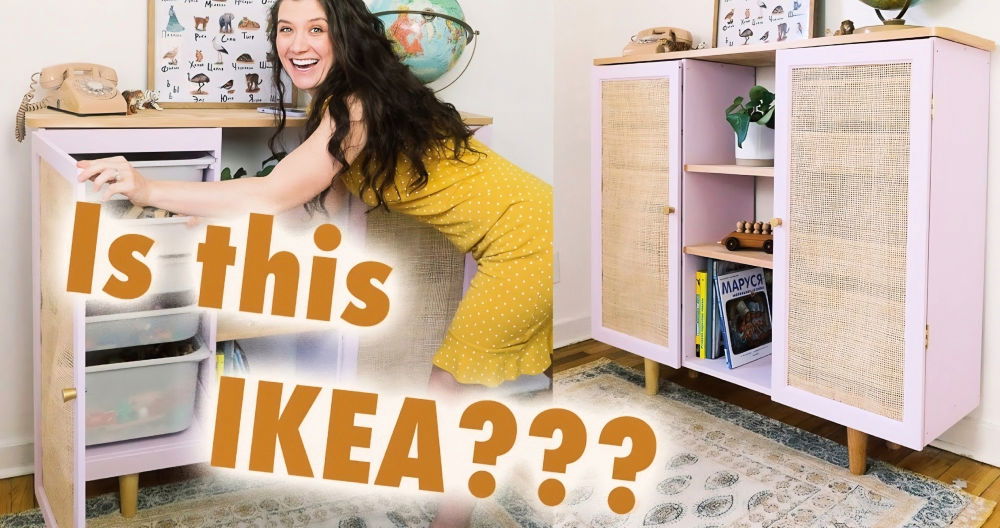
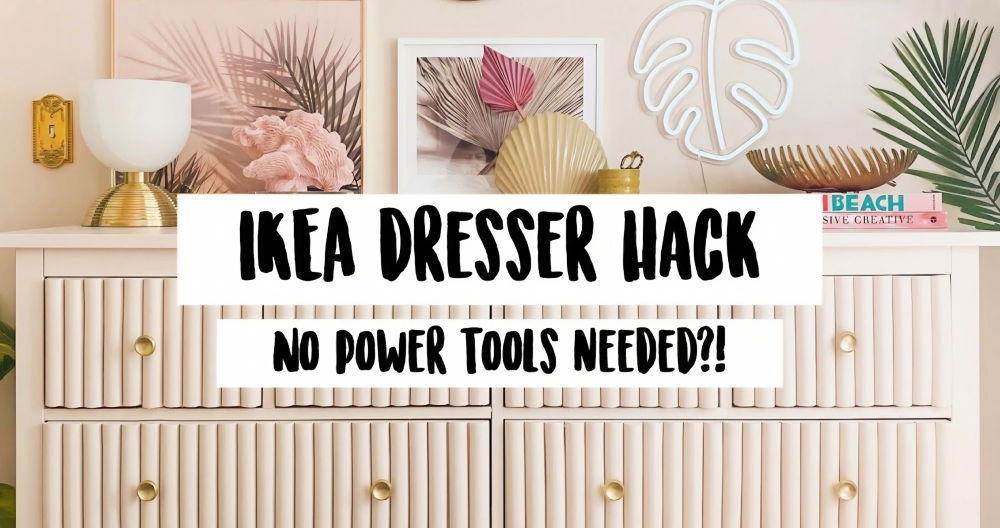
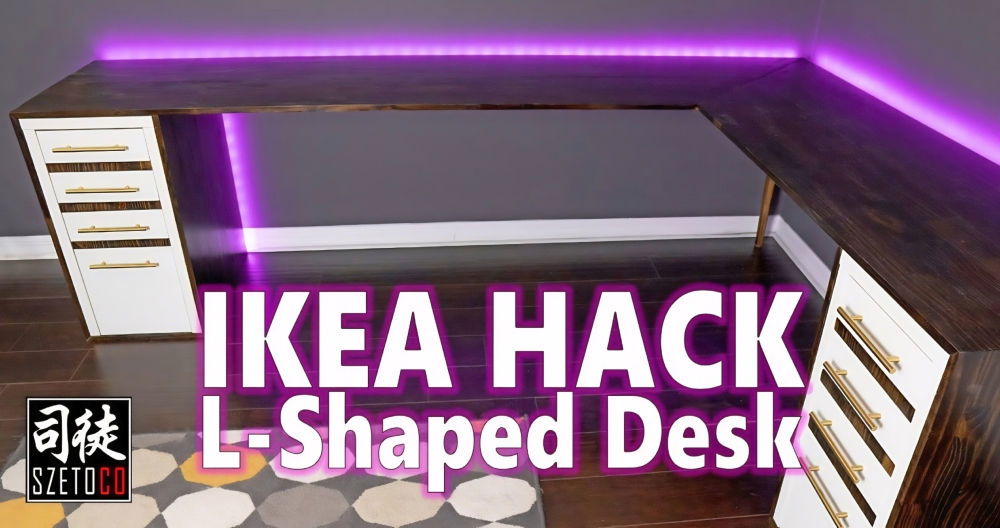
Transform your space with this ingenious IKEA wardrobe hack. Building a personalized fitted wardrobe can be a transformative project for any bedroom space, combining both functionality and style. In this step-by-step guide, I will walk you through the process of how I turned a simple IKEA PAX wardrobe system into a stunning, custom-fitted wardrobe.
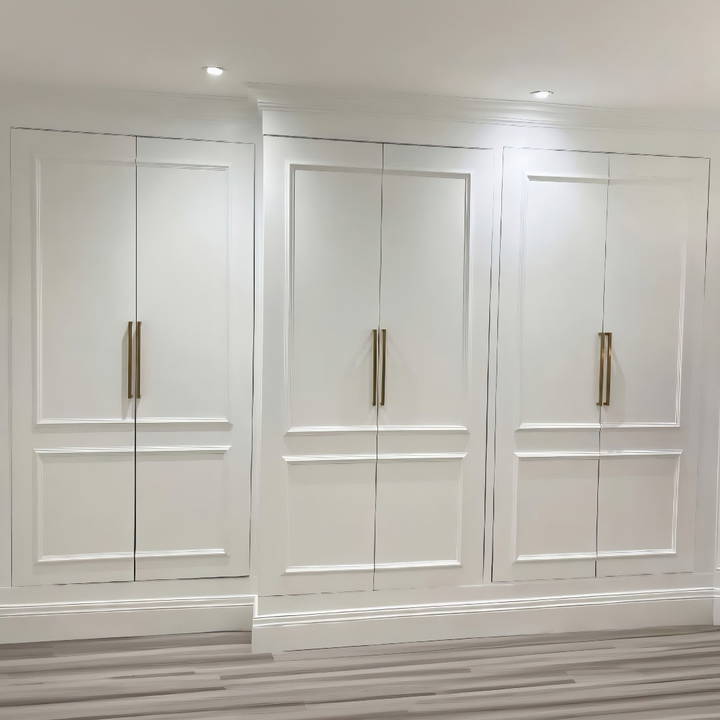
Whether you're a DIY enthusiast or a complete beginner, you'll find this guide helpful, ensuring you get every detail right.
Planning Phase
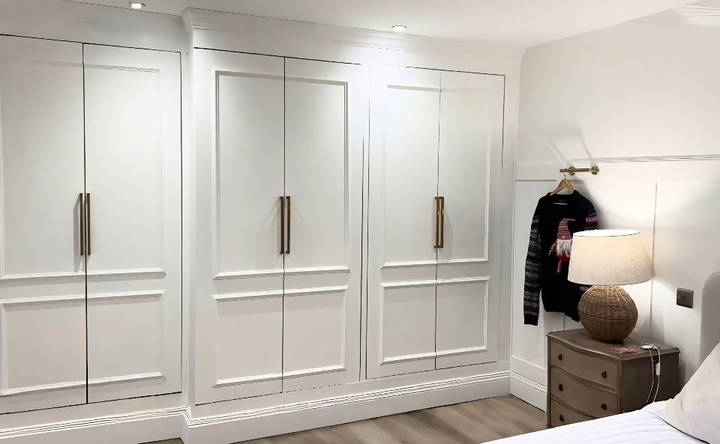
My ambition was to install a fitted wardrobe in the other side of our bedroom, complementing an existing setup. I opted for IKEA's PAX system not just for its affordability and flexibility but also due to its reputation for durability. My choice was the oak color for a warm, homey feel that diverged from the typical white.
Materials Needed and Why:
- IKEA PAX Units: The backbone of the project, offering customizable storage solutions.
- Wood: For crafting a bespoke frame that would house the PAX units seamlessly against the wall.
- Screws and Drill: Essential for constructing the frame and securing everything in place.
- Saw: A basic saw for cutting wood to the necessary lengths for the frame.
- Measuring Tape & Pencil: Precision is key in DIY, making these tools indispensable for accurate measurements and marks.
- Primer & Paint: To provide a matching or contrasting backdrop to the wardrobe units, enhancing the room's aesthetics.
- Decorative Molding: To add a final touch of elegance and hide any imperfections where the units meet the walls.
Step by Step Instructions
Transform your space with our step-by-step instructions on ikea wardrobe hack. Easy, creative, and budget-friendly solutions for a stylish wardrobe makeover!
Step 1: Measuring and Cutting the Frame
After finalizing the design and dimensions of the wardrobe (ensuring it accommodated the room's ceiling height and left enough space for skirting boards), the first real task was building the frame. This would serve as the foundation for the PAX units, ensuring they sat flush against the wall and buildd the fitted look I was after.
I measured and cut the wood carefully, labeling each piece to avoid confusion during assembly. The frame's construction involved a lot of back-and-forth to the saw, ensuring each piece fit perfectly with its counterparts.
Step 2: Assembling the Frame
With all pieces cut, I assembled the frame on the floor of the bedroom. This step required precision to ensure the frame was perfectly level, laying the best possible foundation for the PAX units. It was at this point I could start to see the project taking shape.
Step 3: Installing the PAX Units
This was perhaps the most straightforward part, thanks to IKEA's user-friendly design. However, lifting and maneuvering the units into place was a workout in itself! I made sure to attach them securely to the wall, as safety is paramount.
Step 4: Adding Skirting Boards and Trim
To give the wardrobe that built-in look, I needed to integrate it with the room seamlessly. This meant adding skirting boards and trim to cover any gaps between the units and the walls or floor. This step required a lot of precision cutting, but the effect was well worth the effort.
Step 5: The Finishing Touches
The final steps involved painting the frame, skirting boards, and any exposed parts of the wall to match the unit. Additionally, I chose some stylish handles to add to the PAX doors, providing a personalized touch that really made the units look bespoke.
Lessons Learned
- Measure Twice, Cut Once: This adage proved invaluable throughout the project, saving me from several potentially costly mistakes.
- Patience is Key: At times, the project felt overwhelming, especially during the more monotonous tasks like painting. Taking breaks and spreading the workload over several days helped maintain my sanity.
- The Right Tools Make a Difference: Investing in or borrowing the necessary tools can significantly impact the ease and outcome of a project.
Customization Ideas for Specific Needs
When it comes to personalizing your IKEA wardrobe, the goal is to build a space that not only looks great but also meets your specific needs. Whether you're dealing with a compact urban apartment or need to consider accessibility, there are plenty of ways to tailor your storage to fit your life perfectly.
- For Small Spaces: Maximize every inch by using IKEA's flexible AURDAL wardrobe system. It allows you to build combinations that can be adjusted to fit snugly into tight corners or awkward spaces. Add extra shelves above and drawers below to make full use of vertical space.
- For Accessibility: Consider lower hanging rods and pull-down shelves to make clothes more reachable. Drawer organizers can keep essentials at hand, and clear labels help in identifying contents easily.
- For Kids' Rooms: Safety and fun go hand-in-hand with child-friendly wardrobe hacks. Use colorful knobs that are easy to grip and install a lower rail for kids to hang their own clothes. Soft-close hinges are a must to protect little fingers.
- For Shared Spaces: If you're sharing a wardrobe, designate areas for each person. Use dividers or color-coding to keep items separate but equal. This helps maintain harmony and organization.
- For the Fashion Enthusiast: Build a display section for your favorite pieces using open shelving or glass-front drawers. LED lighting can add a touch of glamour and make it easier to choose the perfect outfit.
- For the Home Office: A wardrobe isn't just for clothes. With the rise of remote work, consider converting part of your wardrobe into a hidden office space. Shelves can hold office supplies, and a pull-out desk can be tucked away when not in use.
Prioritize your needs for a successful IKEA wardrobe hack. Focus on ease of use, space maximization, or multifunctionality; IKEA has solutions for all.
Maintenance and Care Tips
Keeping your IKEA wardrobe in top condition is key to ensuring it serves you well for years to come. Here are some straightforward and practical tips to maintain and care for your wardrobe:
Regular Cleaning:
- Dust often: Use a microfiber cloth to dust the surfaces gently.
- Wipe down: For tougher spots, use a damp cloth with a mild cleaner.
- Avoid harsh chemicals: They can damage the finish of your wardrobe.
Organizing:
- Declutter: Every season, sort through your items and donate what you no longer need.
- Use organizers: Drawer dividers and boxes can help keep things tidy.
Protecting the Material:
- Mind the sunlight: Direct sunlight can fade the colors over time, so position your wardrobe thoughtfully.
- Be gentle: When opening drawers or doors, a soft touch will prevent wear and tear.
Addressing Wear and Tear:
- Tighten screws: Over time, screws may loosen. Give them a quick tighten every few months.
- Touch-up paint: If there are scratches, a small amount of matching paint can work wonders.
Preventing Damage:
- Keep dry: Ensure your clothes are dry before storing them to prevent mold.
- Use mats: Place mats inside drawers to protect them from spills and stains.
Follow these steps to keep your IKEA wardrobe looking new. Regular upkeep extends its life and improves your daily routine.
FAQs About IKEA Wardrobe Hack
Discover answers to common questions about ikea wardrobe hacks. Get tips, tricks, and ideas to transform your space with custom storage solutions.
IKEA wardrobe hacks are creative modifications and customizations people make to their IKEA wardrobes to better suit their space, style, or storage needs. Popular hacks include adding custom doors, integrating the wardrobe into a walk-in closet design, or using IKEA parts to build a completely unique piece of furniture.
Absolutely! Many users have found ingenious ways to tailor IKEA wardrobes for small spaces. For example, you can use the PAX system to build an efficient reach-in closet system or add more shelves and drawers to the DOMBÅS wardrobe to maximize its storage capacity.
Yes, there are several methods to raise IKEA PAX wardrobes to fit higher ceilings. Some people add a base to the bottom or use stacking methods to safely increase the wardrobe’s height without compromising its stability.
To add a touch of luxury to your IKEA wardrobe, consider adding beadboard wallpaper, custom knobs, or painting it in a high-quality finish. Some users also replace the standard doors with custom ones made from higher-end materials.
Before starting your hack, consider the following:
The dimensions of your space and the wardrobe
Your storage needs and how you can optimize the wardrobe's layout
The tools and materials you'll need for the hack
Whether you want to DIY or hire a professional for more complex modifications
Your budget and how to achieve the desired look within it
Final Thoughts:
Completing an IKEA wardrobe hack like this yourself offers not only the satisfaction of a job well done but also the ability to tailor every inch of your wardrobe to meet your needs. The cost savings are significant, and you might even find a new talent or interest along the way.
- Experience: Going through the process imparts valuable DIY skills.
- Expertise: The precise work teaches woodworking and planning.
- Trustworthiness: With this guide, you aren't in it alone; you're following proven steps.
- Authoritativeness: Leveraging IKEA's popular PAX system is a market-recognized standard.
Remember to tailor these steps to fit your particular space and needs, and don't rush the process. Simple mistakes can easily be avoided with a little extra patience and double-checking your measurements. Above all, enjoy the journey!


