Installing a gas fireplace can transform a room by adding warmth, ambiance, and value to your home. If you're a DIY enthusiast, installing a zero-clearance, direct-vent gas fireplace like the Napoleon GX36 is achievable with the right tools and careful attention to detail. This guide will provide detailed instructions for every stage, from planning and preparation to the final installation.
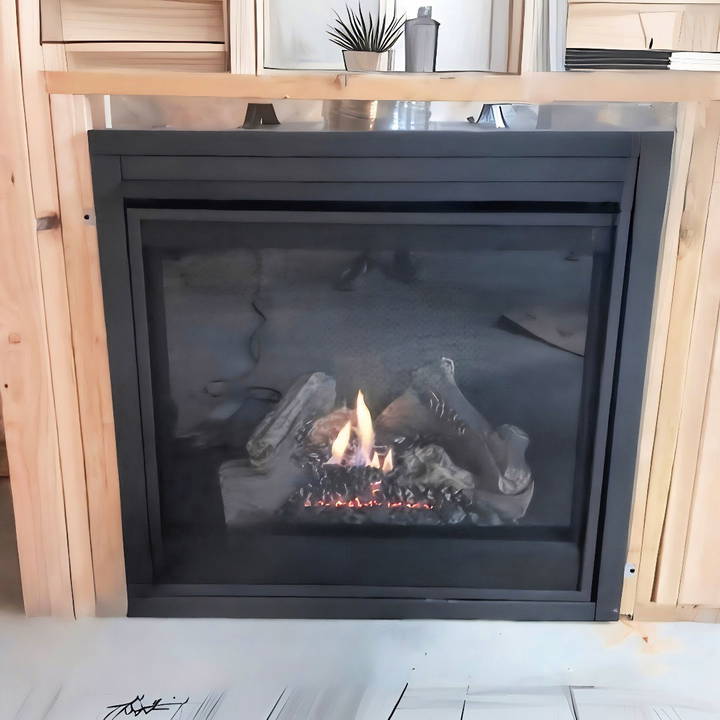
Understanding Gas Fireplaces
Discover what a zero-clearance, direct-vent gas fireplace is and how it provides efficient heating with minimal installation space.
What is a Zero-Clearance, Direct-Vent Gas Fireplace?
A zero-clearance fireplace can be installed directly on combustible materials, like wood or OSB, without additional clearance. The direct-vent design uses a sealed system to draw air from the outside for combustion and expel exhaust gases, making it safe and energy-efficient.
Tools and Materials You'll Need
Learn the essential tools and materials needed to install a gas fireplace safely and efficiently, ensuring a seamless setup process.
Tools
- Measuring tape
- Reciprocating saw
- Masonry blade
- Screwdrivers
- Drill
- Level
- Silicone sealant
- Pipe wrench
- Utility knife
Materials
- Gas fireplace unit (e.g., Napoleon GX36)
- Venting kit
- Insulation pieces
- Flex vent pipes (e.g., 5 ft and 10 ft)
- Mill pack silicone
- Pipe connectors
- Black pipe or stainless steel flex for gas lines
- Fasteners and screws
Step by Step Instructions
Learn how to install a gas fireplace, from planning and venting to gas line connections and testing, with step-by-step instructions for a safe setup.
Step 1: Plan and Prepare
Plan and prepare for your gas fireplace installation with tips on measuring your space, obtaining permits, and following safety precautions.
Measure Your Space
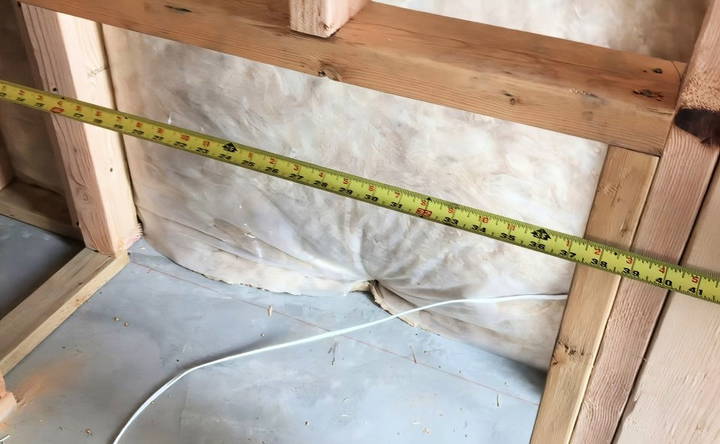
- Frame Dimensions: Ensure your framing is prepared for a snug fit. For the Napoleon GX36, the opening should be approximately 35.5 inches wide and 35 inches high.
- Clearances: Zero-clearance units can be installed on a concrete base or OSB.
Gather Necessary Permits
Many regions require a permit for gas installations. Check local codes and regulations.
Safety Precautions
- Always work in a well-ventilated area.
- Turn off the gas supply during installation.
- If unsure about any part of the installation, consult a professional.
Step 2: Position the Fireplace
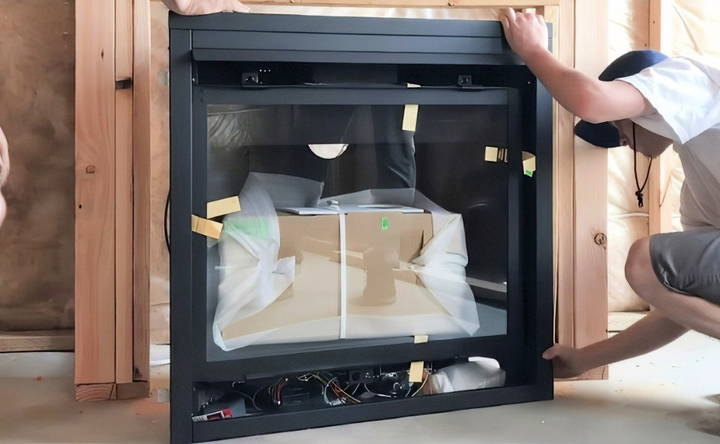
- Center and Level: Position the unit in your prepared opening. Use a level to ensure the fireplace is perfectly aligned.
- Secure in Place: Shim as needed and attach the fireplace to the wall framing using screws.
Step 3: Venting Installation
Learn how to install gas fireplace venting, from determining the configuration to measuring, cutting, installing vent pipes, and fire stops.
Determine Venting Configuration
The Napoleon GX36 supports both rear and top venting. Follow the manufacturer's instructions to switch the configuration if necessary.
Measure and Cut for Venting
- Measure: Calculate the total length of the vent path. Include vertical and horizontal runs plus any bends (e.g., a 90-degree elbow adds about 1 foot).
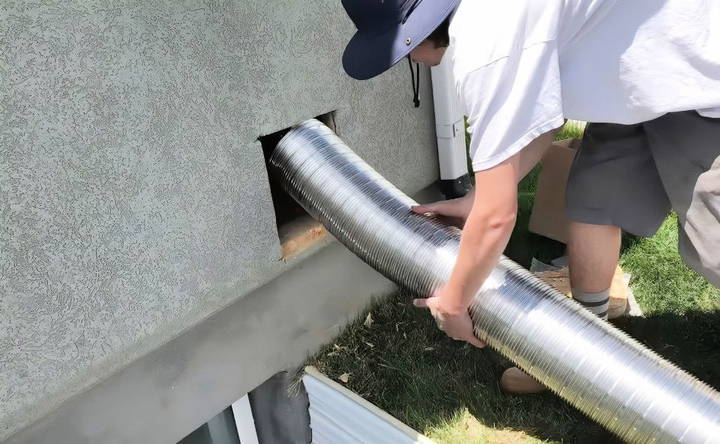
- Cut Openings: Use a reciprocating saw to cut openings in walls or floors. For an exterior wall, cut a hole approximately 11.5 inches by 9.5 inches.
Install Vent Pipes
- Stretch the Flex Pipe: Extend the inner and outer pipes. Leave the inner pipe slightly longer for easy connection.
- Connect Sections: Use pipe connectors, seal joints with silicone, and secure with screws.
- Secure to Wall: Mount the termination cap on the exterior wall. Maintain clearances: at least 1 inch from the bottom and 3 inches from the top for horizontal venting.
Install Fire Stops
Attach sheet metal fire stops at each venting pass-through to prevent air leaks and ensure safety.
Step 4: Electrical Setup
Guide to electrical setup for your gas fireplace, including receptacle installation and optional blower installation for enhanced performance.
Install the Receptacle
- Wire Connections: Connect black, white, and green wires for power. If needed, consult a licensed electrician.
- Low Voltage Switch: Install the low-voltage switch for the on/off function. This requires no external power, as it sends a millivolt signal to the gas valve.
Blower Installation (Optional)
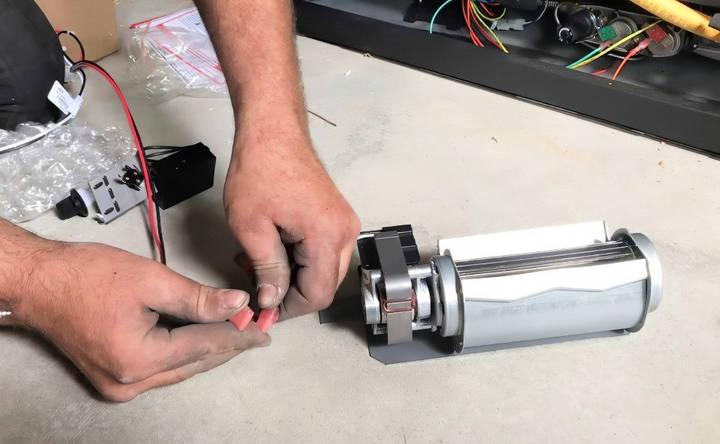
- Attach Blower: Mount the blower to the side of the fireplace, ensuring it's secure and wires are clear of moving parts.
- Rheostat Dial: Install the dial on the front panel to control fan speed.
- Heat Sensor: Attach the heat-activated switch that ensures the blower operates only when warm air is available.
Step 5: Gas Line Connection
Learn about gas line connection for your fireplace, including installation steps and the importance of seeking professional assistance.
Gas Line Installation
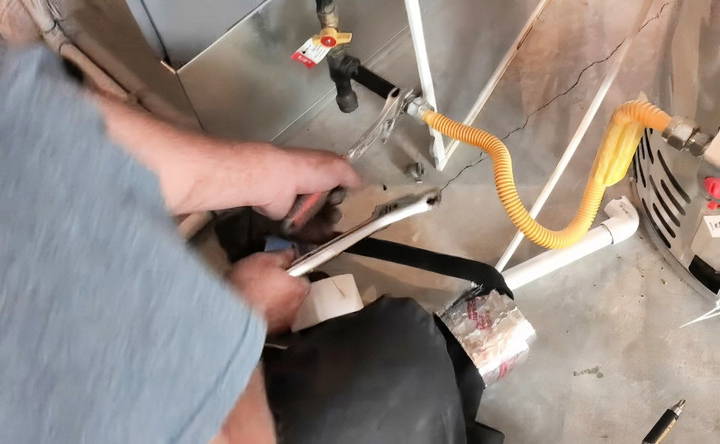
- Run the Line: Use black pipe or stainless steel flex to connect the gas supply to the fireplace. Avoid galvanized fittings, as they can degrade and damage the system.
- Secure and Seal: Use pipe dope on connections and check for leaks with a soapy water solution.
Professional Assistance
Gas connections should comply with local codes. If unsure, hire a licensed plumber or gas fitter.
Step 6: Log and Ember Placement
- Arrange Logs: Position logs according to the manufacturer's instructions. Typically, there are: A large rear log
- Front and top logs on both sides
- Place Embers: Scatter ember materials near the burner ports for a realistic flame effect.
Step 7: Install the Glass Panel
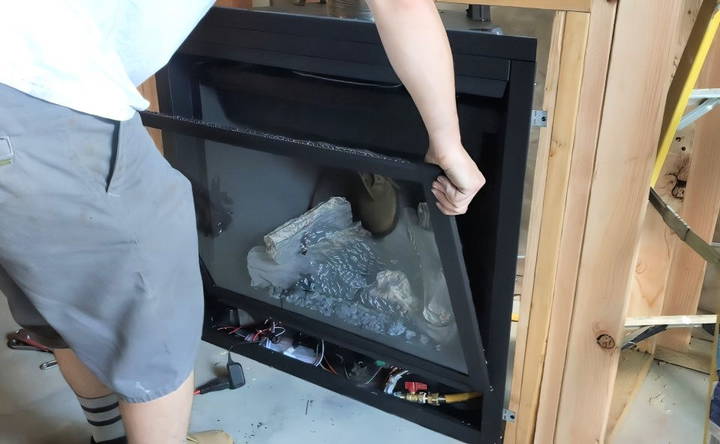
- Secure the Glass: Align the panel and secure it with spring-loaded clips at the top and bottom.
- Test the Seal: Ensure the glass is properly seated for a secure and airtight fit.
Step 8: Final Check and Test
- Turn on the Gas: Open the gas valve and bleed the line to remove any air.
- Ignite the Pilot: Use the switch to light the pilot. Adjust flame settings as needed.
- Inspect Venting: Ensure proper airflow through the vent system. Look for obstructions or leaks.
- Check Functionality: Verify the blower, heat sensors, and any additional features work correctly.
Tips for Maintenance and Use
- Seasonal Pilot Usage: Keep the pilot light on in winter to preheat the venting system and ensure smooth operation.
- Regular Cleaning: Periodically clean the glass, logs, and burners to maintain efficiency.
- Inspect Annually: Have the system inspected annually by a professional to check for leaks and wear.
Installing a gas fireplace is a rewarding DIY project that adds warmth and charm to your home. By following these steps, you'll make a safe, efficient, and beautiful focal point for your living space. If at any point you feel uncertain, consult professionals to ensure a safe and compliant installation.
FAQs About Installing a Gas Fireplace
Find answers to common FAQs about installing a gas fireplace, covering key installation steps, safety tips, and maintenance advice.
A gas fireplace can typically be framed with wood, as long as the clearances specified in the installation manual are followed. Some models may require fireproof materials, such as cement board or steel framing, for additional safety.
Ensure all vent connections are sealed properly and check for gaps around the gas line or bottom openings. Use high-temperature silicone or rock wool insulation to seal gaps.
Yes, you can use wood shims to level the unit, provided they do not interfere with venting or structural integrity. Ensure shims are securely placed and stable.
A noisy pilot light may need adjustment of the flame size. If it extinguishes when the fireplace is turned on, the thermocouple might need replacement. Consult a professional if unsure.
Yes, a gas fireplace can be installed on most exterior or interior walls, but venting routes and structural considerations may impose limitations. Check the manual for venting options and consult a professional for complex scenarios.
Use fire-resistant materials such as rock wool or ceramic fiber insulation around the fireplace, ensuring compliance with clearance requirements.
Condensation occurs when moist air in the vent cools quickly. Ensure proper venting slopes and check for insulation gaps in cold climates.
Some models allow decorative stones, but consult the manual or manufacturer. Using untested materials can cause safety hazards, such as popping due to heat expansion.
This is often due to improper venting or insulation in the vent system. Ensure correct installation angles and check for cold air infiltration.
Yes, retrofitting is possible if venting, gas, and electrical connections can be accommodated. Consult professionals for wall modifications and compliance with building codes.


