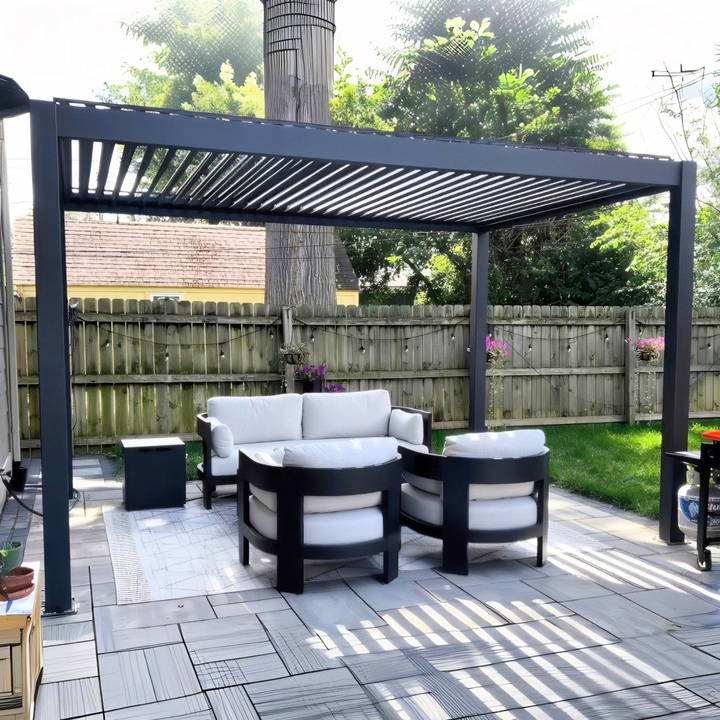
A Hanso pergola is an enjoyable DIY project that combines both style and functionality for your outdoor living area. Whether you want to build a shaded retreat for relaxation or an open, sunlit area for gatherings, this guide provides a step-by-step process for assembling a freestanding Hanso pergola. With the right tools, preparation, and this detailed breakdown, you can have your pergola up and ready in just a few hours.
What You'll Need
Before starting, gather all the required tools and materials. The Hanso pergola kit comes with several components, but you'll also need some tools to complete the project efficiently.
Included in the Kit:
- Aluminum posts
- Header pieces
- Expansion bolts
- Gear pivot pins
- Locking nuts and screws
- Gutter system components
- Manual for assembly
Tools You'll Need:
- Power drill
- Screwdrivers
- Adjustable wrench
- Measuring tape
- Ladder
- Safety gloves and goggles
Step by Step Instructions
Follow step-by-step instructions for assembling and installing your hanso pergola, along with tips, benefits, and troubleshooting solutions.
Step 1: Preparing Your Workspace
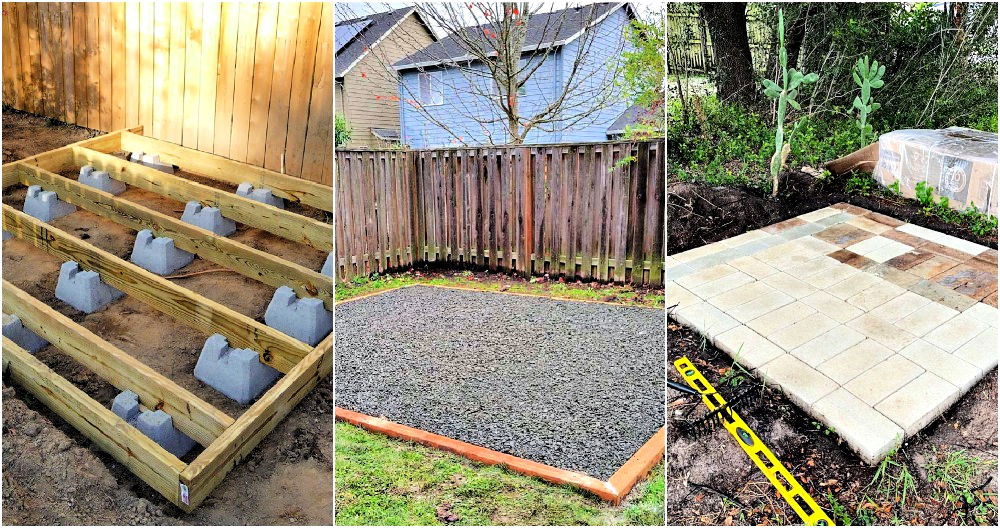
Start by selecting a flat and stable surface for your pergola. Ensure the area is clear of debris and large enough to accommodate the pergola's dimensions (10x13 feet for the manual version discussed in this guide).
Key Preparations:
- Mark the Installation Points: Use measuring tape and markers to outline where the posts will be installed.
- Check for Underground Utilities: If mounting the pergola on a concrete surface or patio, ensure no utility lines are underneath.
Step 2: Assembling the Posts and Headers
The posts and headers form the foundational structure of the pergola. Proper assembly of these components ensures stability and durability.
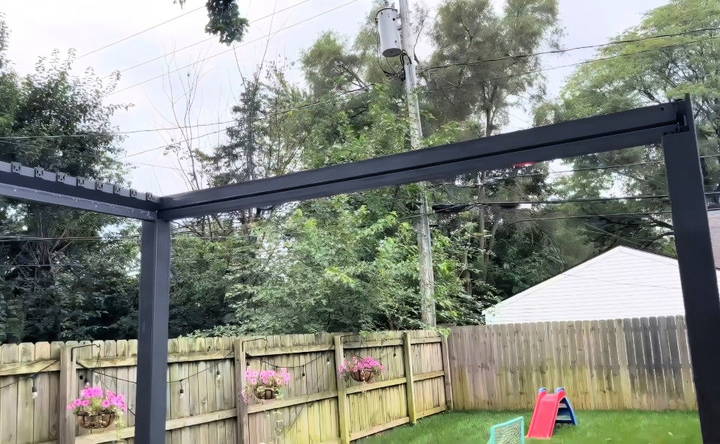
- Connect the Posts to the Header Pieces: Use the provided bolts to secure the headers to the posts. Follow the manual's specific instructions for bolt placement.
- Double-Check Measurements: Ensure the posts are aligned and the headers sit flush at the top.
- Tighten Bolts Securely: Use a wrench to tighten the bolts, ensuring the structure is rigid.
- Estimated Time for Completion: 35 minutes.
Step 3: Installing the Gutter System
The Hanso pergola comes with an integrated gutter system designed to manage rainwater efficiently. Here's how to install it:
- Identify and Attach the Gutter Components: Locate the pieces labeled "E" in the kit. These form the gutters that channel water to the edges.
- Secure the Gutters to the Posts: Use screws and locking nuts to attach the gutter system to the posts.
- Ensure Proper Alignment: Check that all gutter pieces align seamlessly, allowing water to flow without obstruction.
- Install the Weep Holes: At the base of the posts, ensure the weep holes are clear and properly positioned to let water escape.
This system will channel rainwater into the posts, directing it out through the weep holes at the bottom.
Step 4: Mounting the Track System
The track system is an essential feature of the Hanso pergola, allowing you to open and close the slats for adjustable sunlight and shade.
- Position the Track System: Align the tracks with the pergola's roof frame.
- Secure the Tracks: Use the provided screws to attach the tracks firmly to the structure.
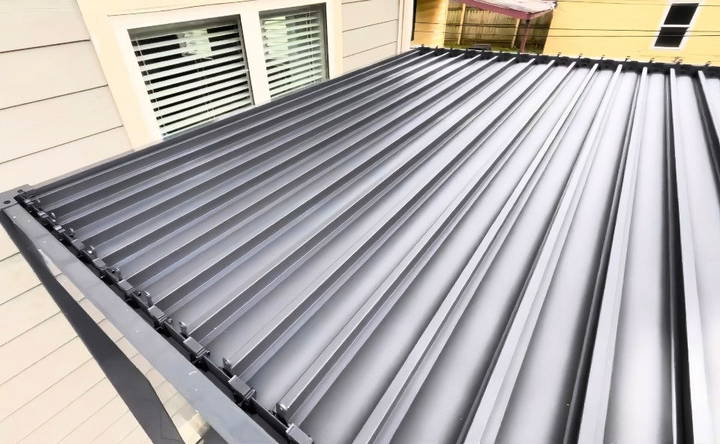
- Attach the Slats: Once the tracks are in place, insert the adjustable slats into the tracks. Test the functionality to ensure the slats can open and close smoothly.
- Testing the Mechanism: Use the provided tool to operate the slats, ensuring they move freely and lock securely in place.
Step 5: Finishing Touches
After assembling the main structure, it's time to focus on the details that complete the pergola.
- Install Clips and Bars: These components hold the slats and tracks in place, providing additional stability. Attach them according to the instructions in the manual.
- Check for Stability: Ensure all bolts and screws are tightened and that the structure does not wobble.
- Clean Up: Wipe down the pergola to remove any fingerprints or debris from the assembly process.
Tips for a Successful Installation
- Work with a Partner: Assembling a pergola is much easier with two people, especially when lifting and aligning the posts and headers.
- Read the Manual Thoroughly: Although this guide provides a comprehensive overview, refer to the included manual for specific details unique to your kit.
- Take Breaks if Needed: The entire process should take about three hours, so pacing yourself can make the experience more enjoyable.
Benefits of the Hanso Pergola
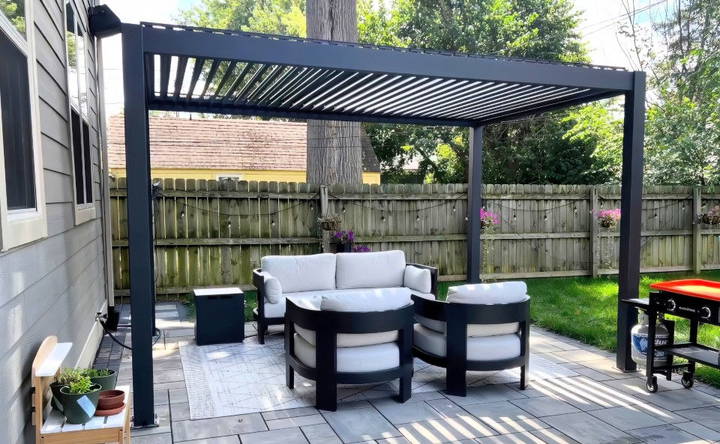
- Modern Design: The sleek aluminum finish adds a contemporary touch to any outdoor space.
- Weather Resistance: Aluminum is durable and resistant to rust, ensuring your pergola stays in great condition year-round.
- Adjustable Shade: The adjustable slats allow you to control sunlight and ventilation with ease.
- Efficient Water Management: The built-in gutter system prevents water pooling and directs rainwater away efficiently.
Troubleshooting Common Issues
Discover effective solutions for troubleshooting common issues with hanso pergolas, ensuring durability, stability, and long-lasting use.
Slats Not Moving Smoothly
- Cause: Misalignment of the track system.
- Solution: Loosen the track screws slightly, adjust alignment, and retighten.
Wobbling Posts
- Cause: Loose bolts at the base.
- Solution: Re-tighten the bolts or use expansion bolts for added stability.
Gutter System Leaks
- Cause: Misaligned or improperly sealed components.
- Solution: Recheck the alignment of the gutter pieces and secure all screws tightly.
Maintenance Tips
To ensure your Hanso pergola remains in excellent condition:
- Clean Regularly: Wash with mild soap and water to remove dirt and debris.
- Inspect Components: Check bolts, screws, and the gutter system periodically for wear and tear.
- Lubricate the Tracks: Apply a silicone-based lubricant to keep the slats moving smoothly.
Conclusion:
Installing a Hanso aluminum pergola is a straightforward project that adds elegance and functionality to your outdoor area. With a little preparation and the steps outlined in this guide, you can transform your backyard into a stunning oasis. The adjustable slats, modern design, and efficient gutter system make the Hanso pergola a practical and stylish choice for any homeowner.
Now that you have the knowledge to tackle this DIY project, grab your tools and start building your Hanso pergola today!
FAQs About Hanso Pergola
Find answers to frequently asked questions about hanso pergolas, covering installation, maintenance, and troubleshooting tips.
Use a Bosch SDS+ masonry bit with a hammer drill to drill the holes. Secure the pergola to the pavers with 5/16" x 3" Tapcon screws.
It typically takes one person about 3.5 hours to complete the installation. Working with a partner can make the process faster and easier.
The Hanso pergola offers a modern design, more features (like adjustable slats and integrated gutter systems), and a better warranty compared to lower-cost options.
The pergola stands approximately 8 feet tall, providing ample headroom and a spacious feel.
If you encounter issues such as missing or incorrect parts, contact Hanso customer service immediately. Document the issue with photos and request expedited resolution, especially if delays occur.
For installation on paver stones, use Tapcon screws with a hammer drill. For concrete or wood decks, consult the manual for appropriate fasteners and follow anchoring guidelines for stability.
Some customers report shipping delays and occasional issues with receiving incorrect parts. Contact Hanso customer service proactively for updates and support.
If slats do not open or close properly, check for misalignment in the track system. Loosen and realign the tracks, then secure them tightly. Lubricate the slats if needed for smoother operation.
The pergola is designed for DIY installation and can be completed solo in 3–4 hours. However, hiring a professional can ensure precise assembly and save time for more complex setups.


