Have a bunch of old t-shirts lying around? Don't throw them out just yet! You can upcycle them into fashionable, functional headbands in just a few easy steps. Whether you want something to keep your hair out of your face, or you're looking for a way to add a pop of color to your outfit, this DIY project is not only eco-friendly but also highly customizable.
In this comprehensive guide, you will find everything you need to know to make DIY t-shirt headbands, inspired by a quick 30-second tutorial by Julie Fay Fan Balzer. The best part? You don't need any fancy equipment—just a pair of scissors and a T-shirt!
Why Make Your Own T-Shirt Headbands?
Before we get into the "how," let's quickly cover the "why." There are several great reasons to try making your own headbands:
- Sustainable Fashion: By repurposing old t-shirts, you're helping reduce textile waste. Instead of buying new headbands or hair accessories, you're using what you already have.
- Cost-Effective: Store-bought headbands can be pricey, but using t-shirts you already own means this project costs next to nothing.
- Easy and Fun: This DIY project requires minimal effort but yields stylish results. Even beginners can get the hang of it quickly.
- Customizable: Want a specific color? Use a t-shirt in your favorite shade! Want something unique? Add paint, tie-dye, or combine multiple t-shirts for a colorful look.
Now that you're convinced, let's talk materials.
What You'll Need
You'll be pleased to know that making a DIY t-shirt headband requires very few materials. Here's what you'll need:
- An old t-shirt: Any t-shirt will work, but cotton t-shirts tend to be best because of their stretchiness. You can use any size, but larger shirts will give you more fabric to work with.
- A pair of sharp scissors: If you have fabric scissors, that's ideal, but regular scissors will work as well.
- Optional: A rotary cutter for faster cutting (especially if you're planning to make multiple headbands).
- Optional embellishments: Paint, fabric dye, or other decorations if you want to personalize your headband.
Step by Step Instructions
Learn how to make DIY t-shirt headbands with step-by-step instructions. Customize your style with creative variations and enjoy the benefits.
Select Your T-Shirt
Choose an old T-shirt you no longer wear. If you're aiming for a specific color or pattern, this is your chance to choose accordingly. Make sure the fabric is stretchy enough to comfortably fit around your head.
Cut the Bottom Hem
Start by laying your t-shirt flat on a surface. Using your scissors, cut off the very bottom hem of the t-shirt. You won't need this part for the headband, but don't throw it away—you can use it for other small DIY projects like ties or shoelaces.
Cut a Wide Strip from the T-Shirt
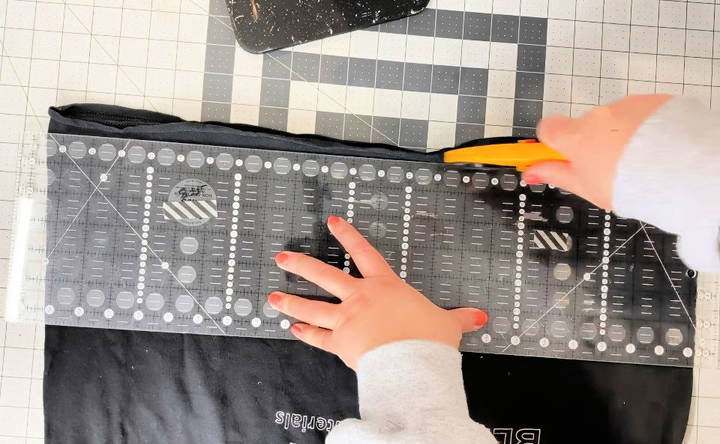
After removing the bottom hem, cut a wider strip from the t-shirt, about 2–3 inches in width. This strip will form the base of your headband. The wider the strip, the thicker your headband will be. If you want a thinner headband, you can cut the strip narrower.
If you don't have a rotary cutter, regular scissors will do the job just fine—just try to keep your lines as straight as possible. However, if precision isn't your strong suit, don't worry; slight imperfections won't be noticeable once the headband is twisted and worn.
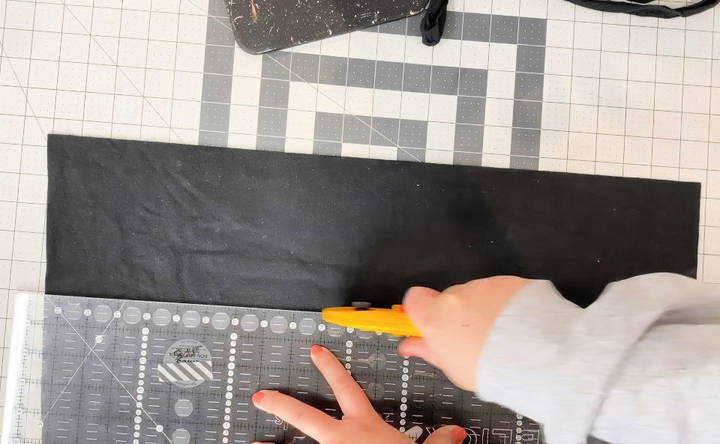
Twist the Strip
Now that you have your strip of t-shirt material, it's time to add some flair. Twist the strip about three times. This twist will make a nice design element in the front of the headband when you wear it.
Fold and Wear
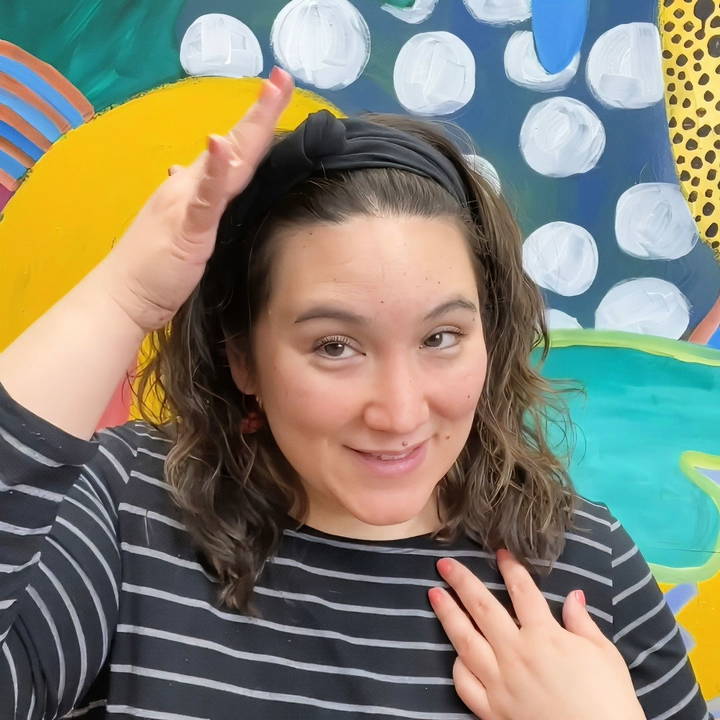
Fold the twisted strip in half. Then, slip the looped end over your head and adjust it so the twist sits at the front of your forehead, adding a stylish knot-like appearance. Voilà! You've made your own t-shirt headband in less than a minute.
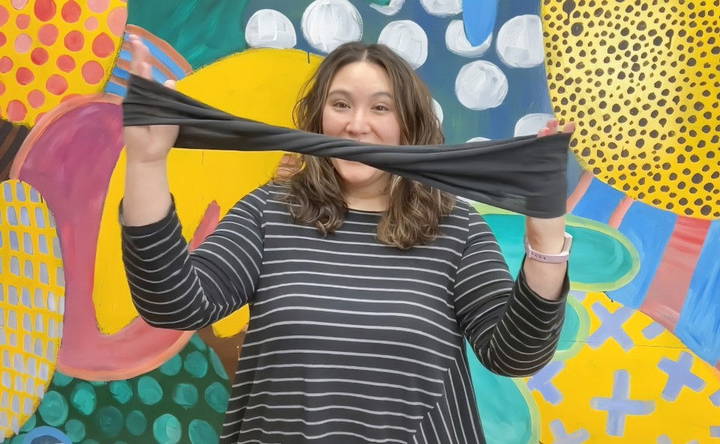
Customize Your Headband (Optional)
If you want to go beyond the basic headband, this is where you can get creative. You can:
- Paint or Dye It: Use fabric paint or dye to give your headband a new color or add a pattern. You can even experiment with tie-dye techniques to achieve a trendy, colorful look.
- Combine Multiple Strips: Cut multiple strips from different t-shirts and braid or twist them together for a multi-colored or textured effect.
- Add Embellishments: Sew on beads, buttons, or patches to make your headband stand out even more.
Creative Variations on the DIY T-Shirt Headband
Once you've mastered the basic t-shirt headband, you can start experimenting with different variations. Here are some ideas to inspire your creativity:
- Braided T-Shirt Headband: If you want to elevate your headband game, try a braided design. To make a braided t-shirt headband, you'll need to cut three separate strips from your t-shirt. Braid the three strips together, then tie or sew the ends to secure the braid. This makes a more intricate and textured look while still being super comfortable.
- Double or Triple Twist Headband: For a more substantial look, you can twist two or even three strips together before folding the headband. This adds more volume and gives the appearance of a thicker, more intricate design. Experiment with mixing strips from different t-shirt colors to make the twists more dynamic.
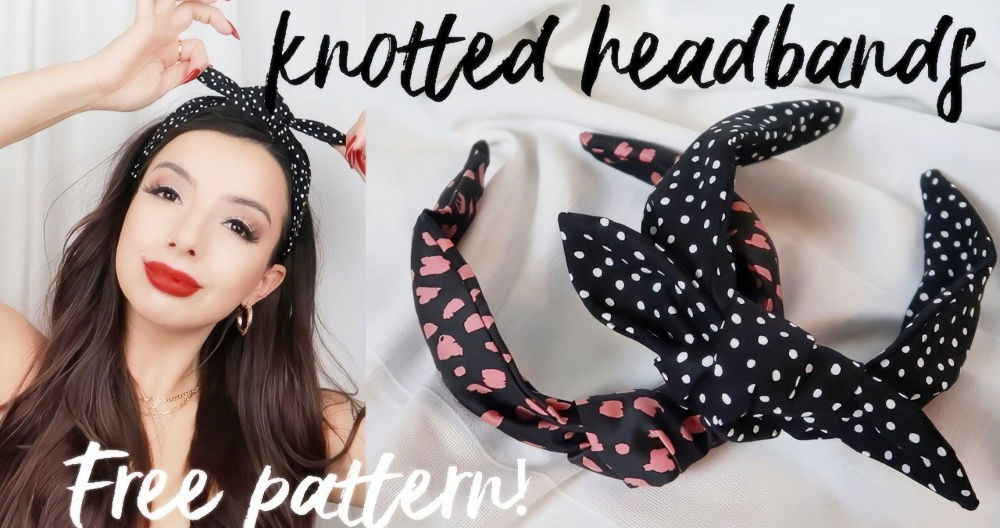
- Knotted T-Shirt Headband: Instead of just twisting the strip, you can tie it in a knot at the front. Simply cut a wide strip, fold it, and tie a knot in the middle before wearing it. This adds a cool, bohemian vibe and a little extra texture.
- T-Shirt Turban-Style Headband: For a turban-style headband, cut a wider strip of t-shirt (around 5 inches). Twist the strip, fold it in half, and cross the ends over each other to make the turban effect. This headband style is not only practical but also makes a bold fashion statement.
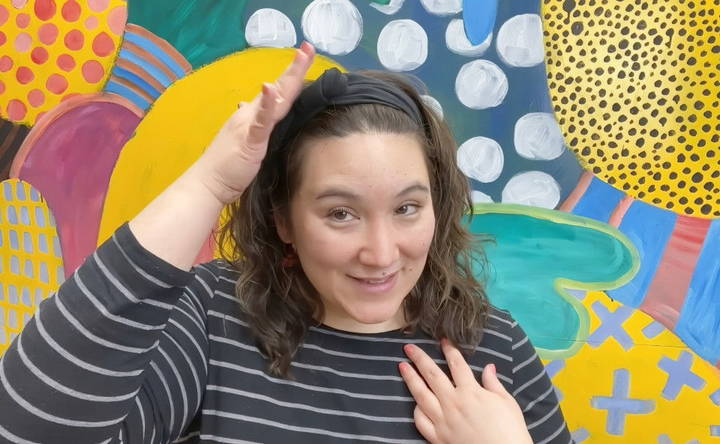
Additional Tips and Tricks
- Stretch Matters: T-shirts with a bit of stretch make for the best headbands because they'll stay in place better on your head. Look for cotton with some elastane or spandex.
- Upcycle T-Shirts of Different Fabrics: While cotton t-shirts are ideal, don't be afraid to experiment with different materials like jersey, polyester, or blends. They'll give your headbands a unique texture and look.
- Mix and Match Colors: If you have several old t-shirts you're no longer wearing, cut strips from each and mix them together to make vibrant, multi-colored headbands.
- Make a Matching Set: If you're feeling extra crafty, use the remaining fabric from your t-shirt to make a matching set of accessories, such as scrunchies, wristbands, or even a casual choker.
Benefits of T-Shirt Headbands
You might be wondering why t-shirt headbands are so popular. Here's why they've become a go-to accessory for DIY enthusiasts:
- Comfort: The soft, stretchy fabric of t-shirts makes these headbands incredibly comfortable to wear, even for extended periods.
- Eco-Friendly: Upcycling old t-shirts into new accessories reduces waste and helps you make the most of what you already own.
- Unique and Customizable: No two headbands are alike, especially if you choose to embellish them or use different colored shirts.
- Quick and Easy: With just a pair of scissors, you can have a brand-new headband in under a minute, making this an ideal last-minute accessory.
- Great for All Ages: Whether you're making headbands for kids, teens, or adults, the design can be adjusted for any age group.
Conclusion
Making your own t-shirt headbands is not only a fun and easy DIY project, but it's also a fantastic way to recycle old clothing and make something uniquely yours. In just a few simple steps, you can turn a t-shirt into a stylish, comfortable headband that suits your personal style.
Whether you stick to the basic version or explore creative variations like braids, knots, or embellishments, this project offers endless possibilities. So, grab those old t-shirts, some scissors, and start making your very own headbands today!
This simple craft is a great way to reduce waste while also adding a fresh, personal touch to your wardrobe. Plus, with the variety of styles and customization options available, you'll never run out of ways to express your creativity.
FAQs About DIY T-Shirt Headbands
Discover answers to common questions about DIY t-shirt headbands. Learn how to make stylish and eco-friendly accessories with ease.
A non-stretchy t-shirt might not hold its shape as well or fit snugly on your head. Opt for t-shirts made of cotton or jersey with some stretch, which will give your headband elasticity and comfort.
Yes! Regular scissors work fine, but make sure they are sharp enough to cut through the fabric smoothly. Dull scissors can create jagged edges, making your headband less neat.
Twist the fabric tightly and evenly before folding the strip in half. This will ensure the twist is secure and sits nicely at the front when you wear the headband.
Yes, you can wash it like you would any t-shirt. Machine wash it on a gentle cycle or hand wash it to avoid stretching or damaging the fabric, especially if you've added embellishments.
Absolutely! Using t-shirts with patterns, graphics, or logos can add a unique flair to your headband. Just make sure the design is visible when the headband is twisted and folded.
If your headband feels too loose, try cutting a narrower strip or using a smaller t-shirt. Alternatively, tie a small knot at the back to adjust the fit more securely.
You can customize your headband by painting, dyeing, or adding embellishments like buttons or beads. You can also braid several t-shirt strips together for a different texture.
Yes, you can make headbands from kids' t-shirts for smaller head sizes or to create thinner bands. You might need to adjust the width of the strip depending on the size of the t-shirt and head.
Making a basic t-shirt headband takes less than a minute, especially if you have scissors ready. Adding customizations like braids or embellishments may take a bit longer.
Yes! You can cut strips from different t-shirts and braid or twist them together to make a colorful and layered headband. This is a great way to use up multiple old shirts.


