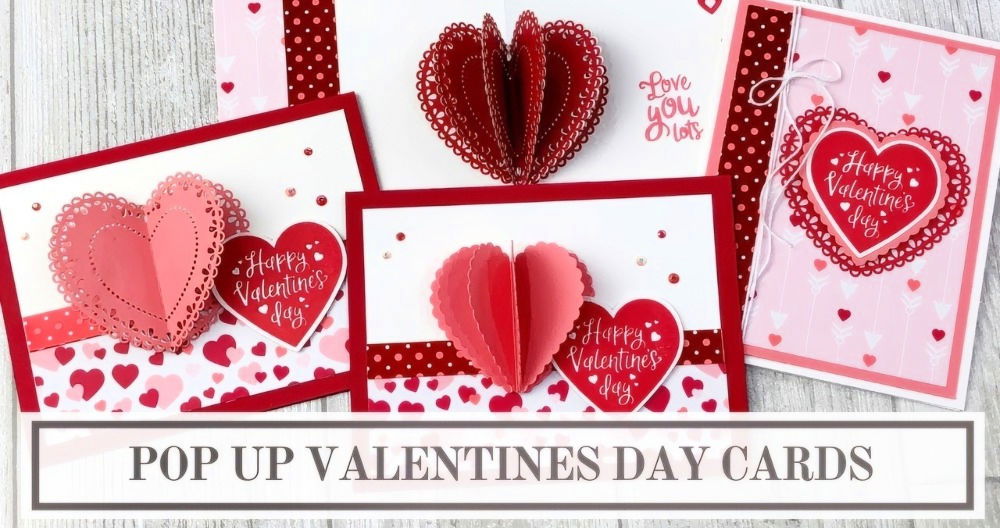
A pop-up heart card is a delightful craft that combines creativity with simplicity. Whether it's for Mother's Day, Valentine's Day, or just to show someone you care, a handmade card speaks volumes. This step-by-step guide will take you through making a DIY pop-up heart card that is not only easy to make but also impressive to gift. In this article, you will learn the materials needed, the process of crafting, and tips to personalize your card, all in an easy-to-follow format.
Materials You'll Need
Before you begin, it's important to gather all the necessary materials. For this DIY project, you'll need:
- Cardstock or colored paper: This will be the base of your card. Choose any color that complements the hearts or the occasion.
- Two sheets of paper: These can be in the same color or contrasting colors. One sheet will be used for cutting out the hearts.
- Scissors: A sharp pair of scissors is essential for cutting the heart shapes.
- Glue or double-sided tape: You'll need adhesive to attach the hearts inside the card.
- Pencil: To sketch out the heart shapes.
- Ruler: For measuring and making clean folds.
- Decorative elements (optional): You can use glitter, stickers, markers, or washi tape to personalize the card further.
Now that you have everything ready, let's start with the process of making this heartwarming card.
Step by Step Instructions
Learn how to make a pop-up heart card with our easy step-by-step instructions, including tips for personalization and troubleshooting. Perfect for any occasion!
Step 1: Preparing the Card Base
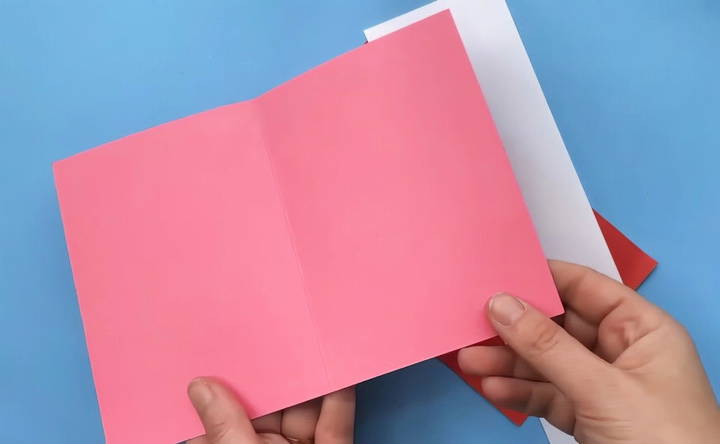
The card base will hold the pop-up hearts inside, so choose a sturdy piece of cardstock or colored paper to ensure durability.
- Fold the cardstock in half: This will serve as the outer layer of your card. Make sure the fold is clean by using a ruler to smooth it down. The folded card should resemble a booklet.
- Size adjustment: If you want to make a smaller or larger card, cut the cardstock to your preferred size. A standard card size is about 5 x 7 inches, but feel free to customize it.
This outer layer is the canvas for your pop-up creation. Once folded, you'll be working on the inner pop-up design next.
Step 2: Making the Heart Chains
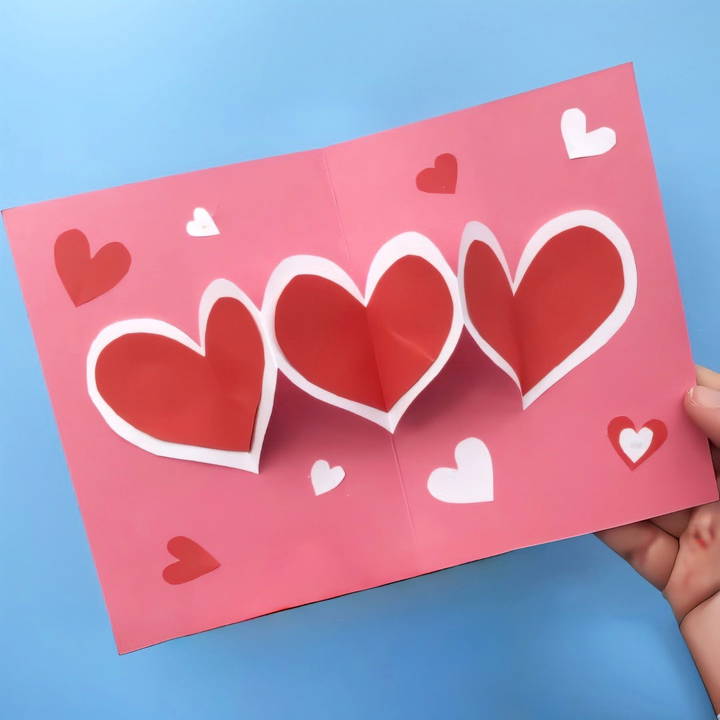
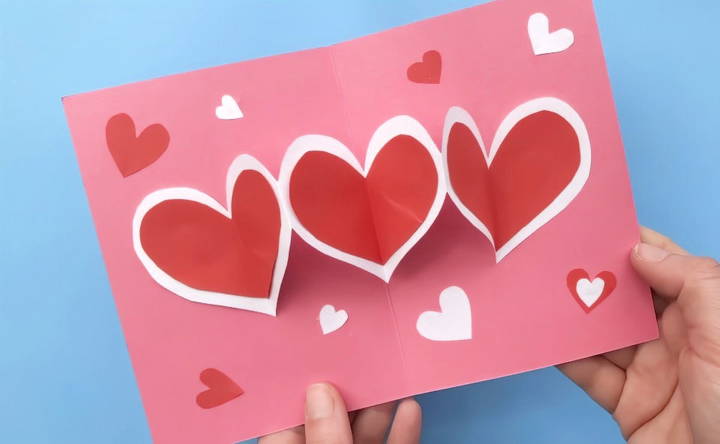
The pop-up element of this card comes from folding paper and cutting it into connected heart shapes. This is similar to how paper chains are made, but instead of linking the hearts together, they pop up when the card is opened.
- Fold a piece of paper accordion-style: Take one of your sheets of paper and fold it lengthwise into six panels. Each panel should be around 3 to 4 centimeters wide. The width can vary based on your personal preference.
Pro Tip: Make sure the folds are even by using a ruler to measure. This ensures your hearts line up perfectly.
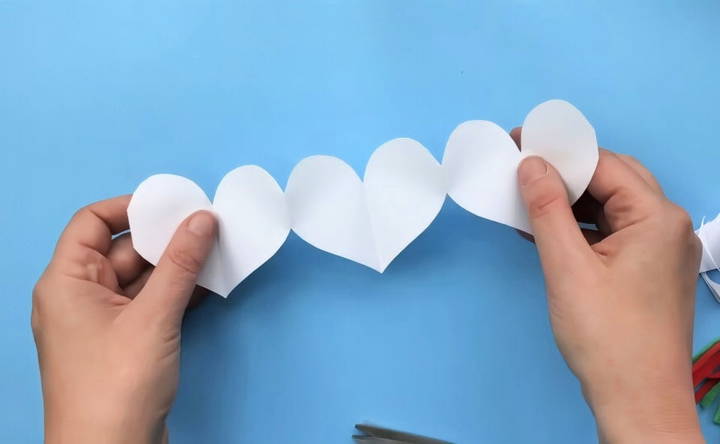
- Sketch the heart shape: Draw a heart shape on the top panel of your folded paper, ensuring that the edges of the heart touch the sides of the paper. This is crucial because when you cut out the hearts, they need to remain attached at the sides to form a continuous chain.
If you're not confident in freehand drawing hearts, consider printing out a stencil or practicing on scrap paper until you're comfortable.
- Cut out the hearts: Keeping the paper folded, carefully cut around your heart shape. Avoid cutting the sides that connect each heart to the next.
- Unfold the paper: You should now have a chain of hearts that are connected, similar to paper dolls. This heart chain is the main pop-up feature of your card.
Step 3: Adding Decorative Hearts
To give your card more depth and beauty, adding layers of smaller hearts inside the main pop-up is a wonderful touch.
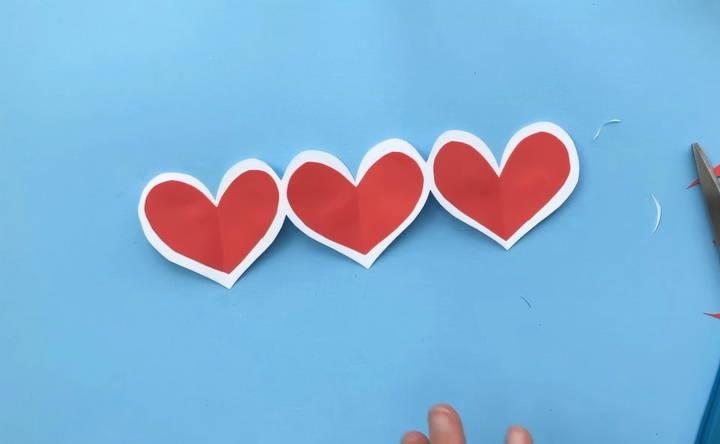
- Use the heart chain as a stencil: Take the heart chain you just made and trace the heart shape onto another sheet of paper. This time, cut inside the lines, so the new hearts are slightly smaller than the original ones. This makes a layered effect when you glue them inside the bigger hearts.
- Glue the smaller hearts onto the larger ones: Position the smaller hearts in the center of the larger hearts and glue them down. The layered hearts add dimension and a pop of color to your card.
- Additional decorations: If desired, cut out more hearts of varying sizes to decorate the rest of your card. You can also add glitter, stickers, or write a heartfelt message on the hearts.
Step 4: Assembling the Pop-Up Card
Now it's time to put everything together. This is where the card comes to life as the hearts pop up when the card is opened.
- Position the heart chain in the card: Open the card base that you prepared earlier. Position the heart chain so that it pops up when the card is opened. Make sure to test this by closing and opening the card before gluing anything down.
- Glue the hearts in place: Once you're happy with the positioning, apply glue to both ends of the heart chain. Attach the glued ends to the inner fold of the card, ensuring the chain is centered. Press the glued sections down firmly so that they adhere well.
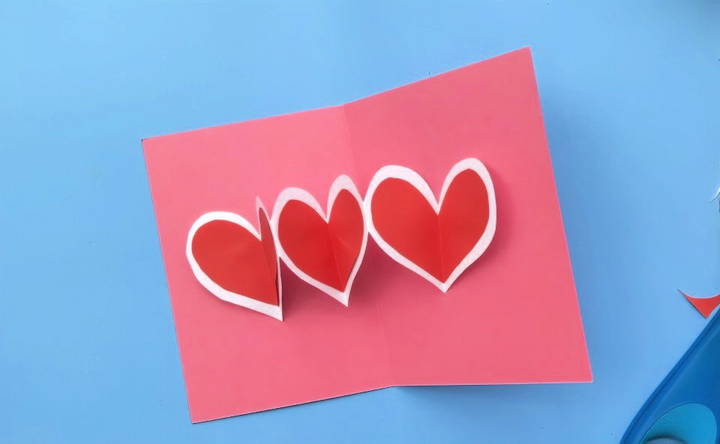
Pro Tip: Before the glue dries completely, close the card to ensure the hearts fold properly inside without bending or creasing in the wrong places.
Step 5: Final Touches and Personalization
At this point, your pop-up heart card is functional and looks beautiful. However, adding some final personal touches will make it even more special.
- Decorate the front of the card: The front of the card is a blank canvas waiting for your creativity. You can cut out additional heart shapes or write a personal message such as "Happy Valentine's Day" or "I Love You."
- Write a message inside: After all, this is a card! Use the blank spaces around the pop-up hearts to write a heartfelt message. You can also use markers to draw patterns or borders around the hearts for extra decoration.
- Add any final decorations: Feel free to add glitter, ribbons, or other embellishments to make the card truly unique.
Troubleshooting and Tips
Even though this craft is simple, here are a few troubleshooting tips to ensure your pop-up card turns out perfectly:
- Hearts don't fold neatly: If the hearts are not folding properly, check that they are evenly spaced and aligned. You can also adjust the folds of the accordion paper to ensure everything lines up.
- Card won't close: This might happen if the hearts are too big or positioned incorrectly. Reposition the heart chain slightly lower inside the card, or trim the edges of the hearts if they are too large.
- Glue isn't holding: Use strong glue or double-sided tape for better adhesion. If the paper is too thick, a glue stick may not be sufficient.
Personalizing Your Card for Any Occasion
The beauty of this DIY pop-up heart card is its versatility. While we've focused on using it for Mother's Day or Valentine's Day, this design can be adapted for many occasions. Here are some ideas to inspire you:
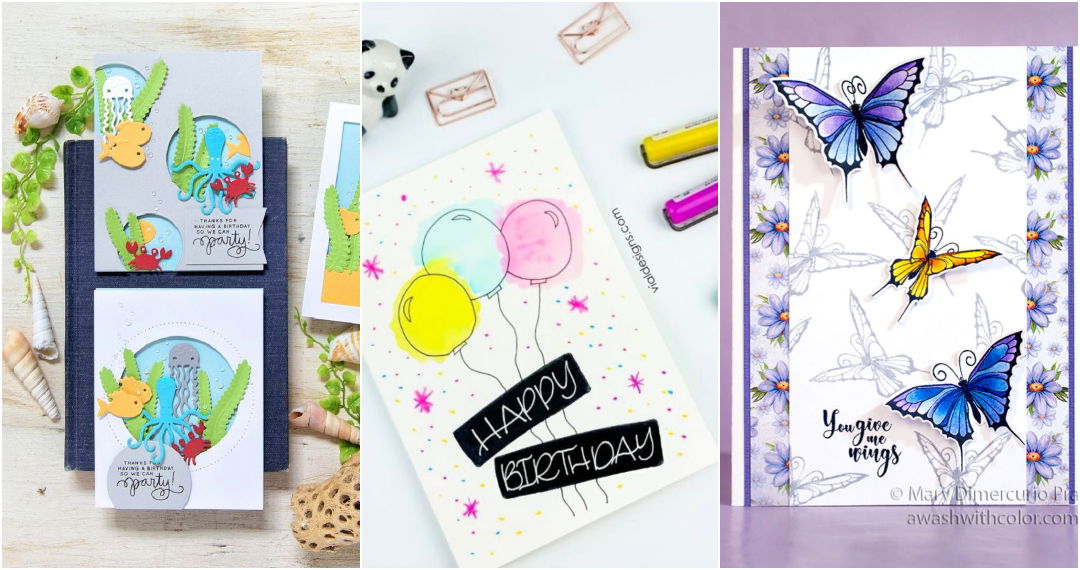
- Birthday card: Replace the hearts with stars, balloons, or flowers to fit the occasion.
- Anniversary card: Use romantic colors like red, pink, or gold, and include a personal message on each heart to make it even more meaningful.
- Just because card: Sometimes, no special occasion is needed. This card is a thoughtful way to let someone know you're thinking of them.
FAQs About How to Make a Pop up Heart Card
Discover simple steps and answer FAQs about how to make a pop-up heart card. Perfect for making unique, heartfelt cards easily!
Yes, you can use almost any type of paper, but cardstock or thicker paper is recommended for the card base to make it sturdy. For the hearts, lighter-weight paper works best to ensure the pop-up folds smoothly.
If drawing hearts is challenging, you can print out a heart stencil or find a simple heart template online to trace. Practicing a few times on scrap paper can also help before committing to your final design.
Make sure your accordion folds are straight and even. Position the hearts so they line up with the fold of the card. Always test how the hearts fold by closing the card before gluing everything in place.
To avoid wrinkles, use a thin layer of glue or opt for double-sided tape. Be sure to press the paper flat after applying the adhesive and allow it to dry thoroughly before closing the card.
Absolutely! Swap out the hearts for stars, flowers, or any other shape that fits the occasion. You can also personalize the color scheme and add messages relevant to birthdays, anniversaries, or any celebration.
This happens if the hearts are too large or positioned incorrectly. Try trimming the edges of the hearts or repositioning the pop-up hearts lower inside the card. Ensuring everything is glued evenly also helps.
Yes, double-sided tape works well as a mess-free alternative to glue. Glue sticks can also be used for lighter paper, but make sure the bond is strong enough to hold the pop-up elements.
Certainly! You can add additional pop-up layers by folding more paper strips and attaching smaller shapes. Just be mindful of the space in the card to ensure it still closes properly.
You can make your card more unique by adding decorations like glitter, stickers, or hand-drawn elements. You can also layer different sizes of hearts or use patterned paper for a more dynamic design.
Conclusion
Making a DIY pop-up heart card is not only fun but also a meaningful way to show someone you care. With just a few materials and some creativity, you can make a personalized card that will be cherished. By following the steps outlined above, you'll have a beautifully crafted card in no time. Whether for Valentine's Day, Mother's Day, or any special occasion, this pop-up heart card is sure to bring a smile to anyone's face.
Now that you know how easy and enjoyable it is to make this card, go ahead and make your own! Don't forget to personalize it with your own unique touches, and most importantly, have fun while crafting!


