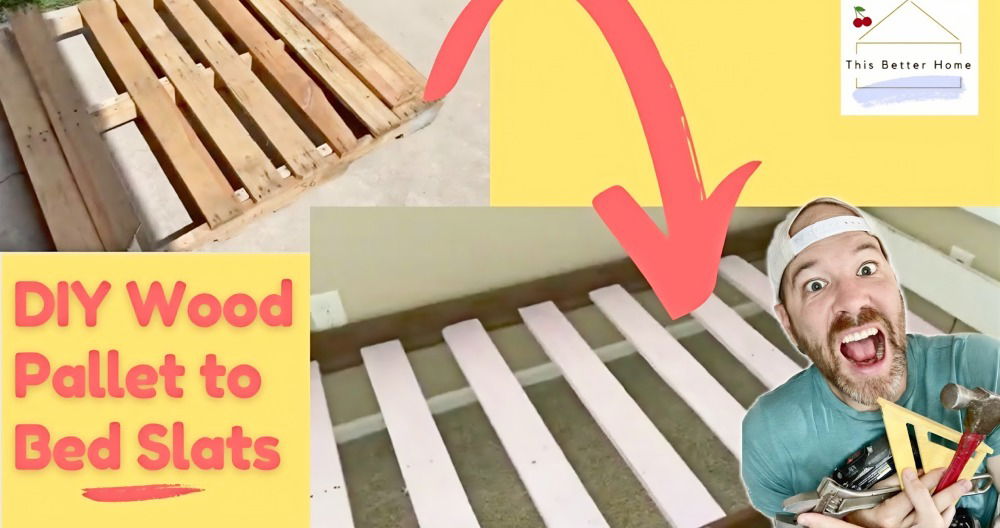
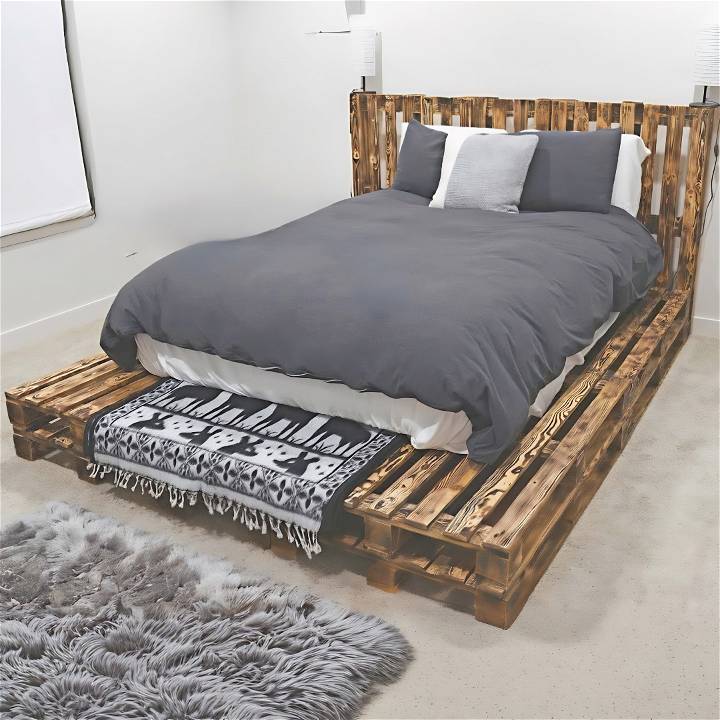
Building functional and stylish furniture by upcycling materials is a hobby of mine that recently led me to build a pallet bed with hidden storage. It was a rewarding project, blending creativity with practicality. In this guide, I'll walk you through the process, sharing tips and insights that I picked up along the way.
Gathering Your Materials
Get ready to build your own DIY pallet bed with our step-by-step guide on gathering materials. Create your dream bedroom on a budget!
- Pallet Wood: Choose clean, chemical-free pallets to avoid unwanted odors in your bedroom. You'll need roughly 12 pallets depending on the size of your bed frame. This upcycled wood serves as the main structure of the bed.
- Plywood Sheets: Used for the hidden storage base and lid. Plywood offers a sturdy surface for storage and sleeping.
- Rotary Sander and Sandpaper (60 & 120 grit): Essential for smoothing out rough wood and prepping it for burning or sealing.
- Blowtorch: For burning the wood, enhancing its texture and color, and giving it a rustic look.
- Polyurethane Sealant: Protects the wood, keeping it looking good and making it easier to clean.
- Screws and Metal Brackets: For assembling and securing the bed frame and storage compartment.
- Power Drill: For assembling the frame with screws.
- Lifting Mechanism: Pistons that facilitate the easy lifting of the storage lid.
- Measure Tape, Pencil, Safety Gear: Basic tools for measuring, marking, and ensuring safety during the project.
Preparing the Pallet Wood
Learn how to prepare pallet wood for your DIY pallet bed project. Discover tips and techniques to get your pallets ready for crafting a beautiful and functional bed.
- Laying Out the Design: Start by arranging your pallet wood to get an idea of the final look. Aim for an even layout to minimize gaps. Remember, some cutting will be necessary, especially for the middle section where the storage will be.
- Cutting and Sanding: After the layout, cut the pallets as needed. Sanding every piece is crucial for a smooth finish that's pleasant to touch. Start with 60-grit sandpaper for rough sanding, followed by 120-grit for a finer finish.
- Burning for Beauty: Using a blowtorch, carefully burn the wood to bring out its grain, enhancing its rustic beauty. It's a step that requires attention to detail and safety precautions.
- Sealing for Durability: Apply a matte-finish polyurethane sealant to protect the wood. It not only seals the pores from dirt but also makes cleaning easier.
Constructing the Frame and Storage
- Building the Base: With the pallets prepared, start constructing the base. Remember, the hidden storage requires a hollow center, so plan the placement of each pallet accordingly. The secret to a sturdy base is ensuring that each pallet is well-connected, using screws and metal brackets.
- Building the Storage Compartment: Once the base is ready, focus on constructing the compartment. Two layers of plywood, cut to fit inside the bed's dimensions, will form the bottom and lid of the storage. Metal brackets and screws can secure the plywood to the pallets, building a seamless lift mechanism.
- Installing the Lift Mechanism: Perhaps the most challenging part, installing the lift mechanism requires precision. It's crucial for the storage lid to align perfectly with the rest of the bed for a flush finish. This step took a bit of trial and error but was key in achieving a functional storage solution.
Final Touches
The Satisfaction of Completion
After securing all the screws, applying the final coat of sealant, and ensuring the lifting mechanism worked smoothly, I was able to step back and appreciate the fruits of my labor. The bed was not only a stylish addition to my room but also a practical solution to my storage needs.
Lessons Learned
Building this bed taught me a lot, not just about woodworking but also about problem-solving and creativity. It highlighted the importance of planning, patience, and precision.
Tips for Beginners
- Take Your Time: Don't rush the process. Enjoy learning and adapting as you go.
- Safety First: Always wear protective gear, especially when working with power tools and fire.
- Customize: Feel free to tweak the design to suit your needs and preferences.
Choosing the Right Pallets for Your DIY Pallet Bed
When embarking on your DIY pallet bed project, selecting the right pallets is crucial. Let’s dive into the essentials to help you make informed decisions:
1. Understanding Pallet Construction Materials
Pallets come in various wood types, but they generally fall into two categories:
- Hardwood: Woods like mahogany, oak, and walnut. While historically used for furniture, they’re less common for pallets.
- Softwood: Pine, Douglas fir, and spruce are widely used. Pine, in particular, dominates pallet construction due to its availability and versatility.
2. Consider the Country of Origin
Pallet composition often depends on where they’re made. Different countries use specific wood types. For instance:
- European Pallets (Euro Pallets): Typically made from softwoods like pine or spruce.
- UK Pallets: Also commonly softwood-based.
3. Size Matters: Pallet Dimensions
Choosing the right size pallet directly impacts your project:
- Standard Pallet Sizes: Euro pallets (1200mm x 800mm) and UK pallets (1200mm x 1000mm) are common. Opt for the size that fits your bed frame design.
- Custom Sizes: If you’re feeling adventurous, consider custom-sized pallets. Just ensure they align with your bed dimensions.
4. Durability and Strength
Evaluate pallet strength based on your bed’s weight requirements:
- Load Capacity: Consider the weight of your mattress, bedding, and occupants. Sturdier pallets handle heavier loads.
- Construction: Look for well-constructed pallets with solid joints and minimal damage.
5. Heat-Treated Pallets (ISPM 15)
If your pallet bed will travel internationally, pay attention to heat treatment:
- ISPM 15 Compliance: Some countries require pallets to undergo heat treatment to prevent the spread of pests. Look for the ISPM 15 stamp.
6. New vs. Used Pallets
Decide whether to use new or recycled pallets:
- New Pallets: Pristine condition, but costlier.
- Used Pallets: Eco-friendly and budget-friendly. Inspect for damage and cleanliness.
Customization Ideas for Your Pallet Bed Frame
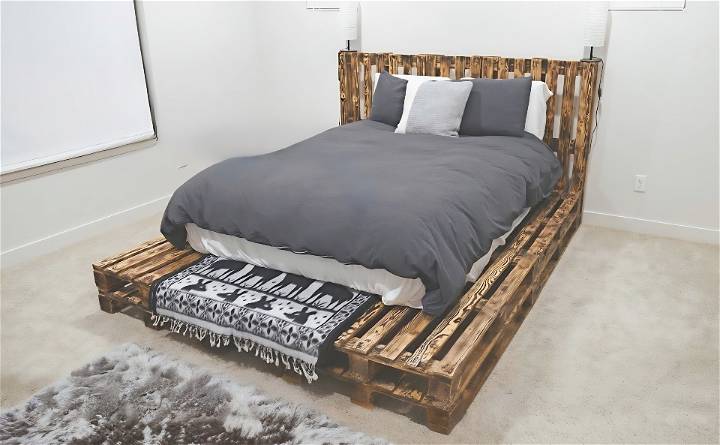
When it comes to building a unique and personalized pallet bed frame, the possibilities are endless! Here are some delightful customization ideas to elevate your DIY project:
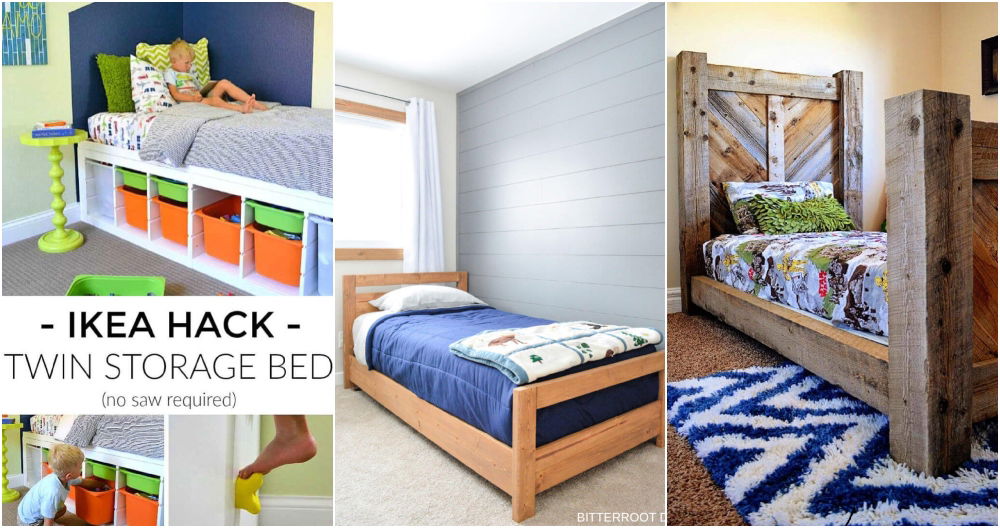
Rustic Headboard Designs
Adding a headboard to your pallet bed not only enhances its aesthetics but also provides extra comfort. Consider these rustic headboard designs:
- Pallet Plank Headboard: Arrange pallet planks vertically or horizontally to build a charming headboard. Sand the wood for a smooth finish.
- Herringbone Pattern: Arrange pallet pieces in a herringbone pattern for a trendy and eye-catching headboard.
Stain or Paint Your Pallets
Transform the natural wood tones of your pallets by staining or painting them. Here's how:
- Staining: Choose a wood stain that complements your room decor. Apply it evenly using a brush or cloth. Let it dry thoroughly.
- Painting: Opt for eco-friendly paint in your favorite color. Build an ombre effect or go for a distressed look by sanding the edges after painting.
Add Storage Drawers
Maximize functionality by incorporating storage drawers into your pallet bed frame:
- Under-Bed Drawers: Attach wooden crates or custom-built drawers beneath the bed. These are perfect for storing extra bedding, shoes, or seasonal clothing.
Install LED Lighting
Build a cozy ambiance with subtle LED lighting:
- Underglow Lights: Attach LED strips along the underside of the bed frame. They'll cast a warm glow and make your bed feel inviting.
Personalize with Photos or Artwork
Make your bed frame truly yours by adding personal touches:
- Photo Display: Attach photo frames directly to the pallets. Showcase your favorite memories.
- Art Panels: Paint or decoupage art panels onto the pallets. Express your creativity!
Incorporate Greenery
Bring nature indoors by integrating greenery into your bed frame:
- Vertical Planters: Attach small planter boxes to the sides of the pallets. Plant succulents, herbs, or trailing vines.
- Hanging Planters: Suspend planters from the headboard or frame corners. Ferns or pothos vines work beautifully.
Cozy Textiles
Layer your pallet bed with cozy textiles for comfort and style:
- Chunky Knit Blankets: Drape a chunky knit blanket over the foot of the bed.
- Bohemian Throws: Add colorful boho-style throws for a relaxed vibe.
Remember, the beauty of a pallet bed lies in its imperfections and uniqueness. Feel free to experiment, adapt, and make it your own.
FAQs About DIY Pallet Bed
Discover everything you need to know about DIY Pallet Beds with our FAQs. Get expert guidance on building, designing, and styling your own pallet bed.
1. What Are Pallet Beds, and Why Choose Them?
Pallet beds are bed frames made from wooden pallets. They've gained popularity due to their rustic charm, affordability, and eco-friendliness. Here's why you might consider a pallet bed:
- Cost-Effective: Pallets are often free or inexpensive.
- Sustainable: Repurposing pallets reduces waste.
- Customizable: You can personalize your bed frame.
2. How Do I Source Pallets?
Finding pallets is easier than you think:
- Local Businesses: Check with warehouses, grocery stores, or construction sites.
- Online Platforms: Look on websites like Craigslist or Freecycle.
- Safety Note: Ensure pallets are clean, untreated, and safe to use.
3. How Do I Prepare Pallets for Use?
Follow these steps:
- Inspect: Check for damage, splinters, or nails.
- Clean: Remove dirt and debris.
- Sand: Smooth the wood surface.
- Disassemble: Take apart pallets if needed.
4. What Assembly Steps Should I Follow?
Here's a simplified guide:
- Base Frame: Arrange pallets side by side to build the base.
- Headboard: Attach additional pallets vertically for the headboard.
- Secure: Use screws or nails to join pallets securely.
- Finishing Touches: Sand any rough spots and apply a protective finish.
5. Can I Add Storage to My Pallet Bed?
Absolutely! Consider these options:
- Under-Bed Drawers: Attach wooden crates or build custom drawers.
- Shelves: Add small shelves to the sides for books or decor.
- Floating Nightstands: Attach pallet pieces as floating nightstands.
Conclusion
This project was a great reminder of how satisfying DIY can be. Not only did I end up with a unique piece of furniture, but I also deepened my understanding of craftsmanship. For anyone looking to tackle their pallet bed project, remember to enjoy the journey, learn from the challenges, and relish in the accomplishment of building something with your own hands.
Whether you're a seasoned DIY enthusiast or a beginner eager to learn, this pallet bed project with hidden storage is a fantastic venture that offers both style and functionality.


