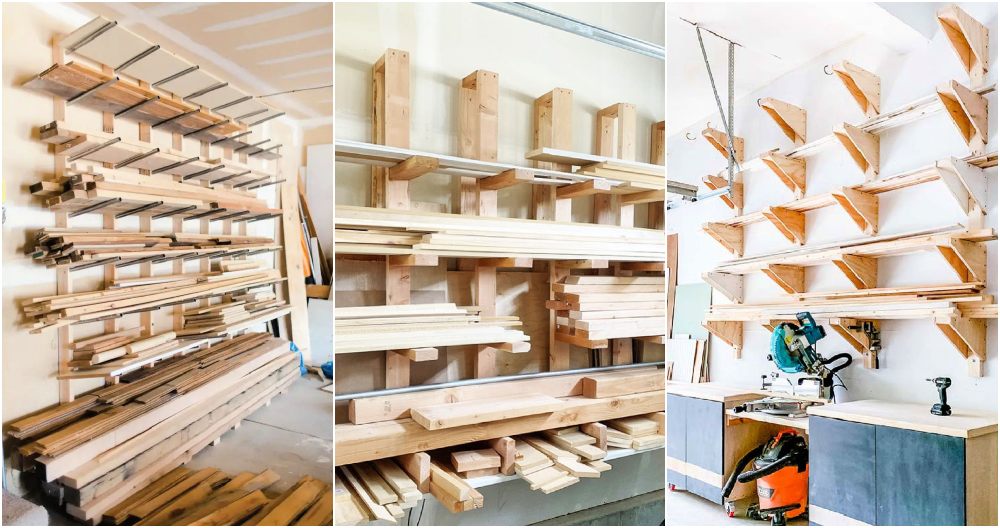
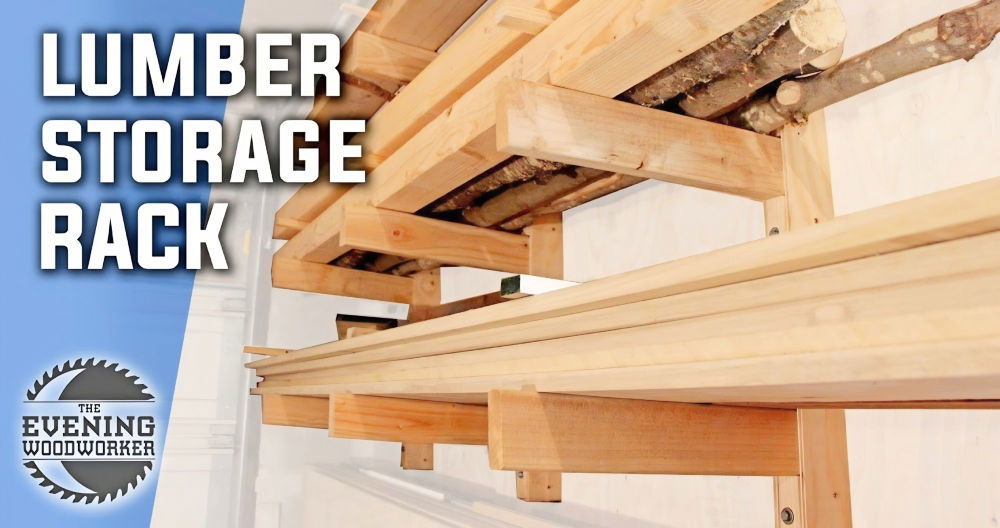
Building a DIY lumber rack is essential for anyone with a passion for woodworking or any DIY enthusiast with a growing collection of lumber. This step-by-step guide will show you how to build a lumber rack that is cheap, easy, customizable, and sturdy enough to meet your needs, without requiring advanced carpentry skills. Whether you're organizing a small workshop or a larger space, this solution will allow you to keep your lumber neatly stored and easily accessible. The focus here is on using affordable materials, such as ¾-inch EMT conduit and 2x4s, and adding a few stylish touches if desired.
Why Build a Lumber Rack?
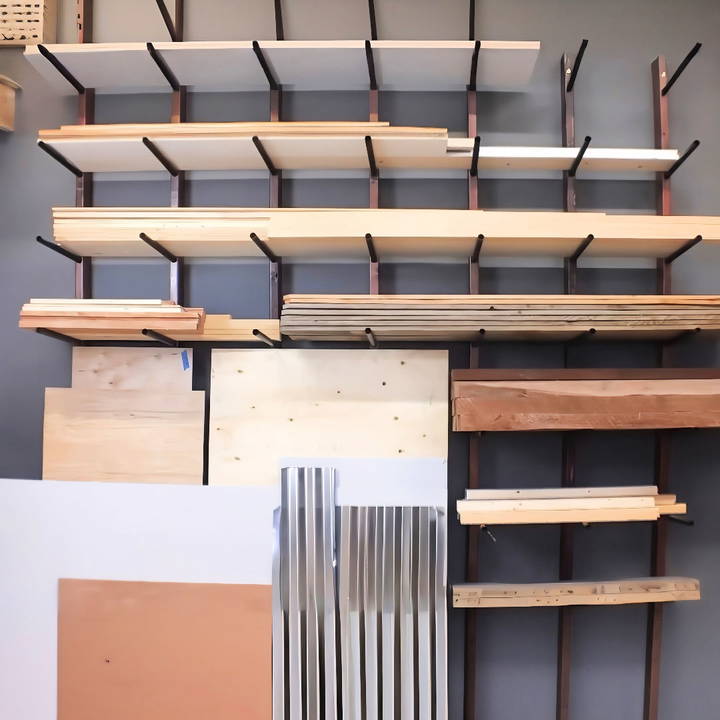
Lumber is bulky and challenging to store without proper organization. Stacking wood horizontally along the floor takes up valuable space and makes it harder to access. By going vertical with a lumber rack, you free up floor space, make it easier to grab the pieces you need, and keep your wood in better condition by preventing warping from improper stacking.
Materials and Tools
Before diving into the build, here is a list of the necessary materials and tools. The focus here is on affordability and ease of access, with most materials readily available at your local hardware store.
Materials Needed:
- Seven 8-foot 2x4s
- ¾-inch EMT conduit (electrical metallic tubing), about 10 feet long
- Quarter-inch by six-inch lag screws (preferably with Torx heads)
- Paint and stain (optional, for aesthetic purposes)
- Polyurethane (optional)
- 5/16-inch drill bit for lag screws
- 1-inch Forstner bit (or spade bit) for conduit holes
Tools Needed:
- Reciprocating saw (for cutting the EMT conduit)
- Drill press or handheld drill
- Clamps (to hold boards in place while drilling)
- Combination square (for accurate layout)
- Stud finder
- Level
- Spray paint (optional)
- Sandpaper or sander (optional)
Step by Step Instructions
Build your own lumber rack with this step-by-step guide! From planning to mounting, follow our DIY instructions and organize your wood efficiently.
Step 1: Plan Your Design
Before cutting any wood or drilling holes, planning is essential. Here's a simple approach to your design:
- Spacing: You'll space your 2x4s 16 inches apart, which will allow you to store lumber that is 8 feet or even 10 feet long without a problem.
- Customization: You can adjust the height and layout depending on your storage needs. This design is highly customizable, and you can change the location and number of storage levels.
Step 2: Prepare Your Wall and Boards
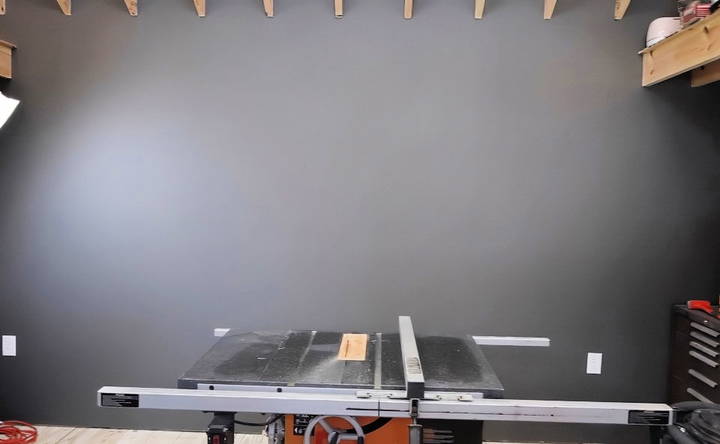
Begin by painting or preparing the wall on which the rack will be mounted. The presenter in this example chose a specific wall color to suit their taste, but this is optional.
Next, take your seven 8-foot 2x4s. If you're a fan of clean, organized work, make sure the ends of the 2x4s are flush. Clamp them together and mark all necessary points simultaneously. This will save time and ensure uniformity.
Step 3: Mark and Drill
You'll need to mark two sets of measurements on your boards: one for the lag screws and one for the conduit pipes. The lag screws will secure the boards to the wall, while the EMT conduit pipes will serve as the rails for holding the lumber.
- Lag screw holes: Mark the locations at 3 inches, 36 inches, 66 inches, and 93 inches along each board.
- EMT conduit holes: Mark these at 6 inches, 20 inches, 34 inches, 48.5 inches, 62 inches, 76 inches, and 90 inches.
Once you've marked the boards, drill the holes for the lag screws using a 5/16-inch drill bit. Afterward, drill the holes for the conduit pipes using a 1-inch Forstner bit or spade bit, tilting your drill press or handheld drill to a 10-degree angle to ensure the pipes tilt upward slightly.
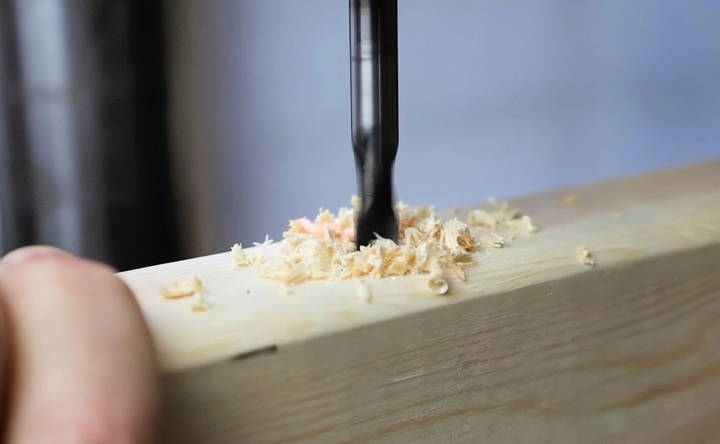
- Important Note: It's crucial to maintain the proper orientation of the boards and ensure the holes are drilled at the correct angles to prevent the pipes from facing the wrong direction.
Step 4: Cut and Prepare the EMT Conduit
Cut the ¾-inch EMT conduit into 17-inch pieces. You should get seven pieces out of each 10-foot length of conduit. Once cut, clean up the edges with a grinder or file to avoid any sharp edges that could cause injury or damage to the wood.
Step 5: Optional - Paint and Stain
While this step is optional, it can elevate the look of your lumber rack. You can choose to stain the 2x4s and paint the EMT conduit rods. The project guide suggests using Rust-Oleum protective enamel for the rods, which can provide a sleek finish. Though not strictly necessary, it adds a stylish touch, especially if your lumber rack will be in a visible part of your workspace.
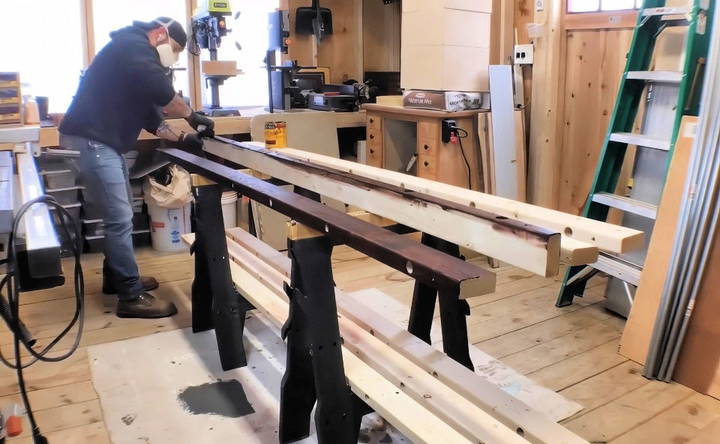
When staining the wood, don't forget to sand down any rough edges and remove any factory markings before applying your stain or polyurethane. This will give the wood a smooth finish, making it both functional and visually appealing.
Step 6: Mount the Rack
The most important part of mounting the rack is to ensure you screw the 2x4s into the studs in your wall. A stud finder will help you locate the studs, and then you can mark the center to ensure a secure mount.
Once you've located the studs and marked them, align the 2x4s with your reference lines. Secure the top and bottom screws first, and then adjust the middle to keep the boards straight.
- Pro Tip: If your boards are bowed, you can bend them into place by securing the top and bottom first, then tightening the middle screws. This method helps ensure a straight and sturdy mount.
Step 7: Insert the EMT Conduit Rails
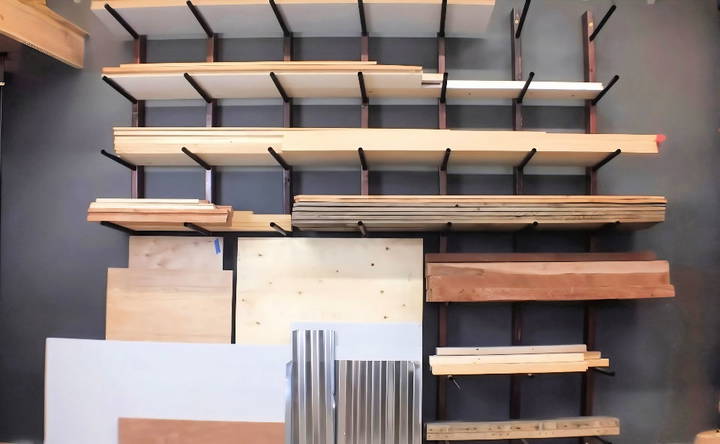
Finally, slide the EMT conduit pipes into the pre-drilled holes. Due to the 10-degree angle of the holes, the pipes will naturally tilt upwards and stay in place without needing additional support. Once the pipes are in, the rack is ready to use.
Cost Breakdown
This DIY lumber rack is not only easy to build, but it's also highly cost-effective:
- Total cost: Approximately $137 (or $123 without paint, stain, or polyurethane).
- Lumber prices: With lumber costs fluctuating, the price may vary. If prices return to normal, the total cost could drop to around $100.
- Alternative: If you don't want to build your own rack, there are pre-made options available online. However, you'll be paying around $57 for much less storage space.
Testing the Strength
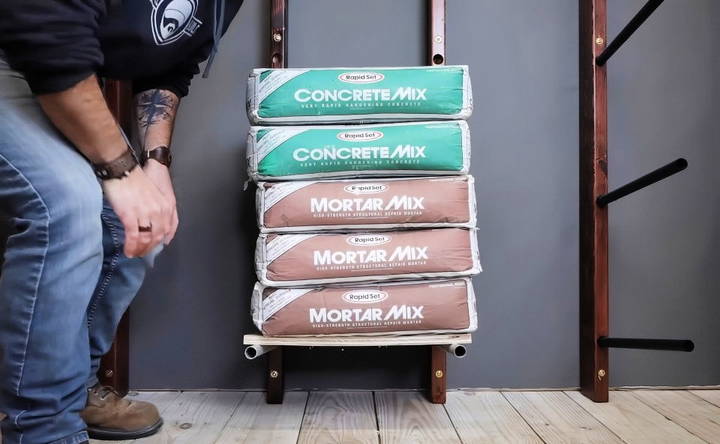
After assembling the lumber rack, a fun strength test is suggested by stacking bags of concrete on the rack. In this guide, the rack held up under substantial weight, only bending slightly after adding a significant amount of weight. While most woodworkers won't need the rack to hold that much, it demonstrates the durability and strength of the design.
Customization Ideas
One of the best aspects of this design is its flexibility. You can:
- Add or remove EMT conduit pipes to build more or fewer levels of storage.
- Adjust the spacing of the pipes for larger or smaller pieces of lumber.
- Increase the number of 2x4s for a longer or more extensive storage area.
Additionally, the height of the bottom shelf was set at 48.5 inches to accommodate 4x8 foot sheets of plywood, ensuring ample storage for large sheet goods under the lumber rack.
Conclusion
Building a DIY lumber rack is an efficient, cost-effective way to organize your lumber collection. With just a few materials and tools, you can build a rack that fits your space and your woodworking needs. This easy-to-build project will keep your workshop tidy and make your woodworking projects more accessible. Whether you're working with a small or large lumber collection, this rack can be customized to suit your needs and help you make the most of your space.
FAQs About DIY Lumber Rack
Discover key FAQs about DIY lumber rack: simple storage solutions, materials needed, and step-by-step guidance for a reliable and efficient lumber organization.
Use a reciprocating saw to cut the ¾-inch EMT conduit into 17-inch sections. After cutting, clean the edges with a grinder or file to avoid sharp edges that can cause injury or damage wood.
Painting is optional. While painting can add a stylish touch, it’s not necessary for functionality. If you choose to paint, wipe the EMT down with denatured alcohol first for better adhesion, and use a primer.
Use quarter-inch by six-inch lag screws, preferably with Torx heads, to ensure a secure fit into wall studs. Avoid using drywall anchors or mollies as they won’t provide sufficient support for the weight.
Yes, some users have successfully used black pipe or even IMC (Intermediate Metal Conduit) for additional strength. However, EMT conduit is cheaper and adequate for most storage needs.
Consider using end caps on the conduit pipes to avoid sharp edges that could cause injury if someone bumps into them. EMT pipe caps are readily available online.
Absolutely. You can adjust the spacing of the 2x4s and the length of the EMT conduit to suit your storage needs. This design is flexible and can be tailored for different shop sizes and lumber types.
You can still use a handheld drill with a spade bit to drill the holes for the EMT conduit. Although the result won't be as clean, it will work fine for this project.
No, staining and polyurethane are purely for aesthetics. The lumber rack will function just as well without these steps. However, adding a finish can improve the appearance of your workshop.
Yes, the design has been tested to hold heavy loads. The angled EMT rails distribute the weight efficiently, and the 2x4 structure is strong enough for substantial lumber storage.


