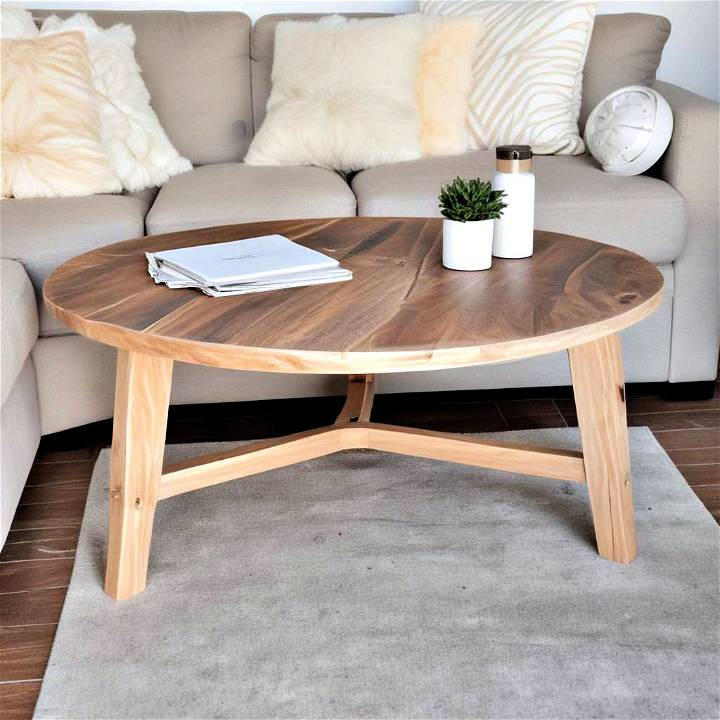
Like many of you, I've always admired the look and feel of handmade furniture. There's something incredibly satisfying about building a piece of furniture from scratch. That's why, when I decided to build a round coffee table for my living room, I knew I had to share the process. This guide is the culmination of that project, infused with my personal experience and practical advice to help you through your own DIY journey.
Materials Needed and Why
1. Miter Saw: Essential for making precise cuts.
2. 1x2 Boards and 1x12 Boards: These form the tabletop and apron.
3. 2x4s: Used for the legs, providing sturdy support.
4. 2x2s: For the stretchers, which reinforce the structure.
5. Pocket Hole Jig: For joining the pieces discreetly.
6. Screws (1 and 1/4 inch, 2 and 1/2 inch): To secure the joints.
7. Wood Glue: Adds extra strength to the joins.
8. Sandpaper (120 grit): For smoothing the surfaces.
9. Stain (Weathered Wood Accelerator in Age Brown): To achieve the desired finish.
10. Tools for Finishing (Wire brush, Angle Grinder): For texturing the wood.
Step by Step Instructions
Learn how to build a custom table step-by-step with easy instructions. From building the tabletop to the finishing touches, this guide has you covered.
Step 1: Making the Tabletop
I started by cutting eight identical pieces of 1x2s using the miter saw to form an octagon. This octagon served as the base underneath the tabletop. I carefully measured and cut the first piece, then used it as a guide to ensure the remaining pieces were identical. Once cut, I joined these pieces with 3/4 inch pocket holes and 1 and 1/4 inch pocket hole screws. A handy tip I learned was to minimize the number of pocket holes on the inner side, to avoid complications when cutting the circle later.
Step 2: Assembling the Top and Apron
I took 1x12 boards and joined them side by side with pocket holes to build the surface of the coffee table. Then, I glued the octagon frame (the apron) to the underside of these boards. It's crucial to be mindful of where you place screws, to avoid hitting them when cutting the table into a circle.
Step 3: Cutting the Circle
Transforming the octagonal shape into a perfect circle was perhaps the most challenging part. I crafted a simple circle jig, as per a video tutorial I found helpful. After removing any excess wood with the jig, I ended up with a perfect round tabletop. Remember, a circle is essentially made up of numerous straight lines joined end to end.
Step 4: Building the Base
The base began with cutting 2x4s at a 10* ° angle for the legs. Ensuring they were parallel from long point to short point was crucial for stability. I then tackled the stretcher pieces cut from 2x2s, which were a bit trickier. These had one end cut at a 10° angle and the opposite at 30°. After drilling pocket holes, I assembled the stretchers and attached them to the legs, building a sturdy base.
Step 5: Assembling the Table
Once the base was ready, I attached it to the underside of the tabletop. I first ensured the legs were perfectly aligned and secured them with glue and screws. It was vital to ensure everything was properly leveled before attaching.
Step 6: Finishing Touches
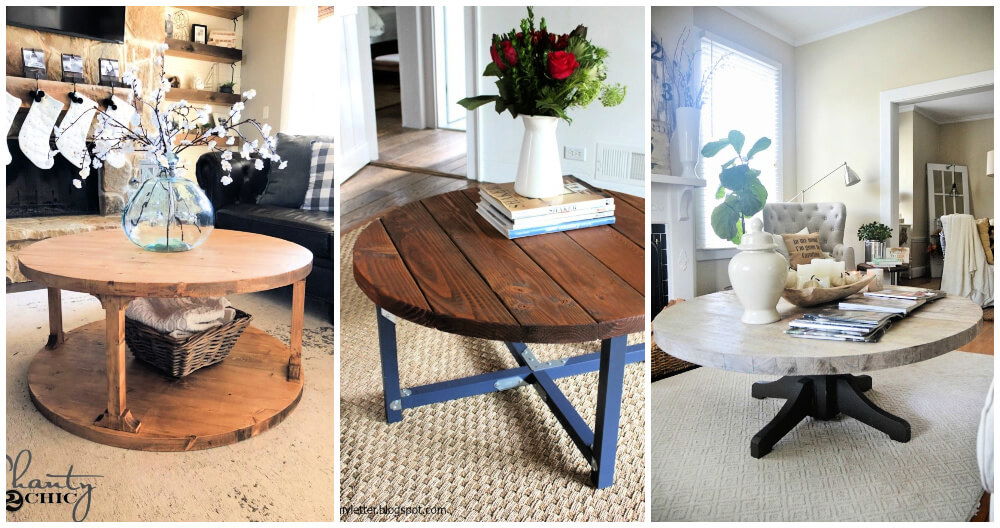
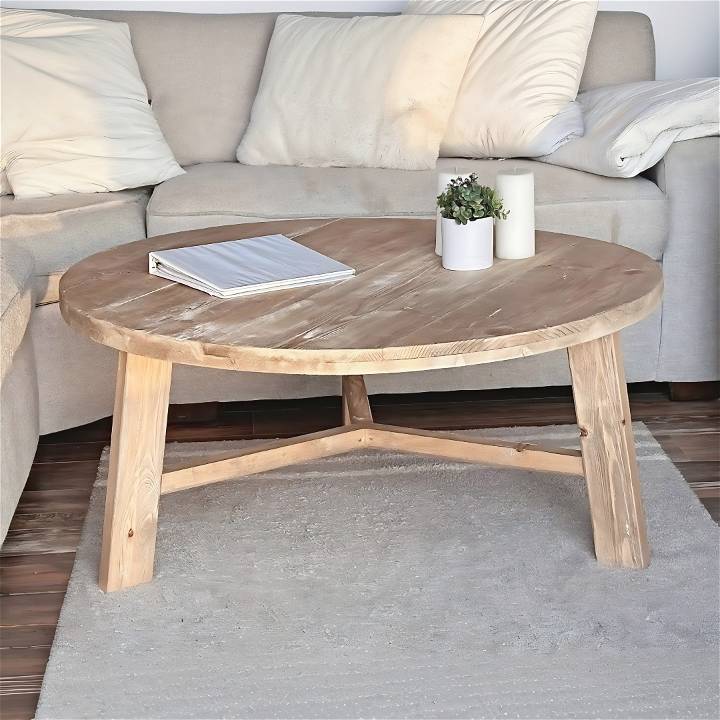
For the finishing, I wanted a textured look. Using a wire brush attached to an angle grinder, I buildd a unique texture on the wood before sanding it down with 120 grit sandpaper. I then applied a diluted mixture of weathered wood accelerator to achieve a beautiful, aged brown color. The final piece was better than I had imagined.
Customization Ideas for Your DIY Round Coffee Table
When it comes to building a unique and personalized coffee table, the possibilities are endless. Here are some creative customization ideas to elevate your DIY round coffee table project:
1. Inlays and Patterns
Enhance the tabletop by incorporating inlays or patterns. Consider using contrasting wood species, metal accents, or even colored resin. Here are a few ideas:
- Geometric Inlays: Build eye-catching geometric designs using different wood veneers or metal strips. Arrange them in intricate patterns like herringbone, chevron, or starbursts.
- Marquetry: Marquetry involves cutting and fitting small pieces of veneer to form decorative motifs. Choose natural wood tones or experiment with stained veneers for a stunning effect.
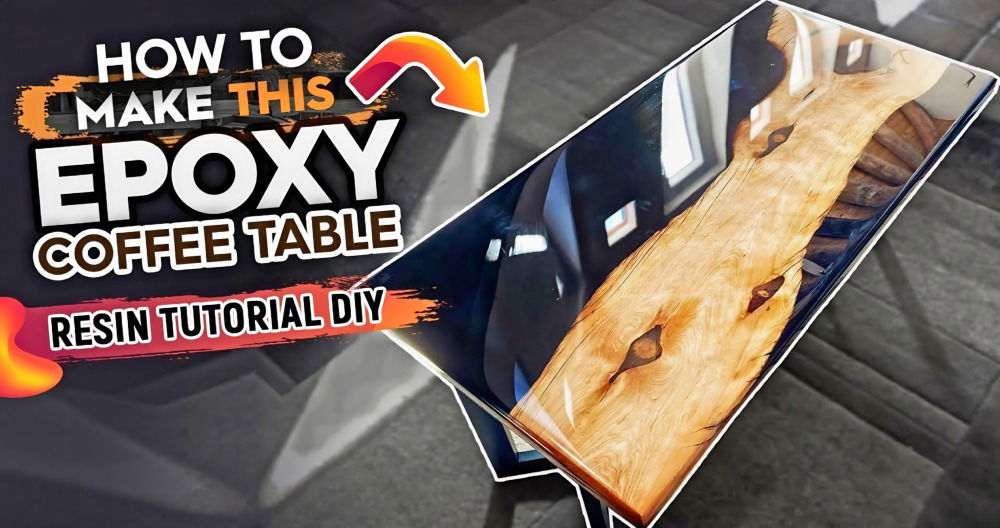
- Epoxy Resin: Pour colored epoxy resin into carved grooves or recesses on the tabletop. The resin can mimic gemstones, ocean waves, or abstract patterns.
2. Stenciled Designs
Stenciling adds charm and character to your coffee table. Use stencils to build beautiful designs directly on the tabletop or the lower shelf. Some ideas include:
- Botanical Stencils: Add delicate floral or leaf patterns for a rustic or farmhouse look.
- Mandala Stencils: Mandalas are intricate circular designs that symbolize balance and harmony. Stencil a mandala in the center of your table for a bohemian vibe.
3. Custom Hardware
Upgrade the hardware elements of your coffee table to make it truly unique:
- Drawer Pulls: Swap out standard drawer pulls for decorative ones. Look for vintage knobs, leather handles, or handcrafted ceramic pulls.
- Metal Accents: Attach metal corner brackets, decorative plates, or rivets to the edges of the table. These accents add an industrial or steampunk touch.
4. Painted Details
Painting allows you to express your creativity and tie the coffee table into your overall decor:
- Stenciled Borders: Use painter's tape and stencils to build borders or bands around the tabletop. Paint them in complementary colors or metallic shades.
- Whimsical Designs: Hand-paint whimsical motifs like birds, trees, or abstract shapes. Keep the colors muted for an elegant look.
5. Personalized Engravings
Add sentimental value by engraving meaningful words, quotes, or dates onto the coffee table:
- Family Names or Initials: Engrave the initials of family members or your family name onto the table's surface.
- Special Dates: Commemorate important dates, such as anniversaries or birthdays, with subtle engravings.
Sand and finish your DIY coffee table carefully for a professional look. Whether subtle or bold, it'll be a conversation piece.
FAQs About DIY Round Coffee Table
Discover the answers to DIY round coffee table FAQs in this informative guide. Learn how to build, style, and personalize your own unique piece.
What is the best wood to use for a DIY round coffee table?
The best wood for a DIY round coffee table depends on your budget and the look you want to achieve. Hardwoods like oak, maple, and walnut are durable and have a rich appearance, making them popular choices. For a more budget-friendly option, softwoods like pine can work well but may not be as durable.
How do I choose the right size for my coffee table?
To choose the right size for your coffee table, consider the size of the room and the surrounding furniture. A good rule of thumb is to select a table that is about two-thirds the length of your sofa. It should be the same height as the sofa's cushions or 1-2 inches lower.
Can I make a round coffee table if I'm new to woodworking?
Yes, you can make a round coffee table even if you're new to woodworking. Start with a simple design and use basic tools. There are many tutorials and plans available that cater to beginners. Take your time, follow the instructions, and don't hesitate to ask for help if needed.
What tools will I need to build a round coffee table?
The basic tools you'll need to build a round coffee table include a saw for cutting the wood, a drill for assembling the pieces, sandpaper for smoothing the surfaces, and a measuring tape. Depending on the design, you may also need a router for edges and a jig for cutting circles.
How do I finish my DIY coffee table?
To finish your DIY coffee table, you can stain or paint it to match your decor. Apply a sanding sealer before the final finish to ensure an even application. For a natural look, you can apply a clear coat of polyurethane to protect the wood.
What are some creative ways to customize my coffee table?
Get creative with your coffee table by adding personal touches. Consider using stencils for painted designs, attaching decorative hardware, or incorporating unique materials like glass or metal. You can also add storage options like shelves or drawers for functionality.
Conclusion
Building this round coffee table was a rewarding experience. Not only did it add a unique piece to my living room, but it also provided me with invaluable woodworking experience. My advice to anyone embarking on a similar project is to take your time, measure twice, cut once, and enjoy the process. Remember, the beauty of DIY projects lies in the journey as much as the final product.


