Making a DIY whiteboard was a turning point in my teaching career. I wanted to build a useful tool for my students that wouldn't break the bank. After researching a bit, I realized making one at home was simple and cost-effective. All I needed were a few supplies from the local store. If you're an educator or creative person like me, this can be a game changer.

I started with a large piece of clear plexiglass and some white background paper. It took less than an hour to put together. Since then, my DIY dry-erase board has been a helpful addition to my classroom. It's so versatile—perfect for brainstorming, sketching, or planning lessons. If you're excited to try this out, these steps will help you get started.
I'm sure you'll find this guide helpful. Getting started with DIY whiteboards can transform your creative projects or teaching methods.
Materials Needed and Why
- White Panel Board: This is your whiteboard surface. We found ours at a home improvement store for about $13.47. It's usually used as a shower lining, so it's durable and perfect for writing on.
- Trim: To build a more polished look around the edges of your whiteboard.
- Spray Paint: Spray paint is optional but great for customizing your marker holder.
- Adhesive Tape: This is for securing your trim and marker holder without damaging your walls.
- Dollar Store Pencil Holder: This is a cost-effective way to keep your markers and erasers handy.
- Scissors: You'll need a sharp pair to cut the trim.
- Credit Card: A handy tool for fitting the trim around the whiteboard.
Step by Step Instructions
Learn how to build a DIY whiteboard with easy step-by-step instructions, including cutting, extras, prepping a marker holder, attaching trim, and mounting.
Step 1: Finding and Cutting Your Whiteboard
First off, head to your local home improvement store and look for white panel board. It's inexpensive and works perfectly as a whiteboard. You'll likely find it in the lumber section. Don't hesitate to ask for help if needed; staff at these stores are usually very helpful. We had ours cut down to six feet, which they did for free, making it a manageable size to transport and fit on our wall.
Step 2: Picking Up the Extras
While you're out, grab some trim for your whiteboard's edges and spray paint if you wish to customize your marker holder. Both items are inexpensive but go a long way in giving your DIY project a finished, professional appearance.
Step 3: Prepping Your Marker Holder
Once home, I wanted to tackle the marker holder first. I chose a simple container from the dollar store, which was cost-effective but needed a bit of a makeover. I taped off the areas I didn't want to paint and applied a coat of spray paint to match my room's decor. Remember to remove the suction cups or any other parts you don't want painted before starting.
Step 4: Attaching the Trim and Marker Holder
Cutting the trim to fit can be a bit tricky, but using a sharp pair of scissors makes the job easier. Measure and mark your cut lines with tape for precision. To fit the trim onto the board, I found sliding a credit card (or any card of similar thickness) between the trim and board helped snap it into place without damaging either.
For the marker holder, we went with adhesive tape for an easy, drill-free installation on the wall.
Step 5: Mounting Your Whiteboard
To hang the whiteboard, we decided on using Command strips for a secure and damage-free mount. Measure and mark your wall with painter's tape, where you'll place the board to ensure it hangs straight. Press the strips firmly against the wall, then remove the whiteboard to let the adhesive bond for about an hour. After, simply hang your whiteboard and admire your handiwork!
Final Touches
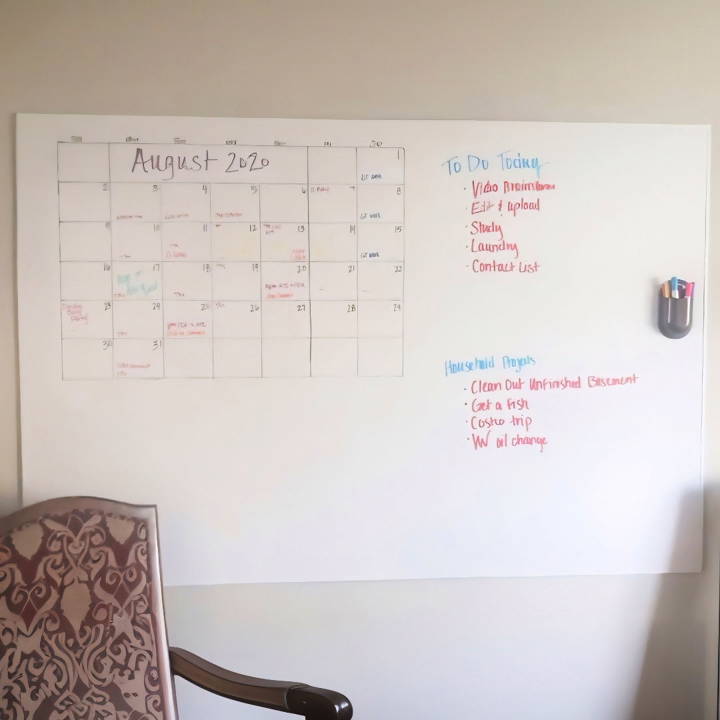
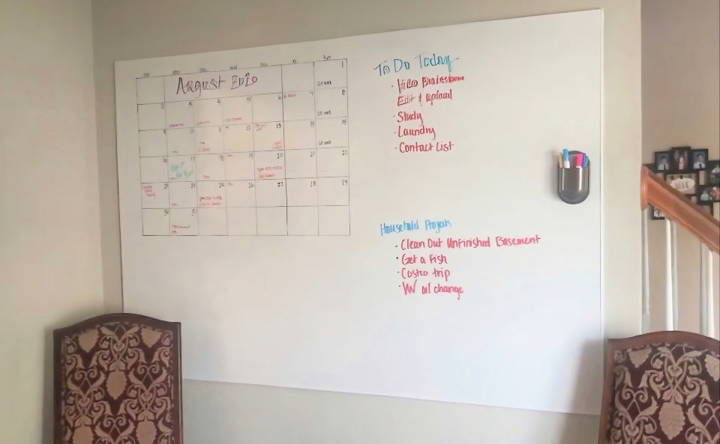
To personalize our whiteboard, I added a monthly calendar using a level to draw straight lines. This little addition transformed our whiteboard into an organizing hub for our home office.
Customization Tips for Your DIY Whiteboard
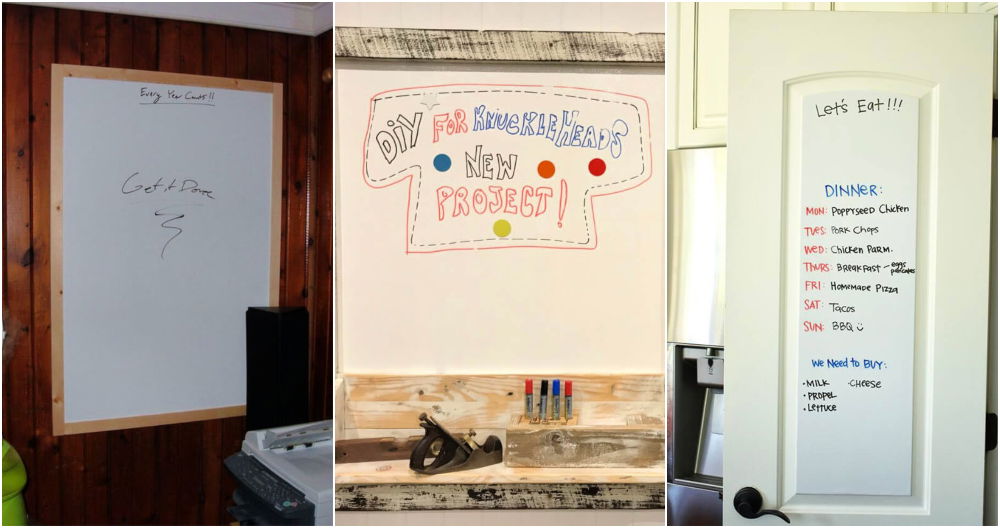
Building a DIY whiteboard gives you the freedom to design a tool that's tailored to your personal style and needs. Here are some tips to help you customize your whiteboard:
- Choose Your Size Wisely: Think about where you'll place your whiteboard. Measure the space and decide on a size that fits well. Whether it's a small board for quick notes or a large one for detailed planning, the size should match its purpose.
- Selecting the Surface: You can use various materials for the whiteboard surface. Melamine, a type of laminate, is a popular choice due to its smoothness and affordability. For a more durable option, consider porcelain-coated steel.
- Frame It Up: The frame isn't just for looks; it adds stability too. You can go for a simple wooden frame or a sleek metal one. If you're feeling creative, paint the frame to match your room's decor.
- Add a Personal Touch: Use washi tape or colorful vinyl strips to build borders or grids on your whiteboard. This not only adds personality but also helps in organizing content.
- Magnetic Magic: If you opt for a metal surface, take advantage of its magnetic properties. Attach magnets to your favorite photos or important documents and stick them onto the board.
- Accessorize: Don't forget the accessories. Invest in quality dry-erase markers in various colors, an eraser, and a cleaning solution to keep your whiteboard looking fresh.
- Installation Options: Consider how you'll mount your whiteboard. Will you hang it on a wall, or prefer a stand-alone version with wheels for easy mobility?
By following these tips, you'll build a whiteboard that's not only functional but also a reflection of your unique style.

Troubleshooting Common Issues
When you're working with a DIY whiteboard, you might encounter a few hiccups along the way. Here's a straightforward guide to solving some of the most common issues:
- Stain Removal: Whiteboards can get stained over time, especially if markers are left on for too long. To remove stains, gently rub the surface with a cloth dipped in isopropyl alcohol. For tougher stains, a paste of baking soda and water can be effective.
- Ghosting: This is when you erase the board, but a faint outline of your writing remains. To combat ghosting, use a whiteboard cleaner or a mix of vinegar and water. Wipe the surface with a microfiber cloth for the best results.
- Scratches: If your whiteboard gets scratched, it can be tricky to fix. Minor scratches can often be buffed out with car polish. Unfortunately, it's usually best to replace the damaged section of the board for deeper scratches.
- Marker Issues: Dry-erase markers can sometimes stop working properly. If a marker dries out, try reviving it by soaking the tip in alcohol. If it's a non-permanent marker used by mistake, you can remove it by writing over it with a dry-erase marker and then erasing both layers.
- Board Warping: If your whiteboard warps, it can make writing difficult. To prevent warping, make sure to mount the board securely and evenly. If it's already warped, you may need to add additional support or mounting points.
- Loose Frames: A frame that's coming loose can be fixed with a bit of wood glue or by tightening any screws or brackets that hold it in place.
Regular maintenance is key to keeping your DIY whiteboard in top shape. Wipe it clean after use, store markers properly, and handle it with care to avoid many common issues.
FAQs About DIY Whiteboard
Discover answers to common questions about DIY whiteboards, including materials, costs, and tips for building your custom whiteboard at home.
The size of your DIY whiteboard should be based on the available wall space where you plan to hang it. Measure the space first, then order or cut the material to fit. Most whiteboard materials come in standard sizes, but you can have them cut to your specific dimensions at a home improvement store.
Yes, you can create a magnetic whiteboard by using a steel sheet as the base and painting it with dry erase paint. This allows you to use magnets on the board, making it versatile for posting notes or other items.
For a less permanent option, consider making a small paper board or using a $1 frame to build a portable dry erase board. These can be easily moved and don't require drilling. You can also use mirror mounting brackets or adhesive strips to attach a larger board to the wall without drilling.
To maintain your whiteboard, use a soft cloth or whiteboard eraser to clean the surface. For tougher stains, a bit of isopropyl alcohol can help remove them. Avoid abrasive cleaners or rough materials that could damage the surface. Regular cleaning will keep your board looking new and ensure easy erasure of dry erase markers.
To ensure the longevity of your DIY whiteboard, it's important to use quality materials and proper maintenance techniques. Here are some tips:
Choose a high-quality melamine or porcelain sheet for the surface, as these materials are known for their durability.
If you opt for a clear plastic board, Lexan is a better choice than plexiglass because it's lighter and less prone to shattering.
Use fine-tip dry erase markers to prevent scratching the surface.
Clean the board regularly with a microfiber cloth and use whiteboard cleaner for stubborn stains.
Avoid using abrasive cleaners or sharp objects on the board, as they can damage the surface and make it difficult to erase.
If you've painted a wall with dry erase paint, make sure to apply it generously and allow it to cure fully before use.
Conclusion
Wrapping up, building a DIY whiteboard for educators and creatives is a fantastic project that brings practicality and inspiration into your workspace. This easy and customizable solution can elevate your teaching or creative process. With simple materials and a bit of effort, you can craft a personalized DIY dry-erase board to suit your needs perfectly. Enjoy the benefits of having a flexible tool that enhances your daily productivity and organization.


