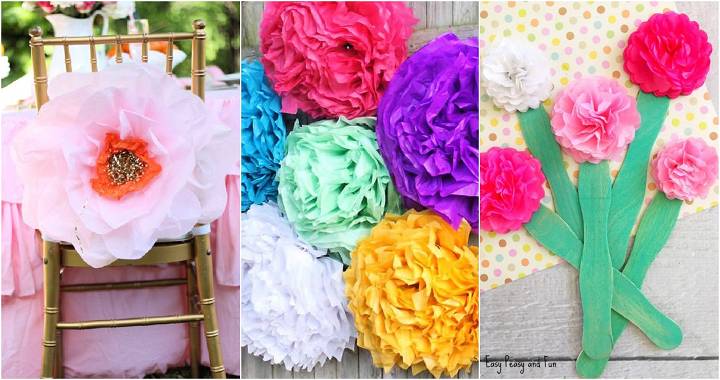
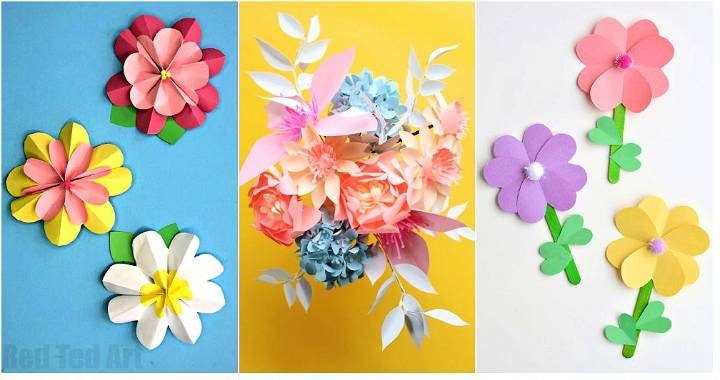
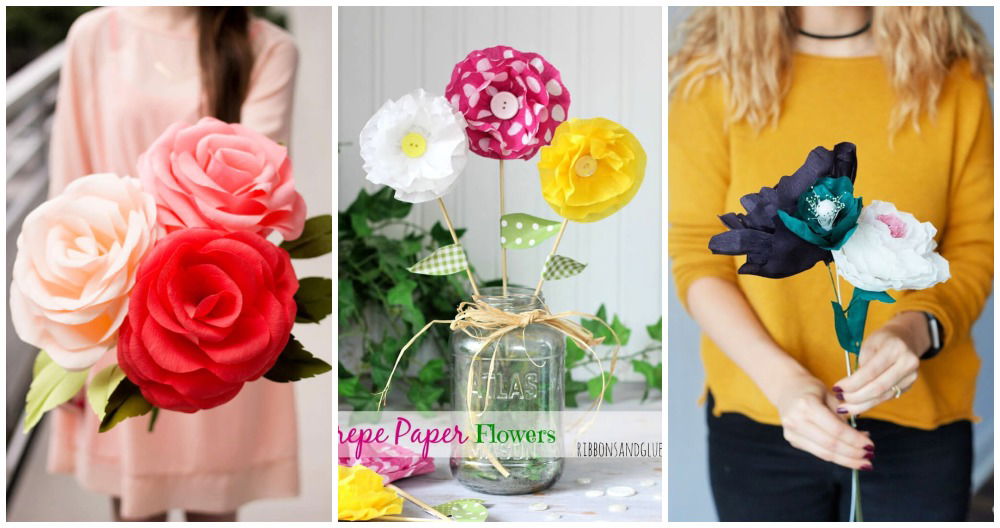
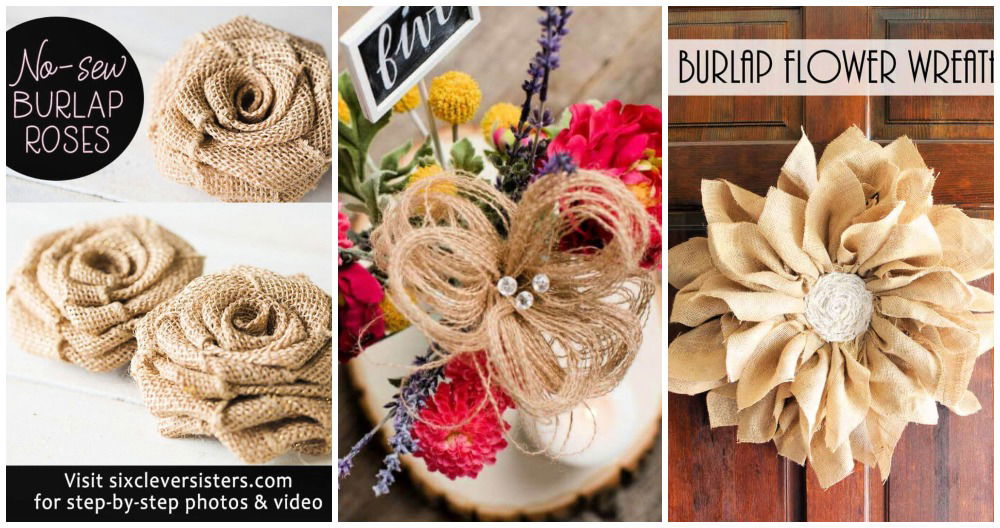
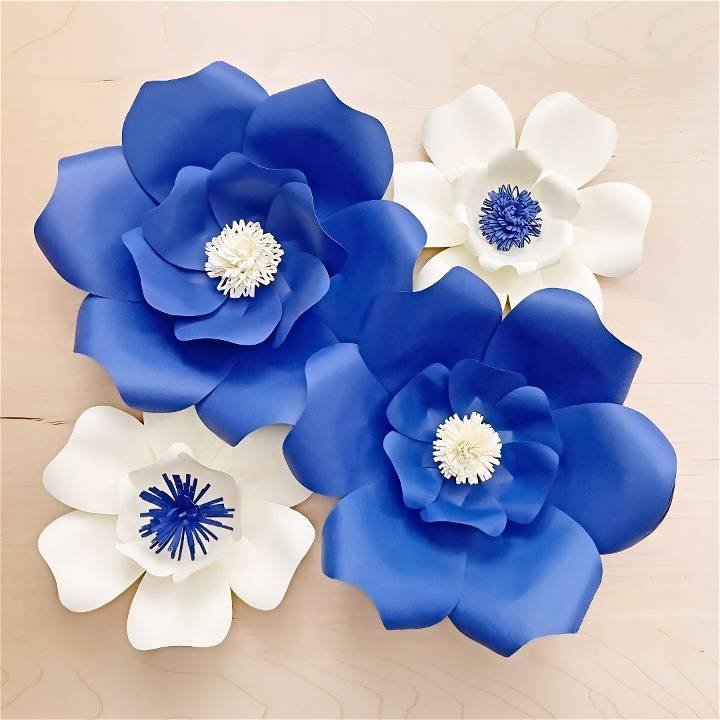
I recently embarked on a crafty adventure, making paper flowers without a Cricut machine or any special templates. If you're like me, seeking a simple, budget-friendly way to spruce up your home or add a personal touch to gifts and decor, then you'll love this easy DIY project. Let me walk you through the process step by step, sharing my experience, tips, and some helpful insights I gathered along the way.
What You'll Need:
- Colorful Paper: I used regular colored printer paper because it's affordable and I had it on hand. You can also use construction paper for more durability.
- Scissors: Sharp scissors are crucial for smooth cutting, especially for finer details.
- Glue: Any basic glue stick or liquid glue will do, but I prefer a glue stick for less mess.
- A Pencil: This is for drawing the basic shapes. Don't worry; perfect drawing skills are not required.
- A Ruler (Optional): If you like precise measurements, a ruler can be handy.
Why These Materials?
Each item plays a key role in the creation of your paper flowers. The paper brings your flowers to life with its color, the scissors shape them, glue binds them together, and the pencil helps in sketching initial outlines for those who prefer precision in their sizes and shapes.
Step by Step Instructions
Learn how to make lovely DIY paper flowers for any occasion with our step by step instructions. Perfect for adding a special touch to your decorations.
Step 1: Cut The Paper
Cutting the Petals
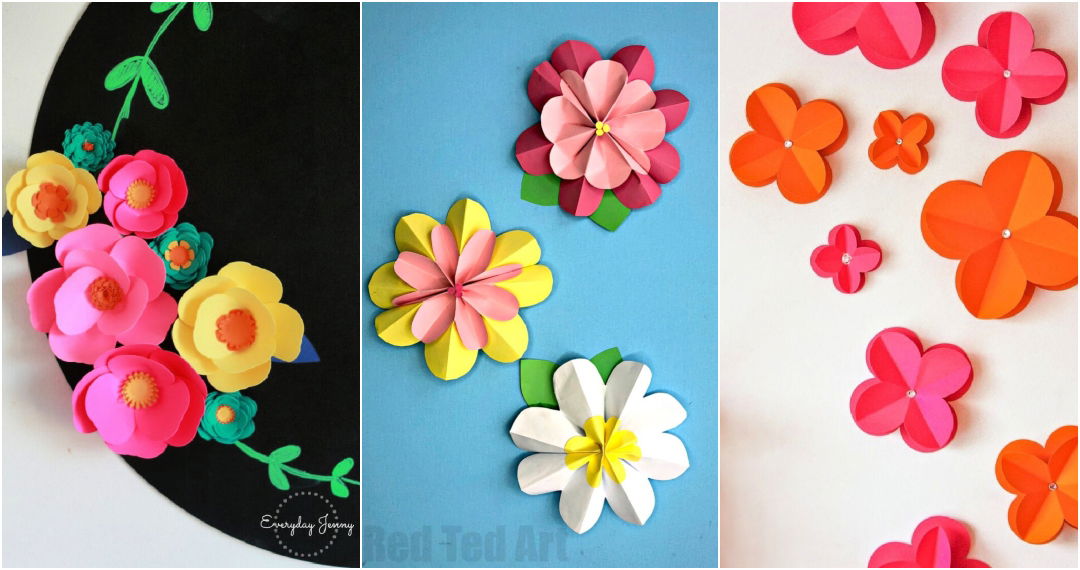
Start by cutting your colored paper into squares. The size depends on how large you want your flowers to be. I went for 5x5 inches for a medium-sized flower. Then, fold your square in half diagonally to make a triangle, and again into a smaller triangle. Cut a petal shape out of this triangle. When you unfold it, you will have a nice symmetrical shape that resembles a flower petal. Depending on how full you want your flower, you'll need about 5 to 8 petals.
The Center of the Flower
Cut a small circle out of any color paper you like. This will be the base where you'll glue your petals and also act as the flower's center.
Step 2: Shape The Petals
To give your petals a more natural look, gently wrap each petal around the pencil to curl the edges. You can also pinch the base of each petal to make a more defined shape. Play around with the curling to mimic different types of flowers.
Step 3: Assemble The Flower
Attaching the Petals
Take your glue and apply a small amount to the base of your first petal. Stick it to the edge of your circular base. Continue this process, overlapping petals slightly until you've gone full circle and are happy with how full your flower looks.
Final Touches
If you wish, you can add additional layers of petals by reducing the size of the petals slightly for each layer to make a more detailed and intricate flower. Also, feel free to experiment by mixing colors!
Step 4: Make Your Flower Bloom
Once all the petals are glued and the glue has dried, gently fluff and adjust the petals with your fingers to give your flower a blooming look. This is where you see your creation really come to life!
Enhancing Your Flowers
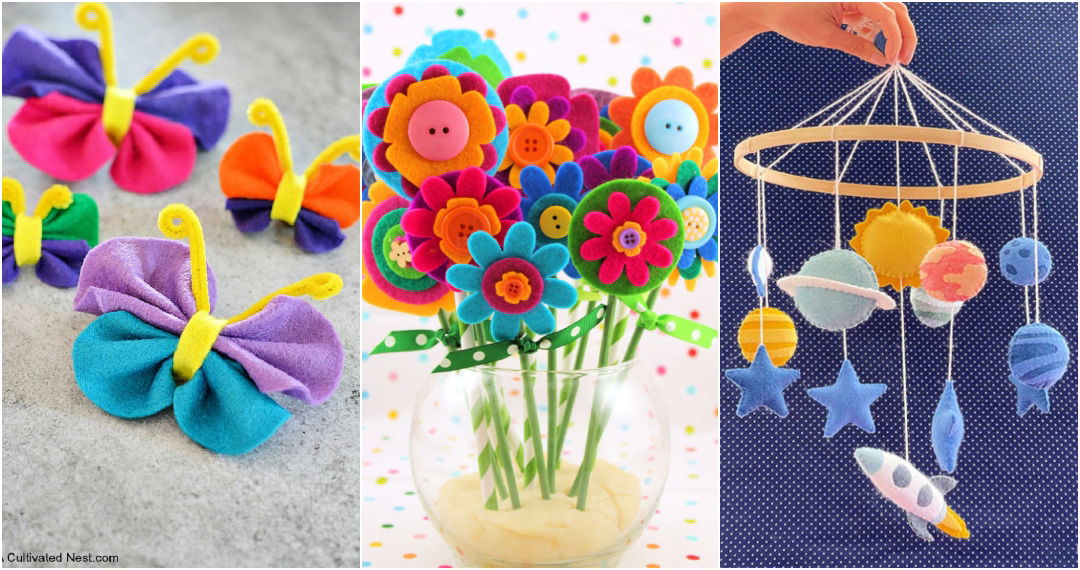
To add some extra flair to my paper flowers, I liked to add centers by using buttons, or sometimes I cut out spirals from contrasting colored paper and curled them into a tight bud to glue in the middle.
Displaying Your Flowers
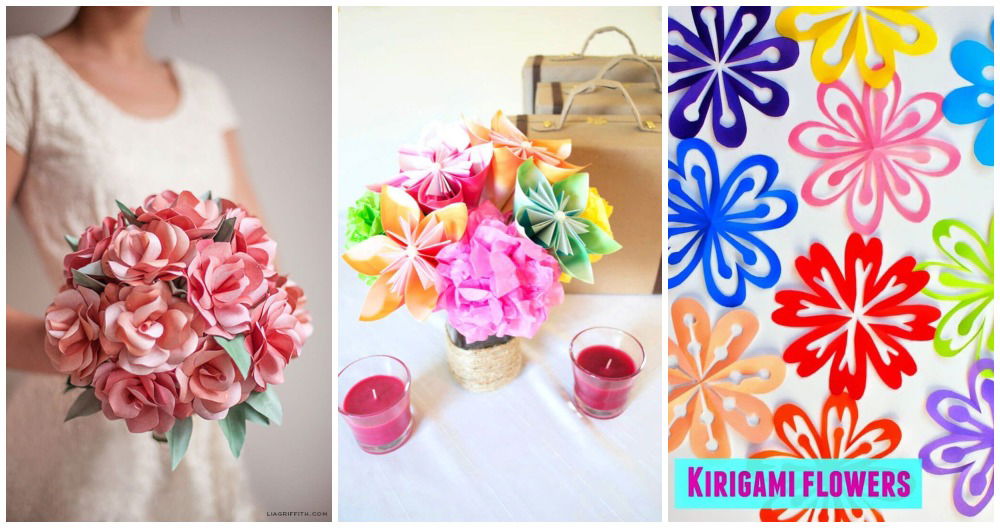
These paper flowers can beautify various spaces and items. Glue them to a frame for a 3D artwork, stick them onto gift boxes for that extra touch, or make a bouquet by attaching stems (using straws or skewers) and wrapping them in a nice ribbon.
Maintenance Tips for Paper Flowers
Maintaining paper flowers is key to ensuring they continue to brighten up your space without fading or deteriorating. Here are some helpful tips to keep your paper blooms looking fresh and vibrant:
- Avoid Direct Sunlight: Place your paper flowers away from direct sunlight. Sun exposure can cause the colors to fade over time, so it's best to display them in a shaded area.
- Dust Regularly: Use a soft brush or a blow dryer on a cool, low setting to gently remove dust from the petals and leaves. This will help maintain their vibrant color and detail.
- Keep Them Dry: Paper flowers and moisture don't mix. Always keep them in a dry environment to prevent damage. If they do get wet, allow them to air dry completely before storing.
- Proper Storage: If you need to store your paper flowers, keep them in a dry, airtight container. You can also wrap them in tissue paper to protect them from creasing and fading.
- Handling with Care: When moving or rearranging your paper flowers, handle them gently to avoid bending or breaking the delicate parts.
- Avoid Crushing: When displaying or storing, ensure that nothing is pressing against the flowers. Over time, pressure can cause them to deform.
- Refresh the Shape: If your paper flowers have become misshapen, you can carefully reshape them by hand. For certain types of paper, a light mist of water can make them more pliable, but be sure to let them dry thoroughly afterward.
By following these simple maintenance tips, your DIY paper flowers can remain a beautiful and lasting addition to your decor.
Troubleshooting Common Issues with Paper Flowers
When crafting paper flowers, you might encounter a few common issues. Here's a helpful guide to troubleshooting these problems, ensuring your paper blooms turns out beautifully:
- Torn Petals: If a petal tears, don't worry. You can repair it with a small piece of clear tape on the backside. For a cleaner look, make a new petal and attach it over the torn one.
- Faded Colors: If your flowers have lost some of their vibrancy, you can revitalize them with a touch of color. Use chalk pastels or watercolor paints to gently add hues back onto the petals.
- Misshapen Flowers: Should your flowers get squashed or bent, you can reshape them. Gently curve the petals around a pen or use your fingers to fluff them back into shape.
- Stem Issues: If the stem isn't holding up the flower head, reinforce it. Insert a floral wire inside the paper stem for added strength.
- Glue Stains: If you get glue on the petals, wait for it to dry completely. Then, carefully peel it off or cover it with a thin layer of matching paper.
- Symmetry Problems: For flowers that don't look symmetrical, adjust the petals by trimming any excess or uneven parts with scissors.
- Connecting Parts: If parts of your flower aren't sticking together well, use a stronger adhesive like hot glue or double-sided tape for a firmer hold.
By keeping these tips in mind, you can solve common paper flower crafting issues and enjoy the process of making these beautiful, handmade decorations.
FAQs About DIY Paper Flowers
Discover all the answers to your DIY paper flower questions in this comprehensive FAQ guide. Learn how to make stunning paper flowers effortlessly.
What types of paper are best for making flowers?
The best types of paper for making flowers are crepe paper, tissue paper, and cardstock because they are flexible and sturdy. Crepe paper is great for making realistic petals due to its stretchy texture. Tissue paper is lightweight and good for delicate designs, while cardstock is ideal for structured, long-lasting blooms.
How do I choose the right colors for my paper flowers?
Think about where you'll display the flowers or the event theme. Choose colors that complement your home decor or event palette. For a natural look, observe real flowers and use a mix of shades. You can also get creative with patterns and textures for a unique touch.
Can I make paper flowers without any special tools?
Yes, you can make paper flowers with basic tools like scissors, glue, and wire. However, using floral tape, wire cutters, and petal molds can make the process easier and give your flowers a more polished look.
How long do paper flowers last?
Paper flowers can last for years if they are kept away from direct sunlight, moisture, and dust. Regular gentle cleaning and proper storage will help preserve their shape and color.
Are paper flowers eco-friendly?
Paper flowers can be eco-friendly if you use recycled paper or paper from sustainable sources. After use, you can recycle them again, making them a green alternative to fresh flowers.
What are some creative ways to use paper flowers?
Paper flowers can be used in home decor, as gifts, for weddings and parties, or as wearable art like corsages and headpieces. They can also be used in scrapbooking, card making, and as educational crafts for children.
Final Thoughts
Making these paper flowers was not only a therapeutic exercise for me but also a joyful way to add a splash of color to my surroundings. The best part is that you don't need fancy tools or skills to start making something beautiful and unique.
Remember, each flower you make will look different, and that's the beauty of DIY crafts—the imperfections add character. I hope you find as much joy and satisfaction in making these simple, easy paper flowers as I did.


