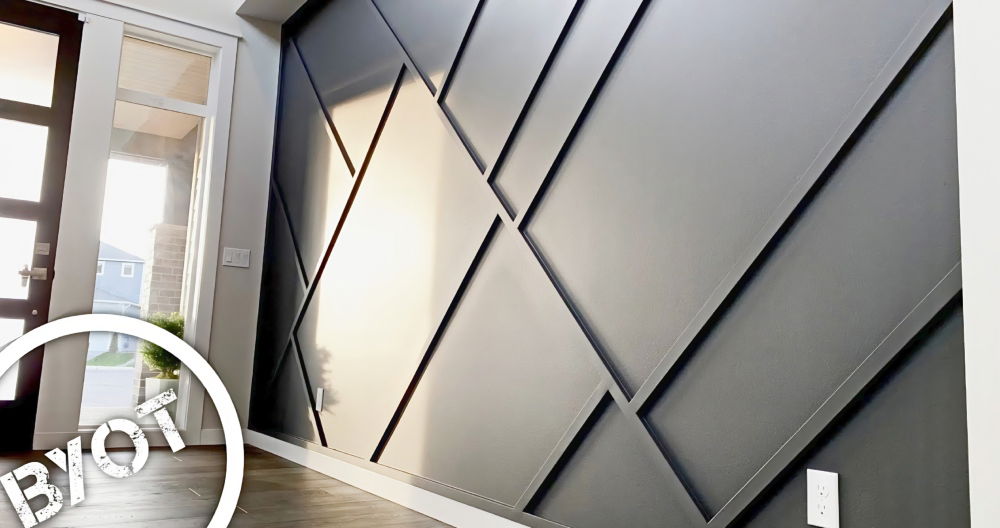
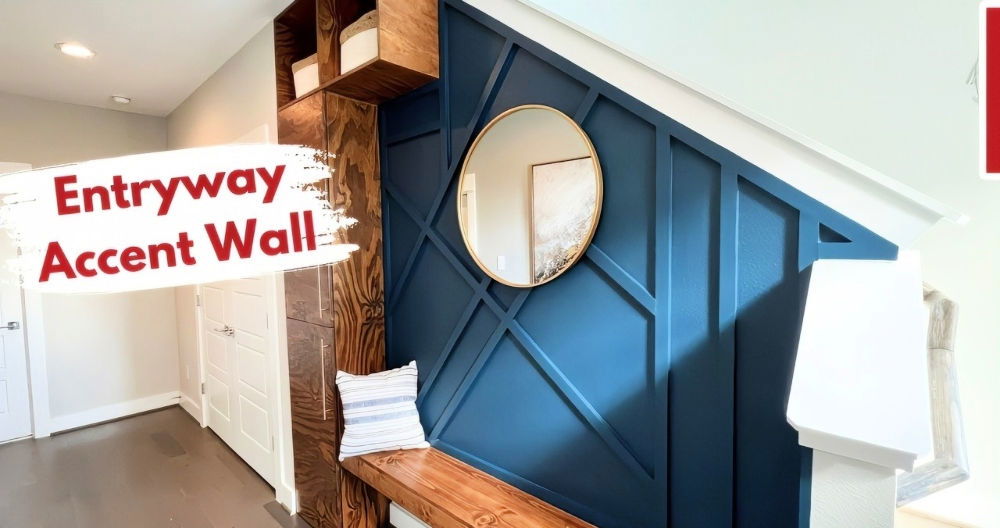
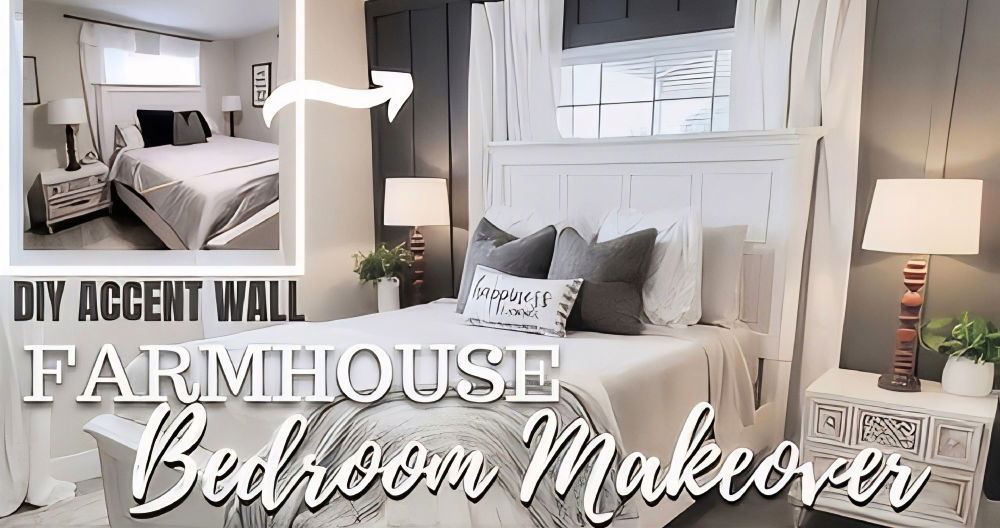
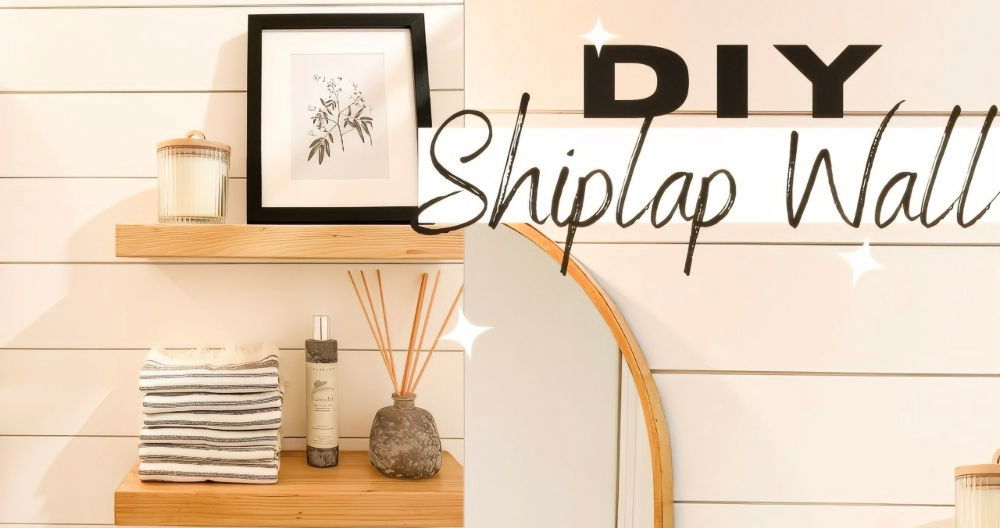
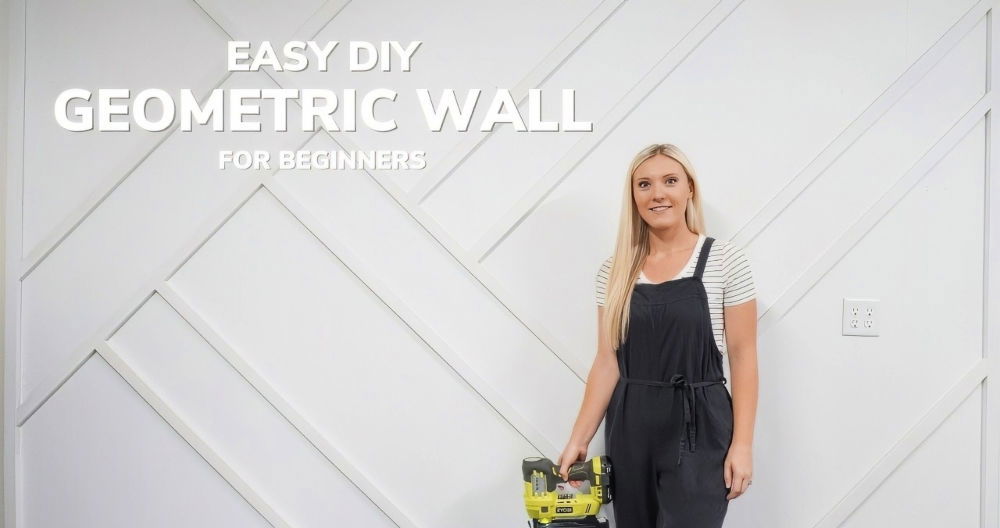
Building a nursery is one of the most exciting projects for expecting parents. An accent wall not only personalizes the space but also adds depth, character, and a unique visual appeal to the room. This guide explains the process of building a DIY nursery accent wall with a geometric design, helping you achieve a stunning and professional finish.
Why Build an Accent Wall?
An accent wall can turn an ordinary nursery into a memorable space filled with personality. It highlights a specific area, like the crib or changing station, drawing attention to it while adding texture and warmth to the room. Plus, it's an achievable project, even for beginners, that can make a huge impact.
Tools and Materials You'll Need
Before starting, gather all the necessary tools and materials. Here's what you'll need:
Materials:
- Paint: Sherwin Williams Silvermist (or your chosen color)
- MDF boards: Half-inch thick, cut into 1.5-inch strips
- Wood filler for filling nail holes and gaps
- Trim sealant for seamless edges
- Caulk gun
- Sandpaper: 220 grit
- Masking tape or painter's tape
Tools:
- Paint kit (brushes, rollers)
- Face mask for dust protection
- Tape measure
- Brad nailer (battery-powered or pneumatic)
- Air compressor (if using a pneumatic nailer)
- Miter saw
- Level (4')
- Sanding sponge
- Cake tool for smoothing sealant
- Vacuum to clean dust
Having all tools and materials at hand ensures a smooth workflow and saves time during the process.
Step by Step Instructions
Follow our step-by-step guide to build a stunning nursery accent wall, covering preparation, design, painting, and personalized finishing touches.
Step 1: Prepare the Wall
Transform your space with our guide on prepare the wall clean and paint. Discover tips for a smooth, professional finish!
Clean and Paint
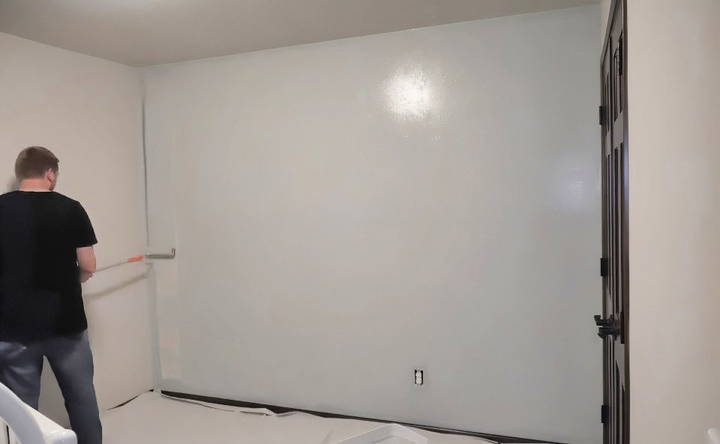
- Clean the wall thoroughly to remove any dust or grease.
- Use a paintbrush to cut in the edges and a 9-inch roller to cover the rest of the wall with your chosen base color.
- Let the paint dry completely before moving to the next step.
Pro Tip: Painting the wall before adding the wood strips is easier than trying to paint between the geometric patterns later. Any touch-ups can be done after the design is complete.
Step 2: Cut and Paint the MDF Strips
Learn how to cut and paint MDFstrips with our step-by-step guide, ensuring precise cuts and a flawless finish for your projects.
Cutting the MDF
- Use a miter saw to cut half-inch MDF into strips 1.5 inches wide.
- Wear a face mask during this process, as cutting MDF produces a lot of dust.
Painting the Strips
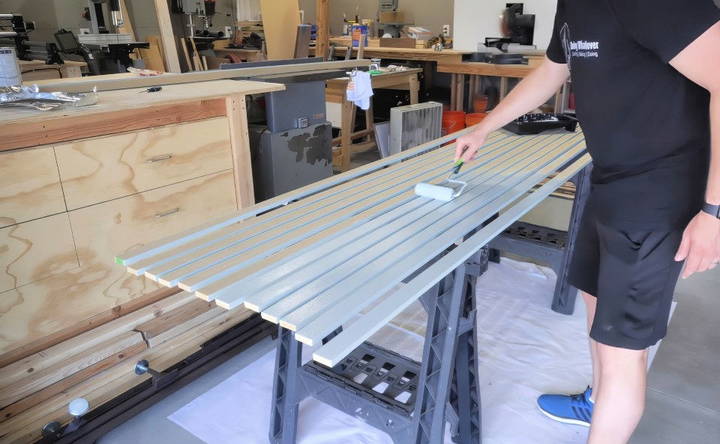
- Apply the same paint color used for the wall to the MDF strips using a foam roller. A foam roller ensures a smooth, streak-free finish.
- After the first coat dries, sand the strips lightly with 220-grit sandpaper to smooth out the texture.
- Apply a second coat of paint and let it dry completely.
Step 3: Install the Frame
Master the install the frame process with our guide on measure and nail for precise assembly and sturdy results in your projects.
Measure and Nail
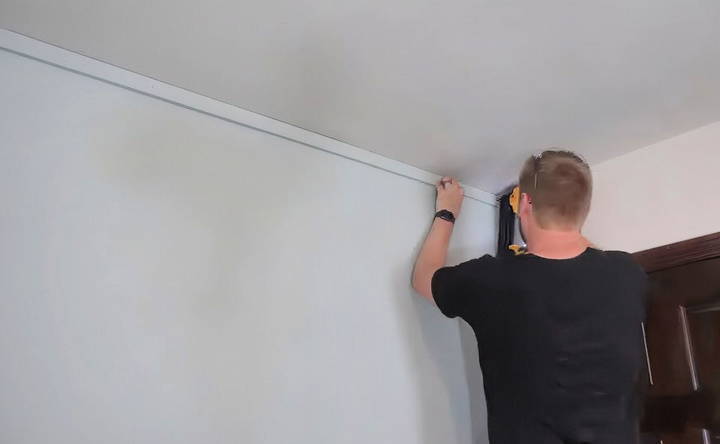
- Begin by attaching the outer frame of the design. Place the strips along the top, bottom, and sides of the wall.
- Use a brad nailer to secure the strips in place. Start with nails at the corners and then add more evenly spaced nails along the length of each strip.
Pro Tip: If any strip is loose, angle the nails slightly instead of driving them straight in. This technique ensures the strip stays tight against the wall.
Step 4: Add the Vertical Dividers
- Measure the distance between the two vertical side strips to calculate equal spacing for your vertical dividers.
- Mark the wall at equal intervals based on your measurements.
- Center each vertical strip on its mark, ensuring it is plumb using a level.
- Nail the strips in place, checking alignment after each installation.
Step 5: Build the Geometric Pattern
Learn to make the geometric pattern with our guide on design the angles and cut and install diagonal pieces for a stunning finish.
Design the Angles
- Divide the vertical height of the wall (from the top of the bottom strip to the bottom of the top strip) by the number of desired sections. For example, if the height is 90 inches and you want five sections, mark every 22.5 inches.
- Mark these measurements on all vertical strips, ensuring consistency.
Cut and Install Diagonal Pieces
- Measure each diagonal section individually to get the perfect length and angle for each piece.
- Use a miter saw to cut the MDF strips at the required angles.
- Nail the strips into place, starting from one corner and working across the wall.
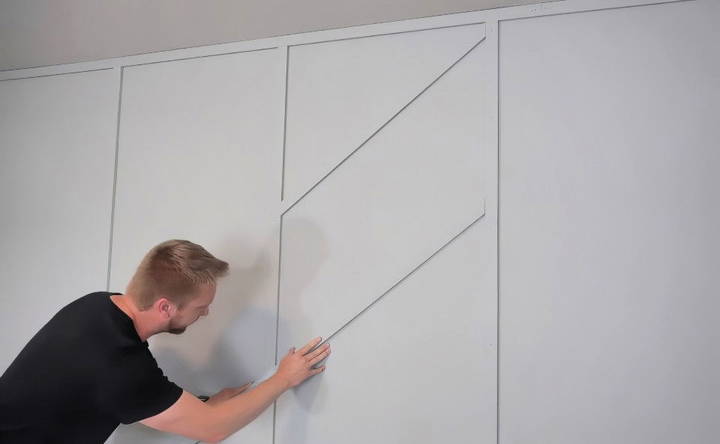
Pro Tip: Avoid cutting multiple pieces at once, as even small discrepancies can lead to uneven gaps.
Step 6: Fill Gaps and Sand
Perfect your project with our fill gaps and sand guide, focusing on fill nail holes and seal edges for a smooth, professional look.
Fill Nail Holes
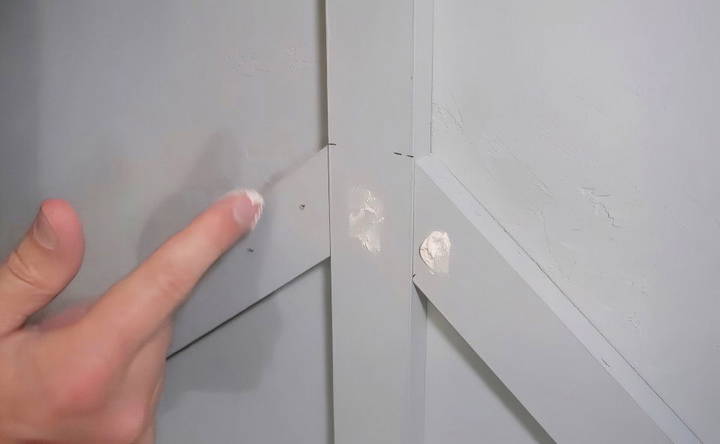
- Use wood filler to cover nail holes and seams between pieces.
- Let the filler dry and sand it smooth with a sanding sponge. Vacuum the area to remove any dust.
Seal Edges
- Apply trim sealant along the edges where the wood meets the wall to build a seamless look.
- Smooth the sealant with your finger or a cake tool for a clean finish.
Step 7: Final Touches
- Paint over the filled nail holes and sealant with the same wall paint for a polished look.
- Vacuum and clean the wall to remove any residual dust or debris.
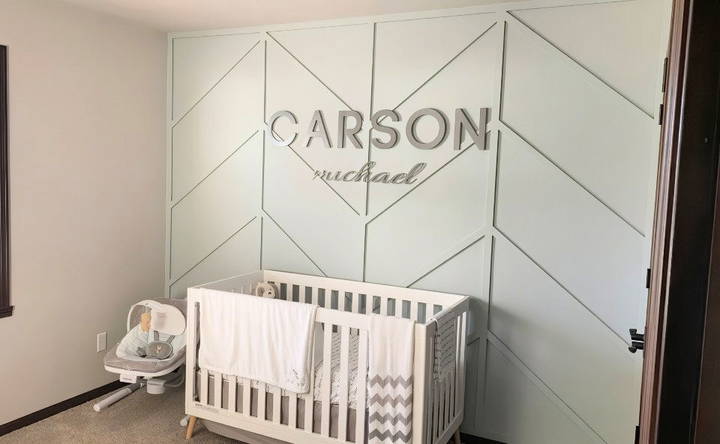
Step 8: Personalize the Wall
For a nursery, adding a personal touch like the baby's name can make the space even more special:
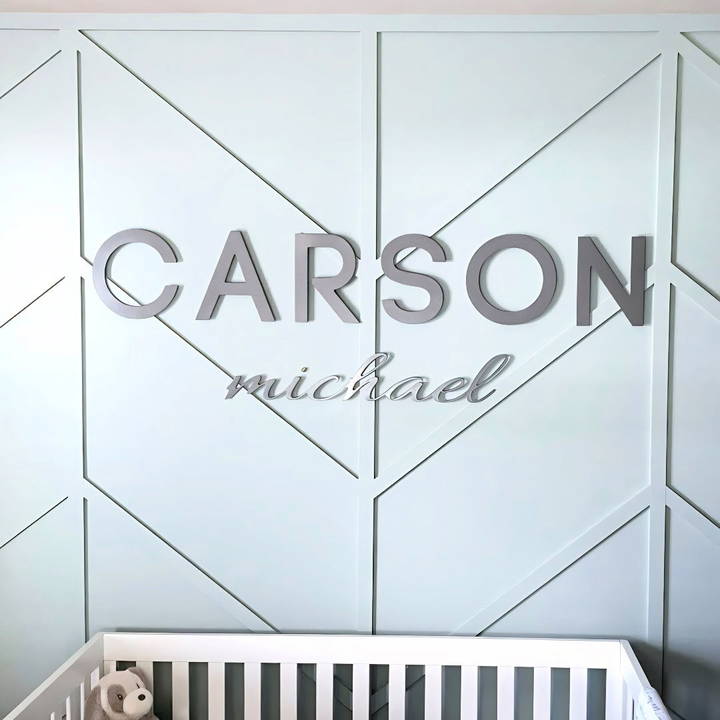
- Use a CNC machine or hand-cut letters from MDF for the baby's name.
- Paint the letters a complementary color and use spacers to attach them evenly to the wall with CA glue.
Key Tips for Success
- Measure Twice, Cut Once: Precise measurements are crucial for clean lines and tight fits.
- Work Slowly on Angles: Rushing through angled cuts can result in uneven gaps that detract from the finished look.
- Use a Level: Ensuring all strips are level and plumb is essential for a professional appearance.
- Embrace the Prep Work: Filling and sanding might feel tedious, but these steps make all the difference in achieving a flawless finish.
Why This Project Stands Out
This DIY nursery accent wall is not just a decorative feature—it's a labor of love that sets the stage for many cherished memories. The clean lines and geometric patterns provide a modern aesthetic while being versatile enough to suit any decor style.
Conclusion:
Building a DIY nursery accent wall is an enjoyable and rewarding project that allows you to personalize your baby's space. By following these steps and taking your time to focus on the details, you'll end up with a feature wall that is both visually striking and deeply meaningful. Whether you're preparing for your first child or adding a touch of creativity to a beloved room, this accent wall will stand as a testament to your dedication and love.
FAQs About DIY Nursery Accent Wall
Discover answers to all your DIY nursery accent wall questions. Find tips, techniques, and ideas to transform your baby's room today!
For this project, brad nails between 1 inch and 1.5 inches work well. Choose the size based on the thickness of your MDF and the need for secure attachment.
Use angled nails to improve grip. Drive some nails one way and others the opposite way to build better anchoring. Liquid nails or adhesive can also help, especially where studs aren't accessible.
MDF strips used for this project are 1/2 inch thick. This thickness ensures durability while being easy to work with.
Determine if there are water pipes or electrical lines in the wall before starting. If unsure, use a stud finder with live wire detection or consult a professional to mitigate risks.
Measure each angle individually. Exact angles depend on the spacing and placement of the strips. Test and adjust the angle to ensure a tight fit.
While it's ideal to secure strips into studs, this project relies on angled brad nails directly into the drywall for simplicity. For extra security, use adhesive along with nails.
Yes, alternatives like plywood or solid wood can work, but MDF is preferred for its smooth finish and ease of cutting.
Measure and cut each piece individually to ensure a snug fit. Filling any small gaps with wood filler and sanding smooth will also help.
Once the strips are installed, touch up any scuffs or areas with exposed filler using a small paintbrush or foam roller to maintain a seamless finish.
Adhesive isn't mandatory but can add strength, especially for areas not secured to studs or high-use rooms where durability is crucial.


