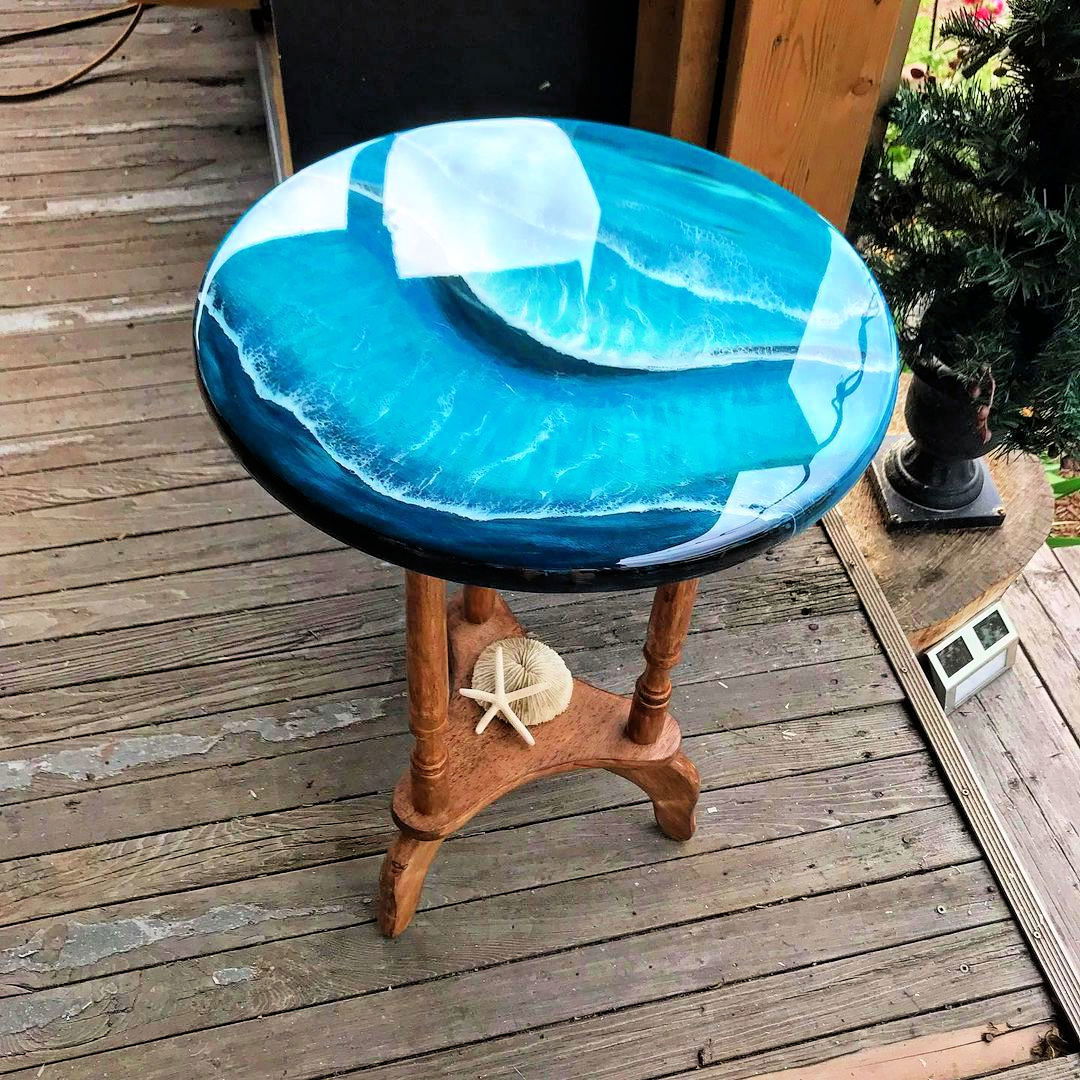
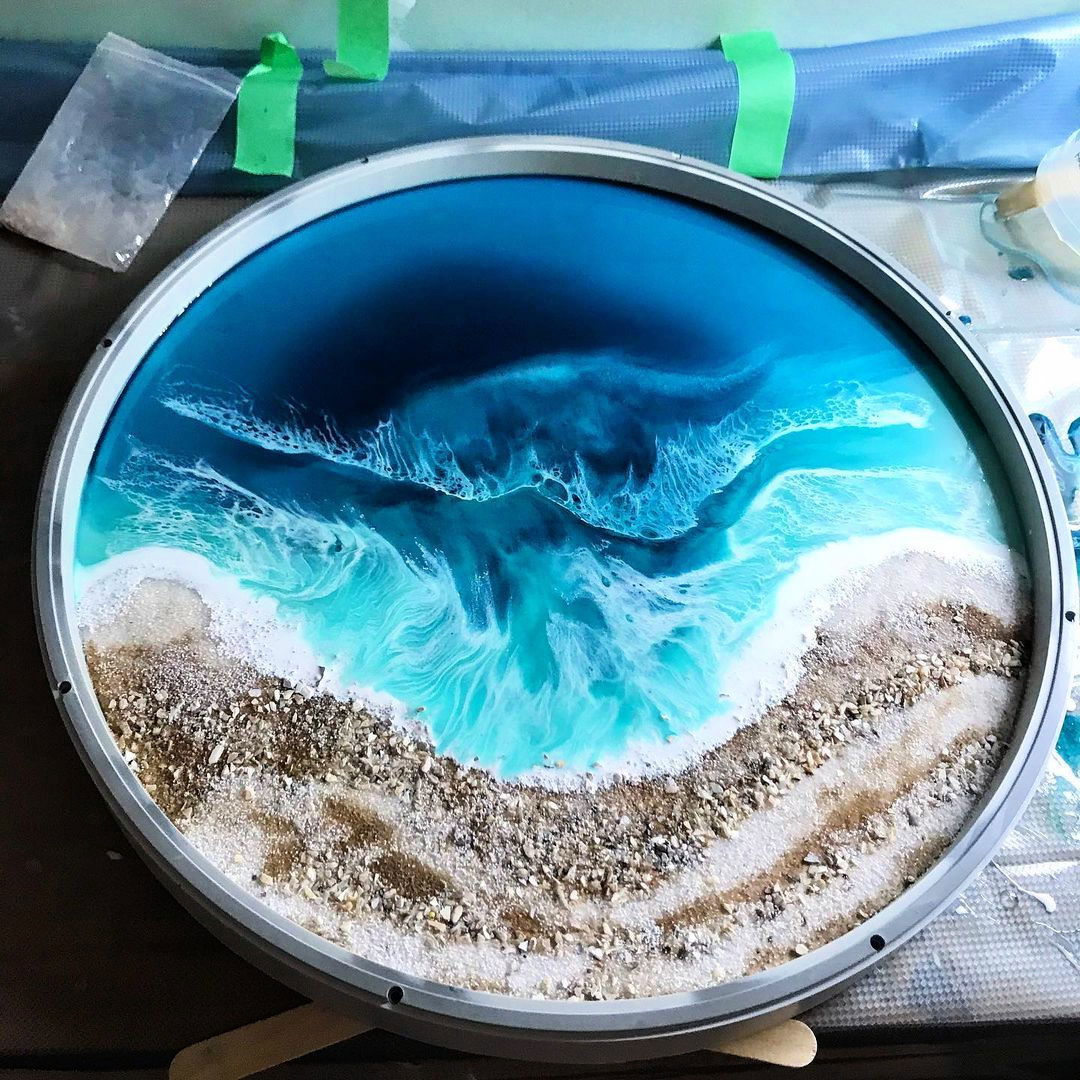
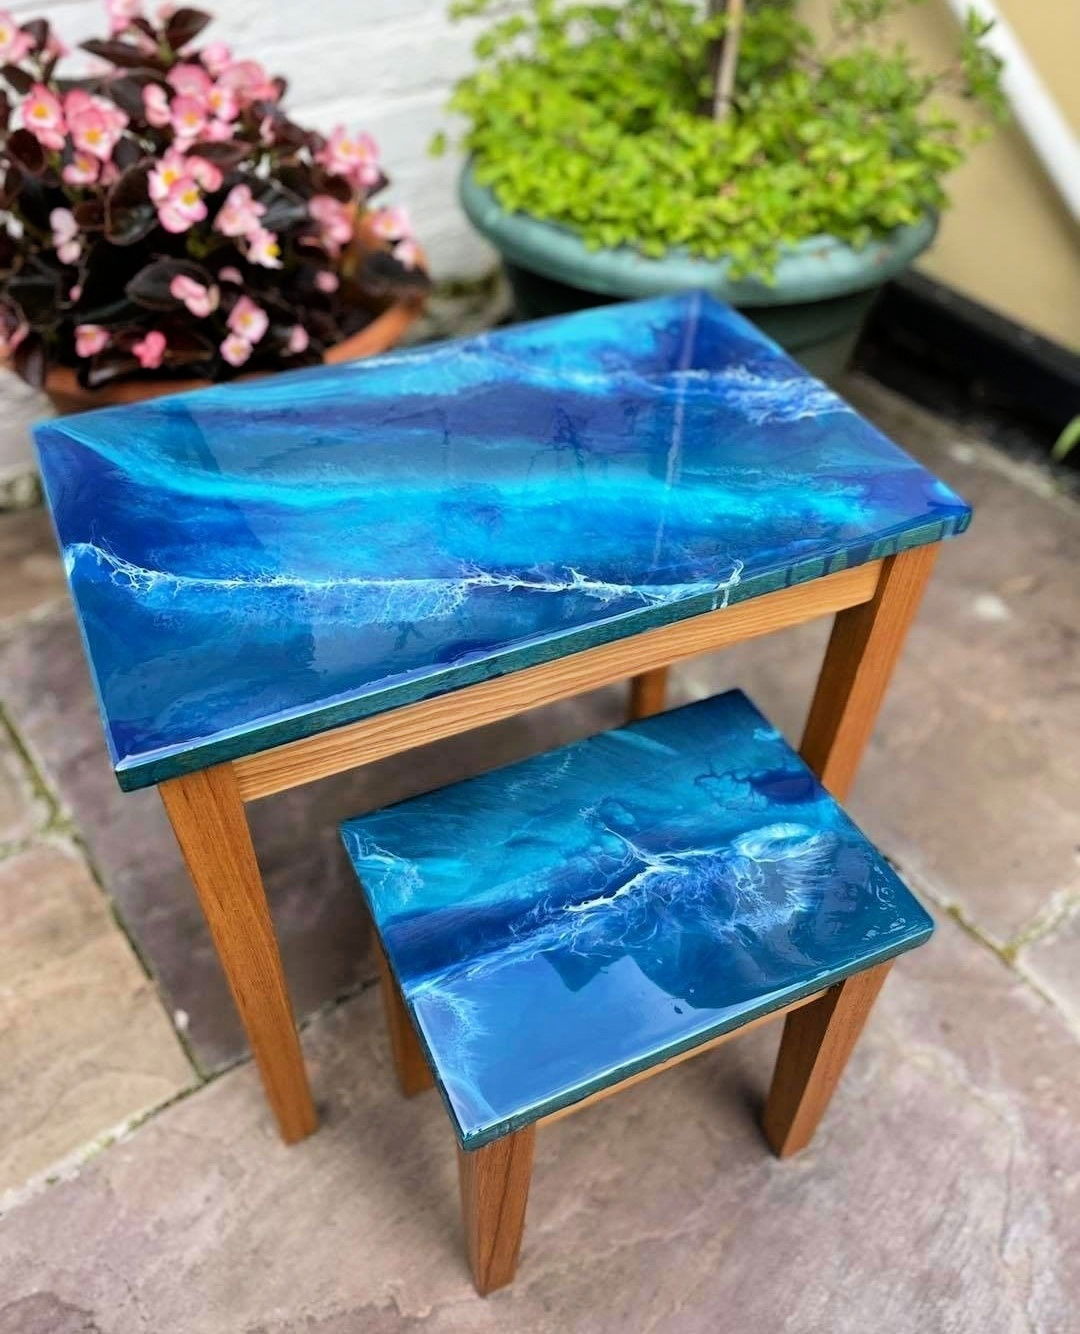
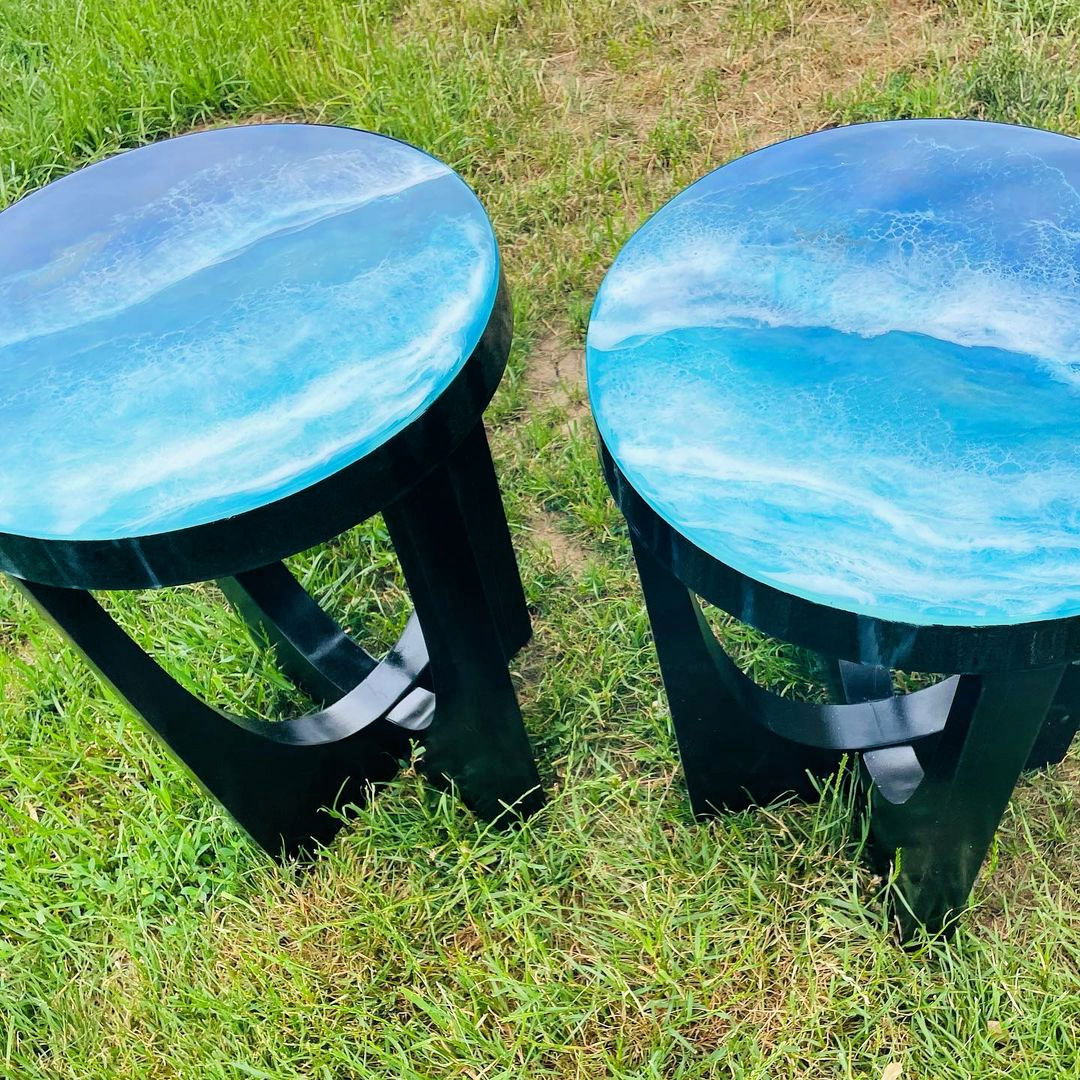
Can't travel and have fun at the beach this summer? No worries, here we’ve got an amazing plan for you to make and bring beach at home – sounds interesting, isn't it? This article will teach you how to make an ocean resin table from scratch. It might seem a little difficult to make but actually is a quite simple and interesting project. When the weather is pleasing, you can easily go outside to your garden or backyard area to spend some fun time with your friends and family in the fresh air along with this handy table. One of the best options you have for outdoor accommodation is this ocean table which will be perfect for summer. You can add this perfect piece of furniture by building a custom plan for your backyard, deck, or any other area around your home where you actually need a seating setup. This article gives you a simple and functional table to make and revamp your living room at a very reasonable price. Building one yourself can be a lot more gratifying than buying one off the market! So, without any further ado, let's gather all the required supplies and get started with this super amazing and beautiful DIY ocean table plan right now!

Supplies you need for an ocean table
When planning on creating a DIY ocean table at home, you need to make sure that you use all the high-quality supplies that will make your table last for a long time and make it sturdy as well. Make sure to buy materials like epoxy, pigments of your choice, respirator mask, nitrile gloves, level heat gun, tarp, and mixing cups, and stirring sticks. Moreover, you need to have a sample picture of an ocean view which will help you to create something similar on your table without much hassle.
Building materials and machinery required
For this project, you must also have good quality machinery and building materials that will form the base of the table so the quality cannot be compromised here. Some of the things that you need are hairpin legs, wood glue, sliding tray, plywood, boards, wood screws, cardboard, latex paint, spray paint, packing tape, jigsaw, router, circular saw, impact driver, drill, sandpaper, clamps, screwdriver, and measuring tape.

Here are step-by-step instructions that you need to follow to make your own ocean table:
- Make the first layer/concrete form – firstly you need to cut the melamine and make the concrete form. You will need a silicone sealant in this step to seal the form completely
- Pour the made concrete – after your sealant has dried up, you need to clean out the form. After that, you need to make the concrete mixture and then pour it gradually. You need to be very careful in this step and avoid the formation of air bubbles with the help of an orbital sander. After that, cover it with plastic for about 48 hours.
- Prepare the legs of the table – then you need to cut four square legs for your ocean table. Make sure you measure it according to your concrete mold and cut it very carefully as well to avoid any hassle later on.
- Add Epoxy – after the concrete has been set for some days, you need to clean it up and dust off the extra concrete. After that, add the epoxy with a lot of care just like you poured the concrete before, very carefully. To further avoid any air bubbles, you need to set a heat gun that will pop out the bubbles formed. While pouring, one more thing that needs to be kept in mind is to avoid cracking and everything should be smooth or a clear finish.
- Separate ocean table from mold – in this step, you need to unscrew the mold and separate the table from the mold gradually. The mold release should assist with removing the side pieces and corners, but if it sticks, use a mallet and chisel to pull the pieces away. Then with the help of an orbital sander, you need to remove any residues and the sanding process needs to be done for a neat and sharp look of your DIY table.
- Finish table Top – for this step, use sandpaper to give your tabletop a finishing look. after that, a polisher should be used to smooth out the top and bring a shine to it. You may choose to further repeat the sanding and re-polishing process if there is any need for it.
- Finishing ocean table frame – high grit sandpaper is need to do a final clean-up of the frame of your DIY ocean table. You can choose any good quality oil for the perfect wood finishing required.
- Attaching table to the frame – lastly, when your frame dries up, you need to set the table Top inside it. The weight and build of the frame will help it to stay in place. It will also allow you to remove the tabletop anytime and clean or re-polish it whenever it is required.

Wrapping Up
So, here we have arrived at the end of our article with the hope that this easy and fun tutorial will inspire you to make a DIY ocean table for your home as well. Building a custom DIY table could be a little tricky as it involves the exact dimension measurements to place it accurately in your home. It should also be lightweight enough to carry it anywhere around the house. Not only this! You may also build it and sell it in the market for people looking to buy cheaper homemade furniture, and the demand for such beautiful ocean tables is quite a demand these days as well!

You might feel like you need to be a professional at woodworking for this project but we assure you that with enough patience and a little bit of effort, this project can be added easily to your living rooms. Since we all are aware of how important and convenient a table can be, we would highly advise you to add this versatile piece of furniture to your home and make your life easier and stylish!

