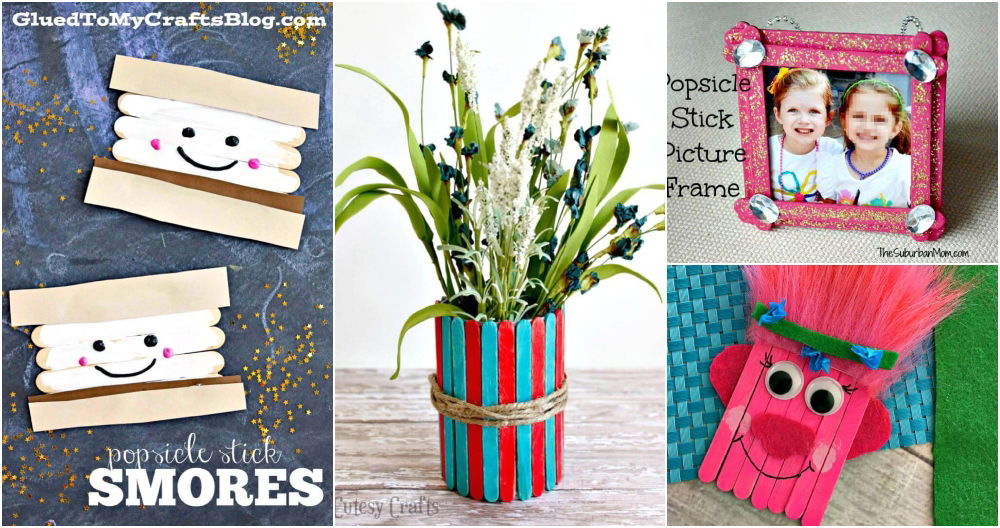
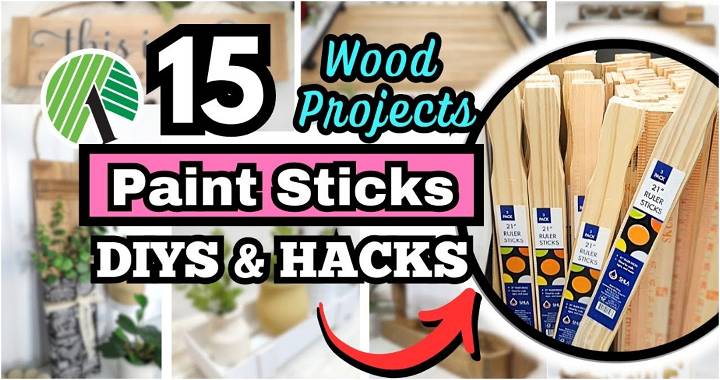
Making unique and beautiful wood projects doesn't have to break the bank or require advanced carpentry skills. With easily accessible paint stir sticks, you can embark on a variety of DIY projects that add charm and functionality to your home. Here is a step-by-step guide to kickstart your DIY journey with paint sticks.
Gather Your Supplies
- Paint Stir Sticks: These are usually available for free at most hardware stores, or you can buy them in bulk.
- Wood Glue: Essential for holding your pieces together.
- Saw/Miter Box: To cut the sticks to your desired lengths.
- Paint or Stain: Depending on the finish you want for your project.
- Sandpaper: To smooth out any rough edges.
- Clamps or Painters Tape: To hold your project together while it dries.
Steps to Follow
Discover the easiest steps to make stunning crafts and projects using paint sticks with our comprehensive guide below:
Step 1: Plan Your Project
Decide what you want to create. Ideas can range from simple candle holders, decorative trays, to more complex projects like window flower boxes or lanterns.
Step 2: Cut the Paint Sticks
Measure and mark your paint sticks according to the dimensions of your project. Use a saw or a miter box to make your cuts. Sand the edges to smooth them out.
Step 3: Layout Your Design
Before gluing, layout your cut pieces according to your project plan. This will give you a clear idea of how everything fits together and allow you to make any necessary adjustments.
Step 4: Glue the Pieces
Apply wood glue along the edges of your paint sticks that will be joined. Press the pieces firmly together and remove any excess glue with a damp cloth. Use clamps or painter's tape to hold the pieces in place while the glue dries.
Step 5: Sand and Finish
Once the glue has dried, give your project a good sanding to ensure a smooth surface. Wipe away any dust with a clean cloth. You can then paint or stain your project to match your home decor. Apply a sealant if desired for added durability.
Step 6: Add Decorative Touches
Depending on your project, you might want to add hardware, decorative paper, or fabric to enhance your piece's appearance.
Step 7: Display Your Creation
Find the perfect spot in your home for your new DIY wood project. Whether it's practical storage, decorative display, or somewhere in between, admire your handiwork and the personal touch it adds to your space.
Find 15 Easy Paint Stick Crafts and Projects
Discover 15 easy paint stick crafts and projects in this video tutorial. Get inspired and start making beautiful crafts with paint sticks today!
Wooden Toolbox
Discover how to transform ordinary paint sticks into a charming wooden toolbox. Perfect for beginners, this DIY project is not only budget-friendly but also versatile, serving as a plant holder, a unique centerpiece, or an organizer for your essentials. Follow our step-by-step guide to make a functional yet aesthetic piece that adds a touch of rustic charm to any space.
Paint Stick Candle Holder
Illuminate your home with the warm glow of candlelight with this easy-to-make paint stick candle holder. This project combines simplicity and elegance, allowing you to craft a beautiful piece that's perfect for dining tables, mantles, or as a thoughtful handmade gift. Learn how to turn paint sticks into a stunning home decor item that enhances any room's ambiance.
Simple Paint Stick Shelf
Maximize your storage and display space with a simple paint stick shelf. Ideal for beginners, this project teaches you to make a minimalist shelf that's perfect for showcasing small decor items, succulents, or organizing your desk essentials. This eco-friendly DIY shelf adds a natural, understated elegance to your home or office.
Wooden Tray
Elevate your home decor with a stylish wooden tray made from paint sticks. This versatile tray can serve as a chic organizer, a sophisticated serving tray, or a decorative base for your candles and vases. Follow our guide to craft a durable, double-sided tray that pairs the natural beauty of wood with a hint of gold, creating a luxurious yet affordable accessory for any room.
This Is Us Sign
Celebrate your family's unique story with a "This Is Us" sign, crafted from paint sticks. This personalized home decor project is not only easy and affordable but also creates a heartfelt focal point in your living space. Perfect for entryways, living rooms, or as a gift, this DIY sign brings a warm, inviting touch to your home.
Customizable Letter Stand
Make a customizable letter stand using paint sticks, perfect for personalizing your workspace or home. This DIY project is ideal for displaying inspirational quotes, reminders, or seasonal greetings. With simple materials and customizable options, you can easily adapt this stand to match any decor style, making it a versatile addition to your desk or shelf.
Wooden Lantern
Illuminate your evenings with a handcrafted wooden lantern made from paint sticks. This project combines rustic charm with functional design, creating a cozy atmosphere in any indoor or outdoor space. Learn how to construct a lantern that can house candles or LED lights, providing a soft, inviting glow to your gatherings or quiet nights at home.
Fabric Pocket Wall Organizer
Organize your home in style with a fabric pocket wall organizer, crafted from paint sticks. This project is perfect for storing mail, stationery, or small essentials, adding both functionality and a decorative touch to your walls. Choose from a variety of fabrics to match your decor and follow our guide to make a practical and pretty organizer for your home or office.
Stationery Organizer
Keep your desk tidy and stylish with a stationery organizer made from paint sticks. This DIY project is perfect for crafting enthusiasts looking to add a personalized touch to their workspace. Learn how to make a compact, chic organizer that holds your pens, notes, and other desk essentials, keeping your workspace clutter-free and inspiring.
Mini Shelf
Maximize your space with a mini shelf crafted from paint sticks, ideal for displaying small plants, figurines, or essential oils. This project offers a simple yet effective solution for adding extra storage or decorative space to any room. Follow our guide to make a mini shelf that combines functionality with a minimalist aesthetic.
Rustic Wooden Tray
Craft a rustic wooden tray using paint sticks, perfect for adding a touch of country charm to your home. This versatile tray can be used to display candles, serve breakfast in bed, or organize kitchen essentials. Our step-by-step guide will help you make a durable and decorative tray that enhances the rustic decor of any room.
Desktop Organizer
Organize your workspace with a desktop organizer made from paint sticks. This easy DIY project helps you make a neat, efficient work area by keeping your office supplies organized and accessible. Perfect for any desk, this organizer adds a creative, personalized touch to your workspace, promoting productivity and style.
Decorative Wall Organizer
Transform paint sticks into a decorative wall organizer that's both functional and stylish. Ideal for hanging keys, jewelry, or small decor items, this project adds a unique touch to your wall decor. Follow our easy guide to craft an organizer that not only declutters your space but also serves as an eye-catching piece of art.
Window Planter Box
Bring the beauty of nature indoors with a window planter box made from paint sticks. This project is perfect for garden enthusiasts or anyone looking to add a green touch to their home. Learn how to construct a charming planter box that can be filled with succulents, herbs, or flowers, enhancing your window's appeal and indoor air quality.
Kitchen Riser
Elevate your kitchen decor with a kitchen riser crafted from paint sticks. This simple project is perfect for displaying your favorite dishes, spices, or small kitchen appliances. With our guide, you can make a functional riser that not only saves space but also adds a decorative element to your kitchen countertop.
Video Tutorial on Pain Stick Crafts
For step-by-step video tutorials on creating DIY wood projects using paint sticks, watch this helpful YouTube video.
It pairs well with this written guide, offering visual confirmation of the described techniques for a more comprehensive learning experience.
Making DIY projects with paint sticks is a fun, affordable way to express your creativity and add a personalized touch to your home decor. With some basic tools and a little bit of creativity, you can transform simple paint stir sticks into beautiful and useful items. Happy crafting!
Tips for Beginners
Starting with paint stick crafts can be both exciting and a bit daunting, but with the right approach, anyone can create beautiful projects. Here are some tips to help beginners get started:
- Start Simple: Choose projects that don’t require complex techniques or a lot of materials. Simple projects can help you build confidence and skills.
- Read Instructions Thoroughly: Before you begin, read through the project instructions completely. Understanding the process from start to finish will help you avoid mistakes.
- Gather Materials: Make sure you have all the necessary materials before you start. This includes paint sticks, paint, brushes, and any decorative items you might need.
- Work Area: Set up a dedicated work area where you can craft without interruptions. Cover surfaces to protect them from paint and glue.
- Take Your Time: Don’t rush your projects. Good craftsmanship comes from patience and attention to detail.
- Practice Techniques: If a project requires a new technique, practice it on a separate piece of material first.
- Ask for Help: Don’t be afraid to ask for help from more experienced crafters. Online forums and community groups can be great resources.
Variations and Customizations
Personalizing your paint stick crafts can make them truly unique. Here are some ideas for adding your own touch to projects:
- Color Choices: Experiment with different color schemes. Try bold, contrasting colors or soft, complementary hues depending on the look you’re going for.
- Add Textures: Use materials like fabric, sandpaper, or embossing powder to add texture to your paint stick projects.
- Mix Mediums: Combine paint sticks with other materials such as beads, ribbons, or recycled items to create mixed-media art.
- Personalize: Add personal elements to your crafts, like monograms, names, or special dates, to make them more meaningful.
- Change Sizes: Adjust the size of your projects. Make mini versions for ornaments or supersize them for garden art.
Upcycling and Sustainability
Crafting with sustainability in mind is not only good for the environment but can also add character to your projects. Here’s how to incorporate upcycling into your paint stick crafts:
- Repurpose Materials: Look for materials that can be repurposed. Old clothes, broken jewelry, and scrap paper can all find new life in your crafts.
- Eco-Friendly Paints: Choose paints that are non-toxic and environmentally friendly. Water-based paints are a good option.
- Natural Decorations: Use natural elements like stones, shells, or dried flowers to decorate your projects.
- Reusable Projects: Create crafts that can be used repeatedly, like reusable calendars or picture frames.
- Teach Others: Share your knowledge of sustainable crafting with friends and family. Teaching others can help spread the practice of eco-friendly crafting.
By following these tips, you’ll be able to make paint stick crafts that are not only easy and beautiful but also personalized and eco-friendly. Happy crafting! 🖌️🌿✨
Advanced Techniques for Paint Stick Crafts
Expanding your repertoire of techniques can transform simple paint stick projects into works of art. Here are some advanced methods to elevate your craft:
Layering and Texturing:
- Begin by applying a base color and let it dry completely.
- Add layers of different colors, allowing each to dry before adding the next.
- Use tools like sponges or textured rollers to create patterns and textures on each layer.
Stenciling:
- Secure a stencil over your paint stick with tape.
- Apply paint through the stencil using a sponge or brush.
- Carefully remove the stencil to reveal a crisp, detailed design.
Distressing:
- After painting your craft, lightly sand the edges and raised areas to create a worn, vintage look.
- Apply a thin layer of stain over the paint and wipe off the excess to enhance the distressed effect.
Decoupage:
- Cut out images or patterns from paper or fabric.
- Adhere them to your paint stick using a decoupage medium or glue.
- Seal the surface with a clear varnish to protect your design.
Gold Leafing:
- Apply a thin layer of adhesive size to the area where you want the gold leaf.
- Carefully place the gold leaf over the adhesive and smooth it out with a soft brush.
- Brush away excess leaf to reveal a luxurious, metallic finish.
By mastering these advanced techniques, you’ll add depth, texture, and sophistication to your paint stick crafts. Experiment with different methods and find what inspires you to create unique and beautiful projects. Happy crafting! 🎨✨
FAQs about Paint Stick Crafts
Find answers to frequently asked questions about paint stick crafts. Learn how to use paint sticks for creative projects and unleash your artistic skills.
What type of paint works best on paint sticks?
Acrylic paint is ideal for paint sticks because it’s versatile, dries quickly, and comes in a wide range of colors. For a more durable finish, you can also use enamel paint.
Do I need to prime my paint sticks before painting?
Priming is not always necessary, but it can help the paint adhere better and provide a more uniform color. If you choose to prime, use a white acrylic gesso or a primer designed for wood.
How do I prevent my paint from peeling off the sticks?
Make sure the paint sticks are clean and dry before painting. Apply thin layers of paint, allowing each layer to dry completely. Seal your finished project with a clear acrylic sealer to protect it.
Can I use paint sticks for outdoor projects?
Yes, but ensure you use paints and sealers that are suitable for outdoor use to withstand the elements.
Where can I find inspiration for paint stick craft projects?
Look for inspiration on crafting websites, social media platforms like Pinterest, or in crafting books and magazines. Don’t be afraid to put your own twist on the ideas you find.
How can I make my paint stick crafts eco-friendly?
Use non-toxic paints, recycle or upcycle materials, and choose natural decorations. Consider making crafts that serve a practical purpose to reduce waste.
What’s the best way to cut paint sticks for different projects?
Use a saw designed for small wood projects, such as a hand saw or a miter saw. Always follow safety guidelines when using tools.
By addressing these FAQs, you’ll help crafters feel more confident and prepared as they embark on their paint stick crafting journey.


