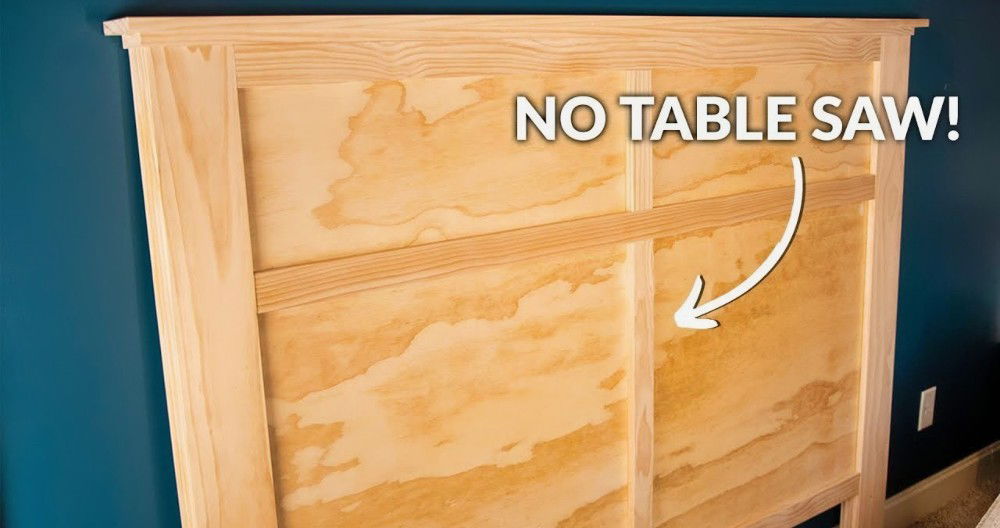
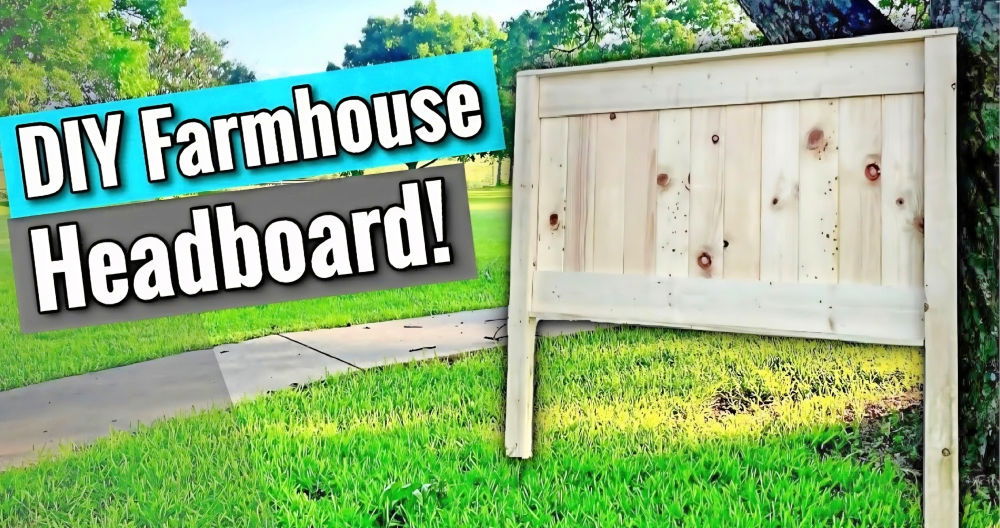
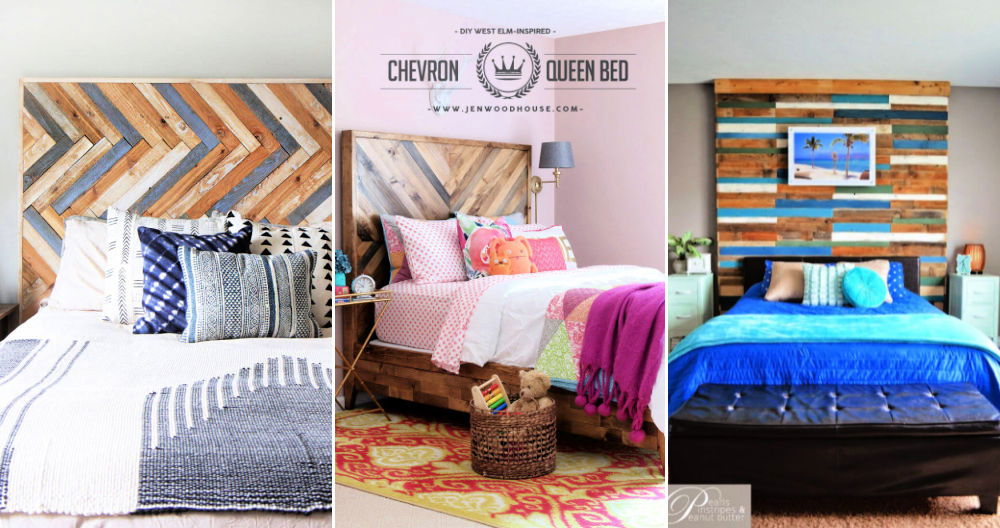
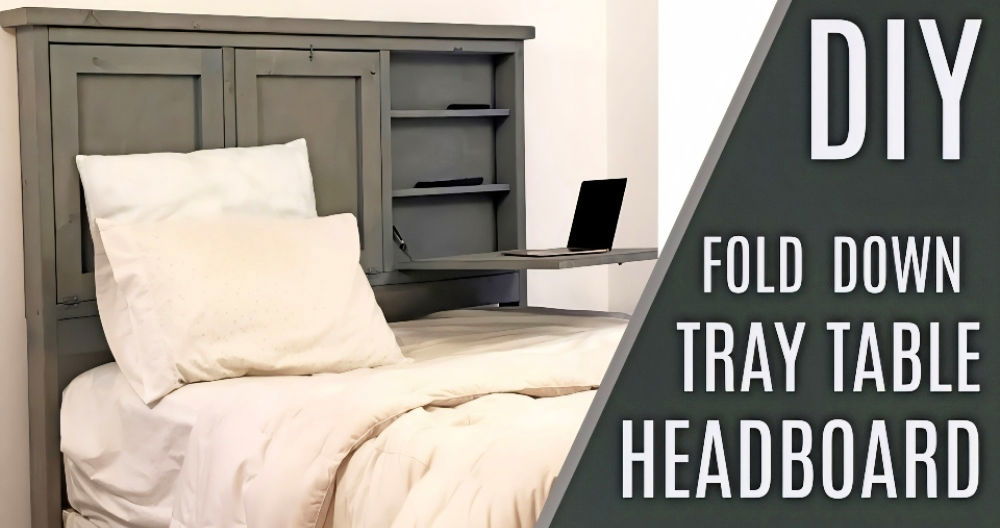
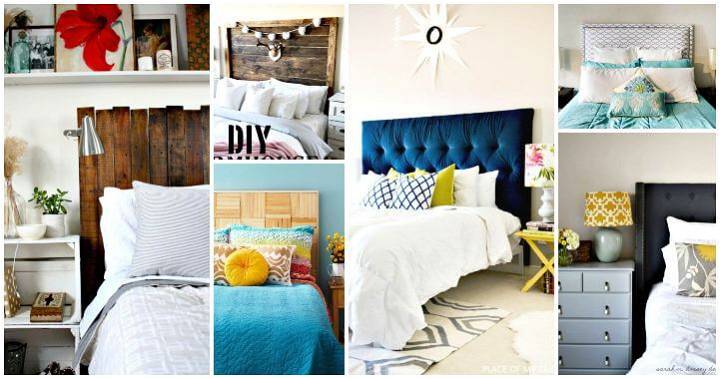
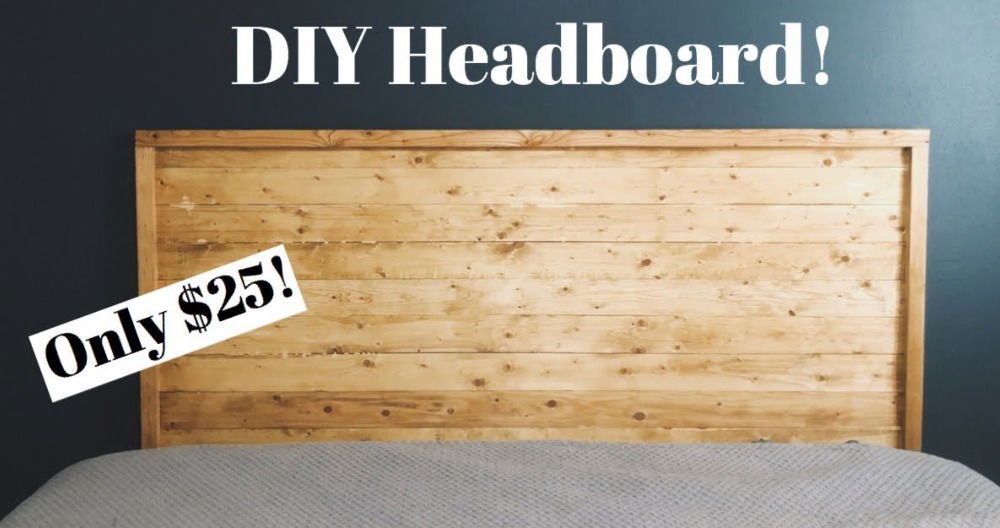
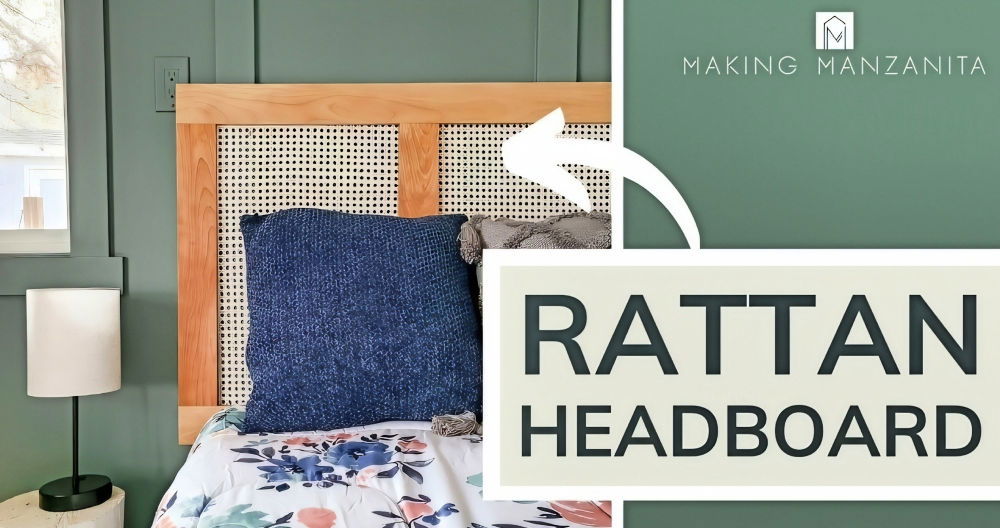
Starting a DIY project has always excited me, especially when it adds charm to my home. One morning, I decided to build a pallet wood headboard for my bedroom. I began by collecting wooden pallets from a local store, ensuring they were in good condition. With some simple tools and a bit of patience, I knew I could build something unique.
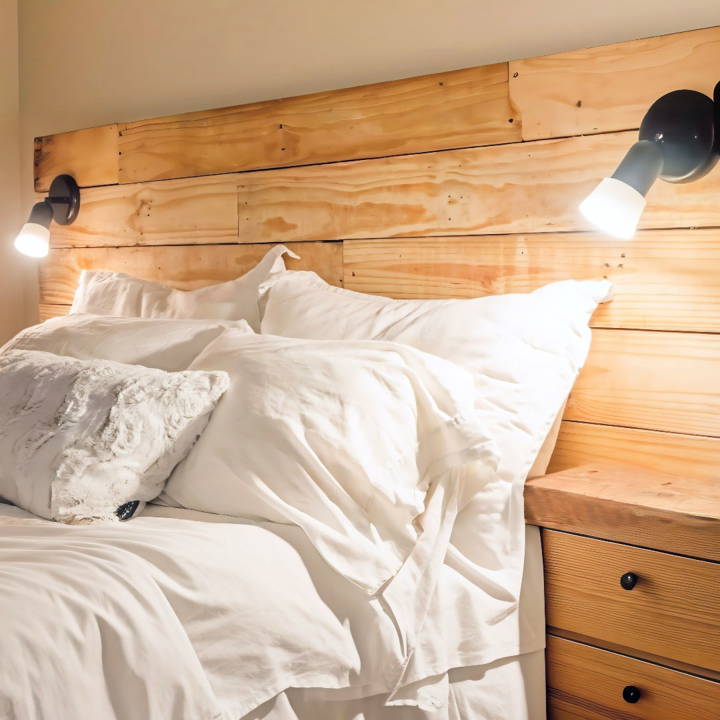
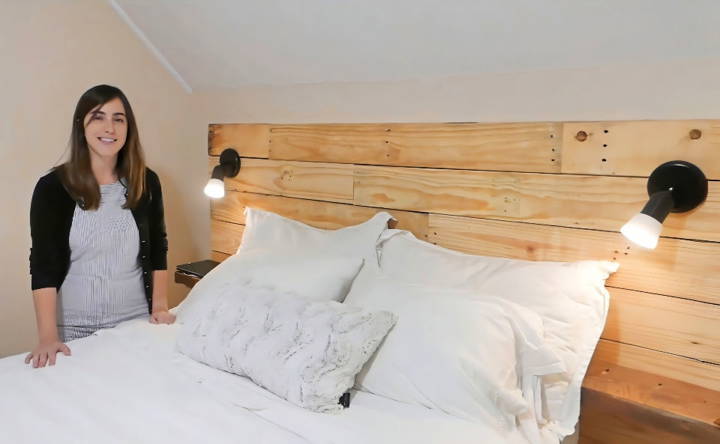
The process of turning raw pallets into a beautiful pallet wood headboard was surprisingly straightforward. I carefully sanded the wood, assembled the pieces, and added a coat of paint. The end result was a stunning piece of furniture that brought character to my room.
What is Pallet Wood?
Pallet wood comes from pallets, which are flat transport structures used to support goods in a stable fashion while being lifted by a forklift, pallet jack, or other jacking devices. These pallets are often made of softwood and are used once before being discarded or recycled.
Why Choose Pallet Wood for DIY Projects?
- Eco-Friendly: By reusing pallets, you're giving new life to wood that might otherwise end up in a landfill.
- Cost-Effective: Many businesses give away used pallets for free or sell them at a low cost.
- Versatile: Pallet wood can be transformed into furniture, decorations, and more.
How to Select the Right Pallets
- Look for the HT stamp, which means the wood has been heat-treated rather than chemically treated.
- Avoid pallets with a MB stamp, as they've been treated with methyl bromide, a harmful pesticide.
- Choose pallets that are in good condition, without too many broken boards or protruding nails.
Preparing Pallet Wood for Use
- Safety First: Wear gloves and eye protection when dismantling pallets.
- Cleaning: Sand the wood to remove splinters and build a smooth surface.
- Dismantling: Use a crowbar or pallet buster to carefully take apart the pallets.
Using pallet wood for DIY projects builds unique items and is eco-friendly. It's beneficial for your home and the planet! Ensure safety by choosing indoor-safe pallets.
Gathering Your Materials
Before embarking on this project, let's talk about the materials needed and why.
- Pallets: The star of the show. Pallets are cost-effective and add a rustic charm. Ensure they're in good condition.
- 2x4 Lumber: For framing the headboard. It provides structure and support.
- Dimmable LED Lights: These build ambiance and allow for adjustable lighting, perfect for reading in bed or making a softer mood.
- Electrical Supplies: Including dimmer switches, wiring, and outlet boxes for the electrical setup.
- Screws and Nails: For assembling the frame and attaching the pallet wood.
- Tools: A saw (preferably a reciprocating saw), a drill, sandpaper, and safety gear. A reciprocating saw makes dismantling pallets easier, while a drill is essential for assembly.
Step by Step Instructions
Learn how to build a DIY pallet headboard with floating shelves in 6 easy steps, from dismantling pallets to adding the finishing touches. Perfect for your bedroom!
Step 1: Dismantling the Pallets
This was possibly the most labor-intensive part. Dismantling pallets requires patience. Using a reciprocating saw, I zipped along the edges to cut through the nails, then pried off the boards. The mixed teeth blade was a lifesaver, efficiently cutting through both wood and nails.
Step 2: Designing the Framework
Once I had enough pallet wood, I sketched out a basic design, noting dimensions to fit my bed and the desired height for the headboard. Considerations for the location of the floating shelves and the pathway for the electrical wiring were crucial in this phase.
Step 3: Building the Frame
Using 2x4 lumber, I constructed a simple box frame that matched the width of my bed and the planned height of the headboard. I secured this frame directly to the wall studs for stability, ensuring it wouldn't shift or sag.
Step 4: Installing Electrical Components
Electrical work can be intimidating, so ensure you understand what's involved or consult an expert. I routed electrical wiring from an existing outlet up through the frame to where the dimmable switches would be located on either side of the bed. Then, I wired the LED lights, placing them strategically for balanced lighting.
Step 5: Attaching Pallet Wood
Arranging the pallet boards took some time. I aimed for a varied, rustic look, so I chose boards with different shades and textures. After sanding them down to avoid splinters, I attached them to the frame with screws, ensuring they were securely fastened.
Step 6: Adding Floating Shelves
The floating shelves were made from the sturdier pieces of pallet wood, fastened securely to the frame. They serve as a perfect spot for my nightly reads, phone, and glasses.
Finishing Touches
After everything was assembled and in place, I gave the entire construction a final sanding, then treated it with a clear varnish to protect the wood and bring out its natural beauty. The dimmable lights added the final touch, casting a warm, ambient glow that truly transformed the space.
Customization Ideas
When it comes to personalizing a DIY pallet headboard, the possibilities are as vast as your imagination. Here are some creative ideas to make your headboard uniquely yours:
Paint It Up
- Choose Your Palette: Select colors that match your room's decor. Soft pastels for a calming effect or bold hues for a statement piece.
- Patterns and Designs: Add stripes, geometric shapes, or even a painted mural for an artistic touch.
Stain for Elegance
- Wood Stains: Apply a wood stain for a more refined look. From light oak to dark walnut, pick a shade that complements your furniture.
- Finishing Touches: Use a sealant to protect the wood and give it a glossy or matte finish.
Fabric for Texture
- Upholster with Fabric: Cover your headboard with fabric for added texture and comfort. Choose from linen, velvet, or leather.
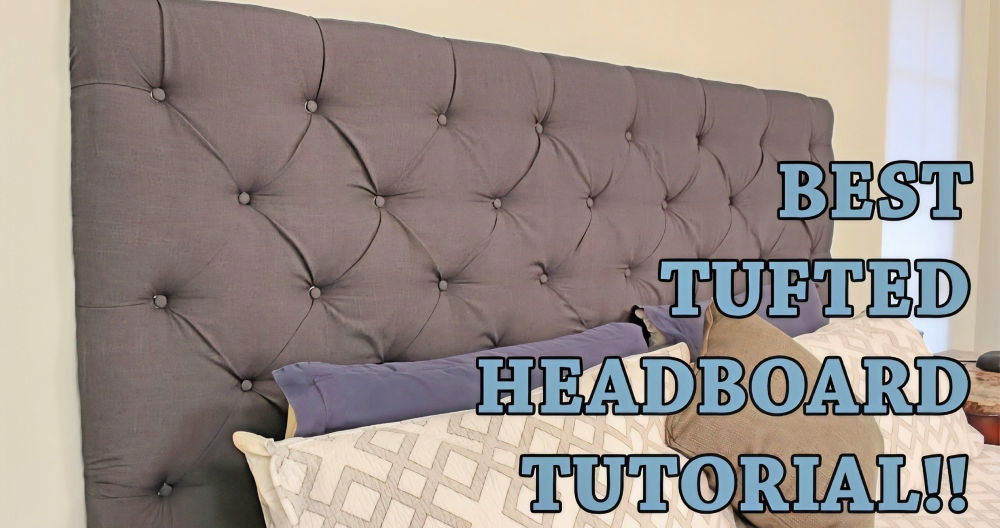
- Tufting: Add buttons or tufts for a plush, luxurious feel.
Light It Up
- Fairy Lights: Weave fairy lights through the slats for a cozy, twinkling effect.
- LED Strips: Install LED strip lights along the edges for a modern, ambient glow.
Add Functionality
- Shelves: Attach small shelves for books, glasses, or decor items.
- Hooks: Add hooks on the sides to hang hats, headphones, or light bags.
Go Green
- Plant Holders: Secure small plant holders for succulents or air plants.
- Vine Wraps: Intertwine green vines or artificial plants for a touch of nature.
Personal Touches
- Photo Frames: Attach frames to display your favorite memories.
- Quotes or Letters: Paint or carve inspirational quotes or initials.
By incorporating these customization ideas, you'll build a headboard that's not just a piece of furniture but a reflection of your style and creativity.
Maintenance and Care
Taking care of your DIY pallet headboard is important to ensure it lasts long and continues to look great. Here's a straightforward guide on how to maintain and care for your pallet wood headboard:
Regular Cleaning
- Dusting: Use a soft brush or cloth to gently remove dust from the surface.
- Wiping: For a deeper clean, dampen a cloth with water and a mild detergent and wipe down the wood.
Dealing with Spills
- Immediate Action: If any liquid is spilled, wipe it up quickly to prevent staining.
- Stain Removal: For tougher stains, use a mixture of water and vinegar to help lift the mark.
Preventing Damage
- Avoid Moisture: Keep the headboard away from damp areas to prevent warping or mold.
- Protect from Sunlight: Direct sunlight can fade the wood over time, so try to position your bed away from strong light.
Minor Repairs
- Scratches: Small scratches can be filled in with a wood marker or wax crayon that matches the color of your stain.
- Loose Boards: If any boards become loose, secure them back in place with wood glue or nails.
Refreshing the Look
- Re-staining: Over time, you might want to re-stain your headboard to refresh its appearance.
- New Coat of Paint: Alternatively, applying a new coat of paint can also give your headboard a fresh look.
Long-Term Care
- Annual Check: Once a year, inspect your headboard for any signs of wear and tear and address them promptly.
- Professional Help: If you're unsure about how to fix an issue, don't hesitate to seek help from a professional.
By following these simple steps, you can keep your pallet headboard in top condition for years to come.
FAQs About DIY Pallet Headboard
Discover answers to common questions about DIY pallet headboards, from materials needed to assembly tips. Perfect your home decor project today!
Look for pallets marked with “HT”, which stands for heat-treated, to ensure they haven’t been chemically treated and are safe for indoor use. Avoid pallets marked with “MB”, as they’ve been treated with methyl bromide, a harmful chemical.
Absolutely! DIY projects are great for customization. You can tailor the size, color, and finish of your headboard to match your bedroom decor and personal style. Measure your bed and decide on the dimensions of your headboard accordingly.
Making a pallet headboard is cost-effective and eco-friendly. It allows you to recycle materials and build a unique piece that adds character to your bedroom. Plus, it's a fun way to develop your woodworking skills and achieve a sense of accomplishment.
To securely attach your pallet headboard to the wall, follow these steps:
Locate the studs on your wall using a stud finder.
Mark the stud positions on the wall where the headboard will go.
Attach L brackets to the back of the headboard, aligning them with the marked studs.
Drill pilot holes in the wall at the marked stud locations.
Screw the L brackets into the wall studs, ensuring the headboard is level and at the desired height.
Get creative with your pallet headboard by exploring these design ideas:
Paint it: Choose a color that complements your room's decor.
Add lights: String LED fairy lights around the headboard for a cozy ambiance.
Upholster it: Add fabric and padding for a soft, plush headboard.
Stencil art: Use stencils to add patterns or inspirational quotes.
Shelving: Incorporate shelves for practical storage and display.
Concluding Thoughts
Wrapping up, making your own DIY pallet wood headboard is a fun and fulfilling project. It adds a rustic touch to your bedroom and showcases your creativity. From gathering materials to finishing touches, each step is an opportunity to personalize your space. So, grab some pallets, tools, and a bit of enthusiasm, and soon you'll enjoy a unique pallet headboard.


