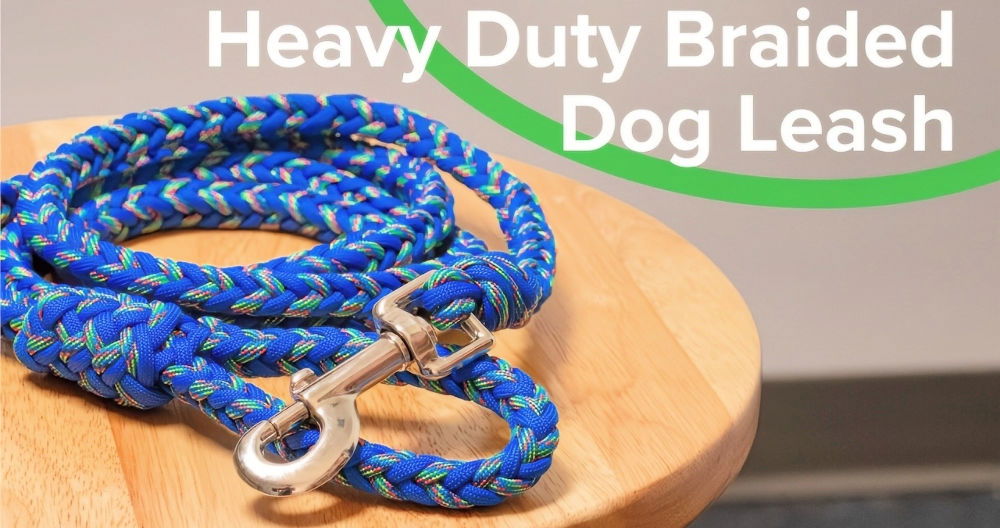
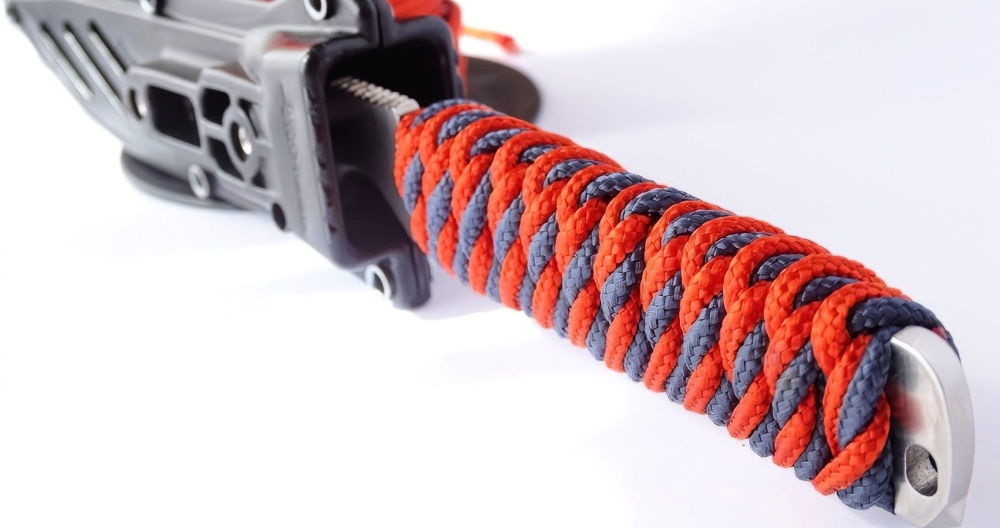
Making a personalized paracord dog collar is an exciting DIY adventure that brings joy and style to your furry friend—all in just a few quick minutes! Not only is it practical, but it also allows you to make something durable and unique for your pet. The cobra knot, also known as the Solomon Bar, is one of the most popular knots used in paracord projects due to its simplicity and strength.
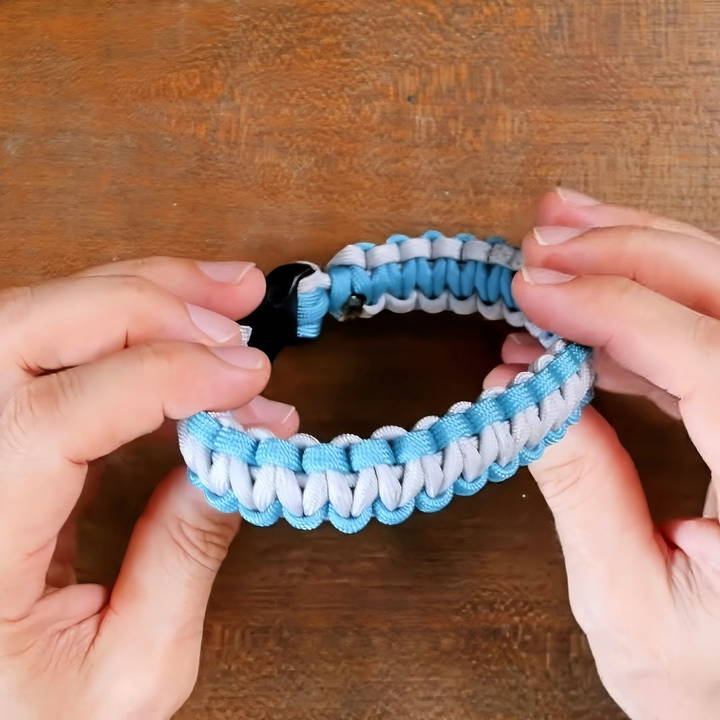
Embark on a crafty adventure as we guide you through making a unique paracord dog collar from start to finish using the captivating cobra knot. Whether you're a complete beginner or have some experience with paracord, this article will provide detailed instructions, tips, and everything you need to know to make a beautiful, functional collar for your dog.
Why Make a Paracord Dog Collar?
Before diving into the tutorial, let's briefly cover why a paracord dog collar might be a better choice than purchasing a store-bought one:
- Durability: Paracord (short for parachute cord) is extremely strong, made from nylon or polyester. It's designed to handle tough conditions, making it ideal for something that needs to withstand regular wear and tear, such as a dog collar.
- Customization: You get to choose the color, pattern, and length, making the collar unique to your pet. Plus, if your dog has a specific size requirement, you can tailor the collar to fit perfectly.
- Multi-Purpose: In survival situations, the paracord can be unraveled and used for many purposes, such as making shelters, securing items, or even as a makeshift leash.
- Cost-Effective: Making a paracord collar yourself can be significantly cheaper than buying a high-quality custom collar.
Now, let's move on to the materials you'll need and the process of making the collar.
Materials Needed for a Paracord Dog Collar
To make your own paracord dog collar, you'll need the following materials. These are easily accessible and affordable, especially if you already enjoy making paracord crafts.
1. Paracord
- Type: 550 paracord is ideal for dog collars. It's strong (with a breaking strength of 550 pounds), and it's the most common type used in paracord projects.
- Length: The length of paracord you need depends on your dog's neck size. A general rule of thumb is to use 1 foot of paracord for every inch of the finished collar. For example, if your dog's neck is 15 inches, you will need at least 15 feet of paracord.
2. Side Release Buckle
- Size: A 3/8” or 1/2” buckle is suitable for most dog collars. These can be found in plastic or metal, with plastic being the more common choice for paracord collars.
3. D-Ring
- The D-ring is where you'll attach your dog's leash. Make sure it's sturdy and fits the width of the buckle and paracord collar.
4. Scissors or Knife
- You'll need a sharp pair of scissors or a knife to cut the paracord to the desired length.
5. Lighter
- To prevent the ends of the paracord from fraying, you'll use a lighter to melt the ends after cutting.
6. Measuring Tape
- This is used to measure your dog's neck and the length of the paracord.
Step by Step Instructions
Learn how to make a durable paracord dog collar with our easy step-by-step instructions. Perfect DIY guide for pet owners.
Step 1: Measure Your Dog's Neck
Before you start, you need to measure your dog's neck. Use a flexible measuring tape and wrap it around the middle of your dog's neck, where the collar will sit. Make sure you leave a little room for comfort—about two fingers' width is ideal.
Once you have the neck size, add an additional inch or two for adjustability. For example, if your dog's neck measures 15 inches, cut the paracord to accommodate a 16- or 17-inch collar.
Step 2: Cut the Paracord
Now that you know the size of the collar, use the measurement rule: 1 foot of paracord for every inch of collar length. For a 17-inch collar, cut 17 feet of paracord. If you're using two colors, split the total length in half and cut two pieces (8.5 feet each, in this case).
- Pro Tip: Always cut a little more than you think you'll need. It's better to have some extra paracord at the end than to run out in the middle of the project.
Step 3: Attach the Buckle
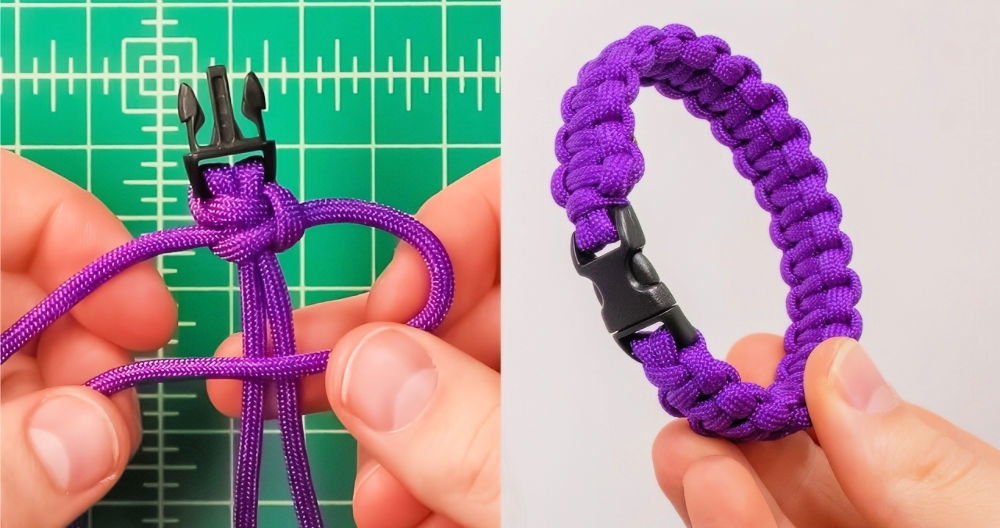
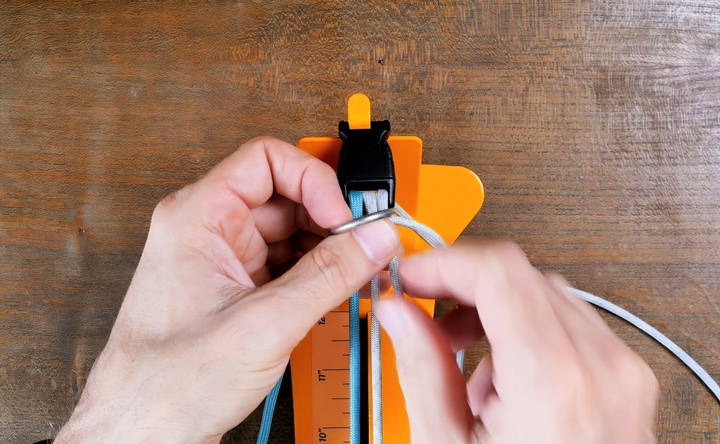
Take the buckle and feed one end of the paracord through the bottom slot of the male part of the buckle. Pull it through, and then thread it back through the top slot to make a loop. Make sure the paracord is snug, but not too tight.
Repeat this process on the other end of the paracord with the female part of the buckle.
Step 4: Start the Cobra Knot
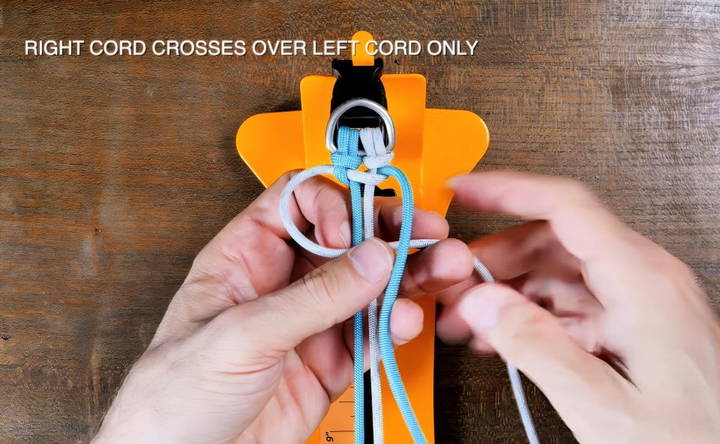
The cobra knot is simple but effective. Here's how to tie it:
- Start: Hold the two main strands of paracord between the buckle pieces. These strands should be straight and untangled.
- Left Side Loop: Take the left side paracord, and bring it under the two main strands. Then, loop it over the top of the right side paracord.
- Right Side Loop: Now take the right side paracord and loop it over the left side loop, then bring it through the hole on the left and pull tight.
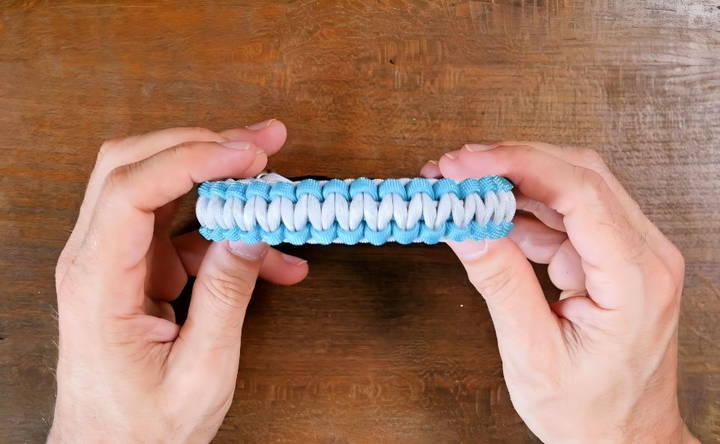
- Repeat: Repeat this process, alternating sides, until you reach the end of the collar. The key is to keep the knots tight and uniform.
Pro Tip: Keep checking the collar length as you tie the knots to ensure it's the right size.
Step 5: Attach the D-Ring
As you near the end of the collar, it's time to attach the D-ring. Thread the paracord through the D-ring, and then continue tying the cobra knot for another few rounds to secure it in place. Make sure the D-ring is positioned in the middle, so it stays balanced when the collar is on your dog.
Step 6: Finish the Collar
Once you've tied all your cobra knots, check the fit of the collar by placing it around your dog's neck. Ensure it's comfortable and the right length.
Next, trim any excess paracord using scissors or a knife. Leave about half an inch of paracord at the end, and then use a lighter to melt the ends. This will prevent the paracord from fraying and give the collar a clean, finished look.
Step 7: Test the Collar
Before using the collar, test its strength. Attach the leash to the D-ring and give it a few tugs to ensure the paracord and knots are secure. Double-check that the buckle snaps securely and comfortably around your dog's neck.
Tips for Making the Perfect Paracord Dog Collar
- Use contrasting colors: If you want your collar to stand out, use two different colors of paracord. This not only makes the collar look great but also makes it easier to see which strand to work with while tying the cobra knot.
- Experiment with knots: Once you master the cobra knot, you can experiment with other knots and patterns to add some variety. The king cobra knot, for example, is a wider and more robust version of the standard cobra knot.
- Keep safety in mind: When making a collar, always ensure the materials are strong enough to handle your dog's size and strength. If you have a large or particularly strong dog, you may want to consider using a thicker buckle or reinforcing the collar with additional layers of paracord.
Paracord Collar Maintenance
One of the great things about paracord is its durability, but like any collar, it will need occasional cleaning and maintenance.
- Washing: To clean the collar, simply hand wash it with mild soap and water. Allow it to air dry completely before putting it back on your dog.
- Check for wear: Periodically inspect the collar for any signs of wear, such as fraying or loose knots. If you notice any issues, consider making a new collar to ensure your dog's safety.
Conclusion
Making a paracord dog collar using the cobra knot is a simple, cost-effective project that provides a custom, durable collar for your dog. With the step-by-step instructions provided, you can easily make a functional and stylish collar in under two minutes. Once you get the hang of the basic cobra knot, the possibilities for customizing your dog's collar are endless—whether it's choosing different colors or adding accessories like name tags.
Give it a try, and you'll have a collar that's not only practical but also made with love for your furry friend!
FAQs About Paracord Dog Collar
Discover everything about paracord dog collars with our frequently asked questions. Learn the benefits, uses, and how to choose the best one for your pet.
To start, feed the paracord through the male part of the buckle and then loop it back through. This secures one end. Repeat this on the female part of the buckle before you begin knotting.
A general rule is to use 1 foot of paracord per inch of collar length. For example, for a 15-inch collar, you’ll need 15 feet of paracord.
Pass both ends of the paracord through the slots in the buckle and pull them snug. Be sure the buckle is centered so the ends of the cord hang evenly.
Yes, you can add a tactical handle by incorporating an additional loop of paracord. Ensure it's tightly woven to maintain the collar's strength.
Try watching tutorials that break down the cobra knot in slow motion. Pausing and reviewing each step can help you visualize how to tie the knot properly.
For added strength, you can use the king cobra knot, which layers an additional weave over the cobra knot, making the collar thicker and more durable.


