If you're a knife enthusiast or simply looking to personalize and improve the grip of your favorite blade, making a DIY paracord knife handle wrap is an excellent way to do just that. Paracord wraps not only give your knife handle a custom look but also improve functionality by providing a non-slip grip and adding an extra layer of durability. In this guide, I'll walk you through everything you need to know about making a paracord knife handle wrap, based on the popular West Country Whipping Knot technique.
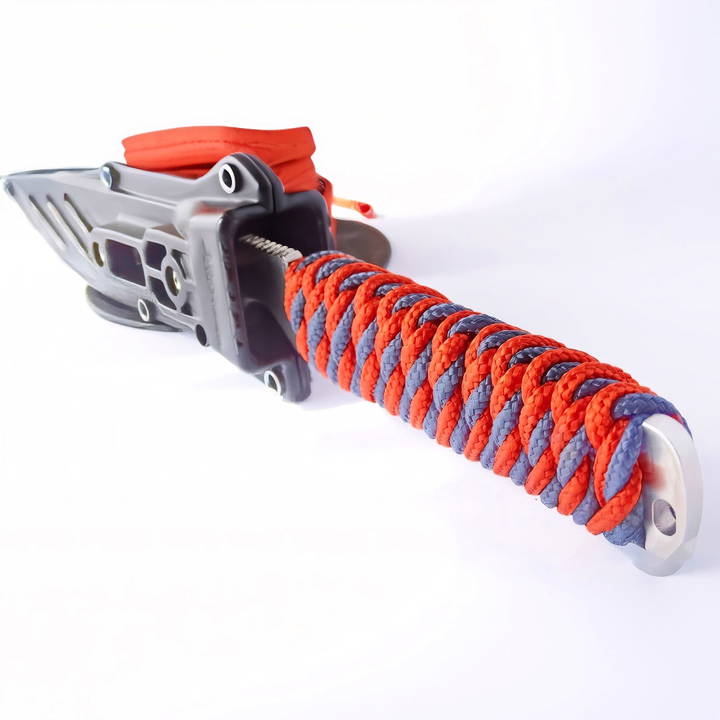
Why Make a Paracord Knife Handle Wrap?
Before diving into the instructions, it's important to understand the advantages of wrapping your knife handle with paracord. Here are some key benefits:
- Enhanced Grip: Knife handles can often be slippery or uncomfortable after prolonged use. Wrapping the handle with paracord helps improve grip and comfort, especially in wet or challenging conditions.
- Durability: Paracord is a highly durable material, known for its strength and resistance to wear and tear. Wrapping your knife handle ensures longevity and protects the original handle from scratches and damage.
- Customizable Design: By choosing different colors and wrap patterns, you can personalize the look of your knife to fit your style or make it easily recognizable in your gear collection.
- Emergency Usability: Paracord is famous for its versatility in outdoor and survival scenarios. If you ever find yourself in a situation where you need cordage for tying, repairing, or other emergency uses, you can unravel the paracord wrap and use it.
Tools and Materials Needed
Before you begin, gather the following materials to ensure the process goes smoothly. Based on the instructions from the file:
Materials:
- Paracord 425 type II: 2 pieces, each 200 cm (approximately 80 inches)
- Knife: Make sure the knife is clean and ready for the handle wrap.
- Scissors: For trimming the paracord after wrapping.
- Lighter: To melt the ends of the paracord and prevent fraying.
- Duct Tape: To hold the paracord in place temporarily while wrapping.
Additional Considerations:
- The length of the paracord will depend on the thickness and size of your knife handle. A thicker handle may require more cord, so adjust the length if needed.
- It's crucial to protect the blade while working to avoid injury. Either cover the blade with duct tape or keep it in its sheath during the process.
Step by Step Instructions
Learn how to wrap a paracord knife handle step by step with a west country whipping knot. Advanced techniques and success tips are included. Perfect for survivalists!
Step 1: Prepare Your Knife and Paracord
- Start by ensuring your knife blade is properly protected. Wrap the blade with duct tape or store it in its sheath to prevent any accidents.
- Take your two pieces of paracord, making sure each is approximately 200 cm long. If your knife handle is especially thick or long, you may want to add extra length to ensure you have enough cord.
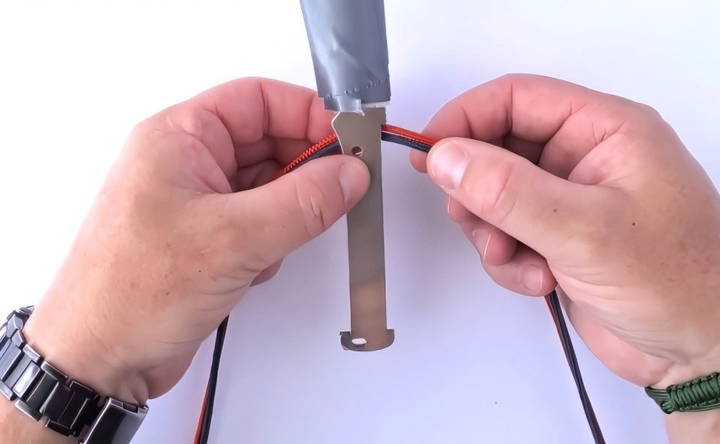
Step 2: Anchor the Paracord to the Knife Handle
- Begin by placing one end of the first piece of paracord at the top of the handle (near the knife blade).
- Secure this end with a small piece of duct tape to hold it in place while you start the wrapping process. This will make it easier to manage the cord as you work through the pattern.
- Do the same for the second piece of paracord if you're using two colors.
Step 3: Start the West Country Whipping Knot
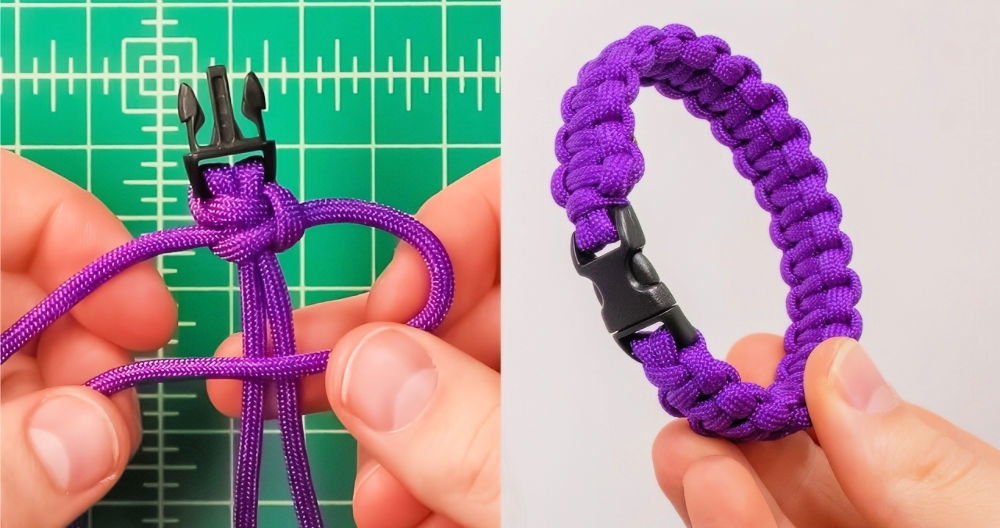
The West Country Whipping Knot is a simple and effective method for making a paracord handle wrap. Here's how to execute the knot:
- Take the first piece of paracord and loop it around the knife handle. Make sure the loop is tight but not too tight, as you will be adding the second cord shortly.
- Cross the cord over itself and pass the working end back around the handle, forming another loop.
- Tighten each loop as you go, ensuring that the wraps are snug and uniform in spacing. This makes a layered, gripping surface for the handle.
- Alternate between the two cords: If you're using two colors, repeat this process with the second piece of paracord, alternating between each color for a striped effect.
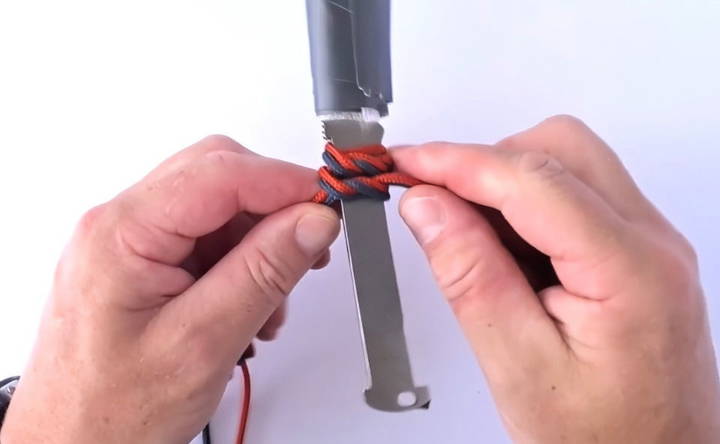
Step 4: Continue Wrapping
- Continue wrapping the paracord tightly around the knife handle, alternating between the two pieces of cord if you are using multiple colors. As you progress, the handle will develop a neat, braided appearance that provides both visual appeal and functional grip.
- Make sure to pull the cords tightly as you work to avoid any slack. This ensures a secure wrap that won't come undone during use.
Step 5: Finish the Wrap
- Once you reach the end of the handle, carefully tuck the ends of the paracord under the final wraps. This will help lock them in place and prevent unraveling.
- Use a lighter to carefully melt the ends of the paracord. Be cautious not to burn too much of the cord, but just enough to fuse the ends so they won't fray.
- After melting the ends, press them down gently with the side of the lighter or another flat object to make a smooth finish.
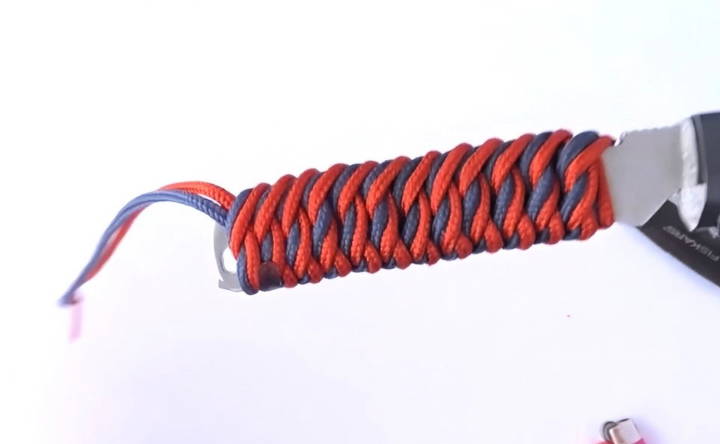
Step 6: Final Adjustments
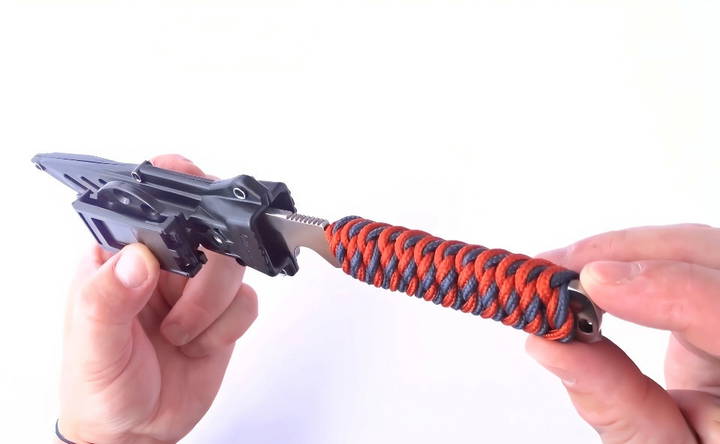
- Inspect the entire handle to ensure that the paracord wrap is even, secure, and comfortable to hold.
- Make any necessary adjustments by tightening any loose wraps or shifting the cord slightly for a more symmetrical appearance.
Advanced Techniques for Paracord Knife Handle Wraps
Once you've mastered the basic West Country Whipping Knot, you may want to experiment with more advanced wrapping techniques. These methods can add additional functionality and style to your knife handle.
1. Turk's Head Knot
This is a more complex knot that makes a unique, rounded grip on the handle. It's ideal for those who want a decorative, professional-looking finish on their knives.
2. Double Wrap
For those looking for extra padding and grip, a double wrap technique can be used. This involves going over the first wrap with a second layer of paracord, providing added comfort for larger knives or longer periods of use.
3. Multi-Color Weaves
If you enjoy experimenting with colors, you can incorporate more than two strands of paracord in your wrap. This allows you to make intricate patterns, such as zigzags or diamonds, for a truly customized knife handle.
Tips for Success
To ensure your paracord knife handle wrap looks professional and holds up over time, keep these tips in mind:
- Use Quality Paracord: Higher-quality paracord is not only stronger but also easier to work with. Look for a paracord that is smooth, durable, and resists fraying.
- Practice Before Wrapping: If you're new to paracord wraps, it's helpful to practice your knots on a dowel or stick before applying them to your knife. This will help you refine your technique and avoid mistakes on your actual knife handle.
- Keep It Tight: The key to a good handle wrap is maintaining consistent tension throughout the process. Loose wraps can shift or unravel over time, so pull the cord tight with each pass.
- Symmetry is Key: For a professional-looking wrap, make sure that your knots are evenly spaced and aligned. Take your time, especially when alternating between colors.
Conclusion
Making a handmade DIY paracord knife handle wrap is a rewarding project that adds both functionality and style to your blade. Whether you're enhancing the grip for practical reasons or simply personalizing the look, the West Country Whipping Knot is an excellent starting point for beginners. With practice, you can explore more advanced techniques to take your paracord wrapping skills to the next level.
Now that you've learned the steps, grab your materials and get started on your very own paracord knife handle wrap. It's a simple but effective way to upgrade your knife and showcase your craftsmanship!
FAQs About DIY Paracord Knife Handle Wrap
Learn everything about DIY paracord knife handle wrap with our handy FAQs. Tips, techniques, and benefits are all covered in one place!
To simplify, focus on tying square knots using both strands of cord. Alternate the knots on each side of the handle. This makes the wrapping process easier to manage and still provides a strong grip.
If you'd like to be able to untie the paracord easily, instead of cutting and burning the ends, try tying a removable knot like a bowline or slipknot. This allows for flexibility in case you want to reuse the cord later.
Yes, you can wrap knives with solid handles, though it may require more cord or a different approach to ensure a secure grip. Many tutorials focus on skeleton handles, but solid handles can still be wrapped with the same techniques.
If you don’t have scissors, you can use any sharp blade, such as a utility knife or thread-snip scissors. Just be sure to make a clean cut to avoid fraying.
Ensure you're pulling the cord tight with each knot. If the knots still loosen, try using a small amount of glue to secure them temporarily, or switch to a tighter knot like a constrictor knot for better hold.
While the tutorial may use a specific model like the Wildsteer WT4 XL, most paracord wrapping techniques can be applied to a variety of knives. Focus more on the handle shape and size rather than the specific model.
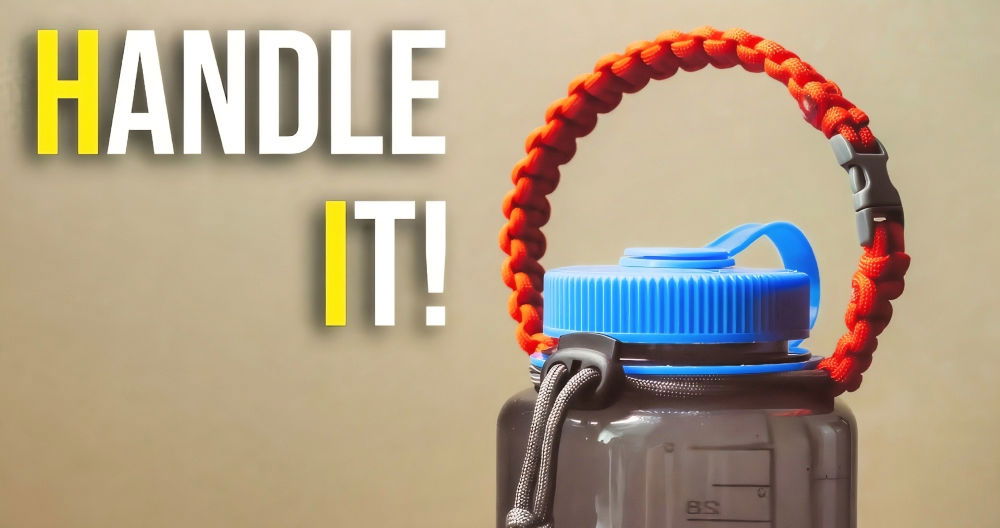
Yes, paracord wraps can be applied to various objects, such as handles of tools, scissors, or even items like Bluetooth speaker handles for added grip and decoration.


