Making a paracord lanyard is an easy DIY project that's both useful and creative. I remember making my first one for my keys, and it turned out great. These lanyards are durable and customizable, making them perfect for holding small items like keys or whistles. With just a few materials and simple steps, you'll have a strong, stylish lanyard in no time. I'm here to help guide you through the process—let's get started, and soon you'll have something practical and handmade to enjoy!
Materials You'll Need
Before diving into the crafting process, gather the necessary materials. Most of these items can be found at local craft stores or online:
- Paracord (about 5 feet): Paracord is available in various colors, allowing for customization. It is known for its strength and durability, making it perfect for crafting lanyards.
- Spring-loaded snap hook or keyring: A snap hook is typically used to attach keys or other items to your lanyard. If you don't have one, a simple keyring will also work.
- Scissors: You'll need a sharp pair of scissors to cut the paracord.
- Lighter: This is used to melt and seal the ends of the paracord after cutting, ensuring that the lanyard doesn't unravel.
Step-by-Step Instructions
Now that you have your materials, you can begin crafting your paracord lanyard. This design is simple, utilizing the Cobra Weave (also known as the Solomon Bar), a common knotting technique.
Step 1: Measure and Fold Your Paracord
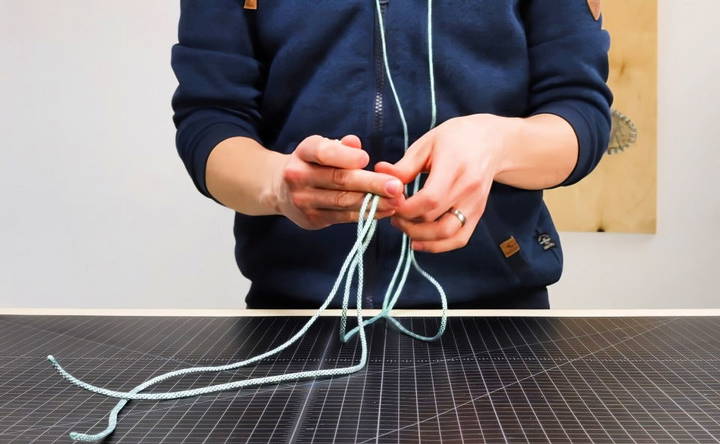
Start by measuring your paracord. You'll need approximately 5 feet for this project, but you can adjust this depending on how long you want your lanyard to be. Once you've measured your cord, find the middle point by folding it in half.
Step 2: Position the Paracord Around Your Neck
To determine the ideal length of the lanyard, place the folded paracord around your neck, with the looped middle at the back of your neck. Position the cord so that the snap hook or keyring sits where you want your keys or attached items to hang. This is a practical way to ensure your lanyard fits comfortably and meets your needs.
Step 3: Attach the Snap Hook
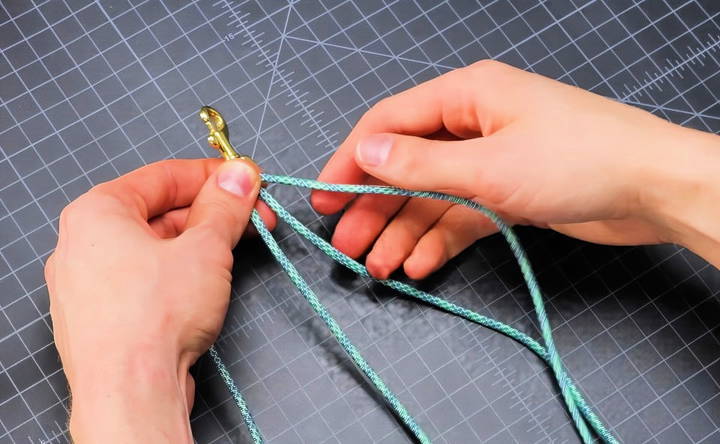
Once you've found the correct length, slide the snap hook or keyring onto the paracord until it reaches the height where you want it to rest. Mark that spot so that you can begin the knotting process.
Step 4: Start the Cobra Weave
If you've made a Cobra Weave bracelet before, this next step will feel familiar. If not, don't worry—it's a straightforward knot pattern that anyone can learn with a little patience.
- Take the two middle strands of the paracord that are positioned behind your neck.
- The two free ends of the cord should be on either side.
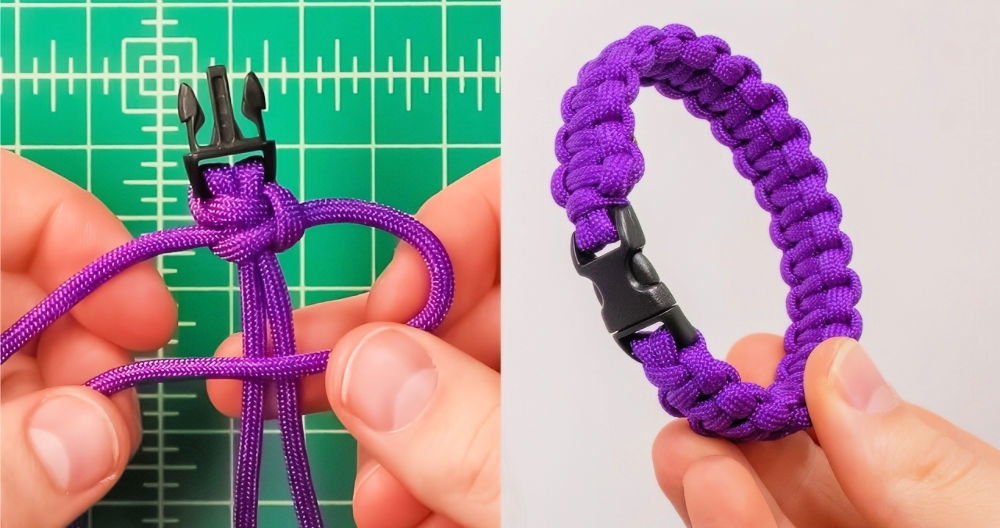
- Begin by crossing one of the free ends (let's say the right side) over the two center strands.
- Next, take the left strand and cross it over the right strand.
- Now, bring the left strand behind the two center strands and up through the loop maked by the right strand.
- Pull the strands tight, securing the first knot against the snap hook.
This is the basic knot for the Cobra Weave. Continue alternating sides—crossing the left strand first, then the right—to make the pattern. The weave forms a square knot around the two center strands, making a strong, durable lanyard.
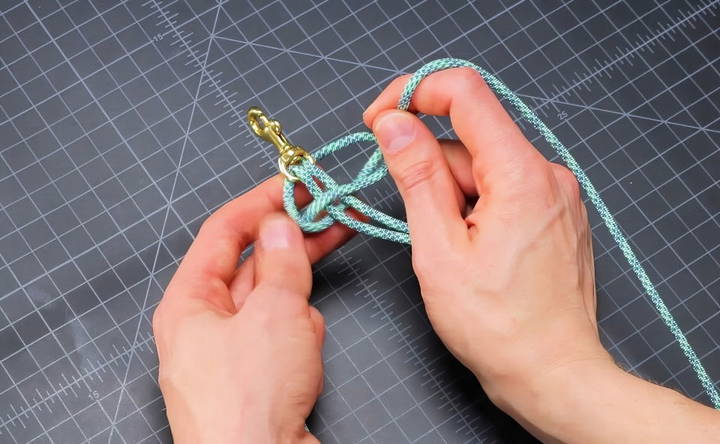
Step 5: Continue Knotting
Repeat the Cobra Weave pattern for about 2 to 3 inches or until the length of the weave matches your desired lanyard length. Make sure the knots are snug but not too tight, as overly tight knots can distort the shape of the weave.
Finishing the Lanyard
Once you've reached the desired length of the weave, it's time to finish your lanyard. Here's how to do it:
Step 6: Clip and Seal the Ends
Using your scissors, cut the loose ends of the paracord about a quarter inch from the last knot. Be careful not to cut too close to the weave, as this can cause it to unravel.
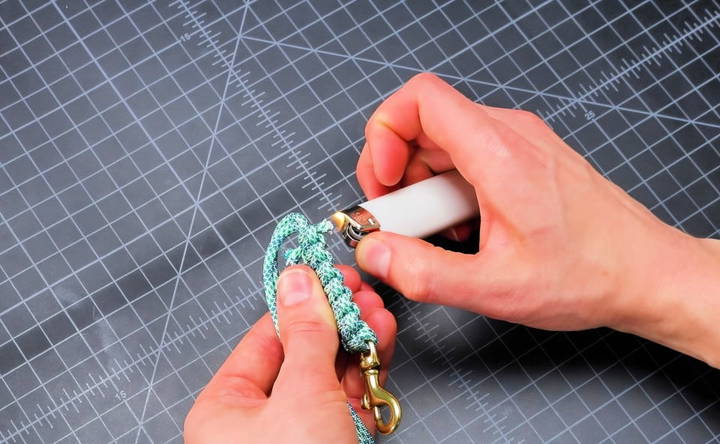
Next, take your lighter and carefully melt the ends of the paracord. Paracord is made of nylon, so melting the ends will prevent fraying. Once the nylon becomes soft, press the melted end against the last knot with the flat side of the lighter or a pair of scissors. This will fuse the end to the weave and prevent it from coming undone.
Variations and Upgrades
Once you've mastered the basic paracord lanyard, there are plenty of ways to enhance the design and make it more functional.
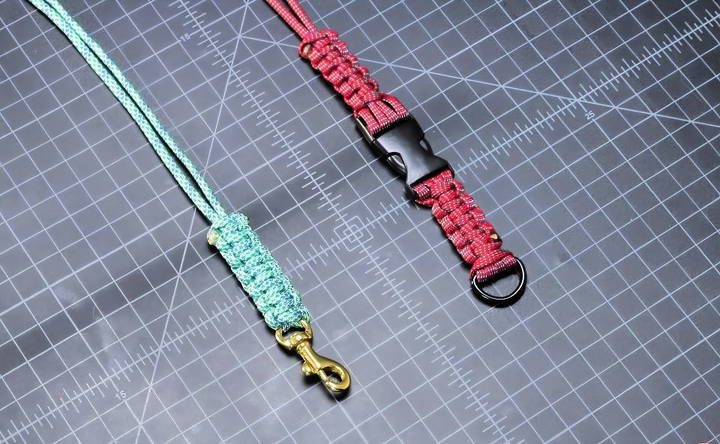
1. Buckle Lanyard
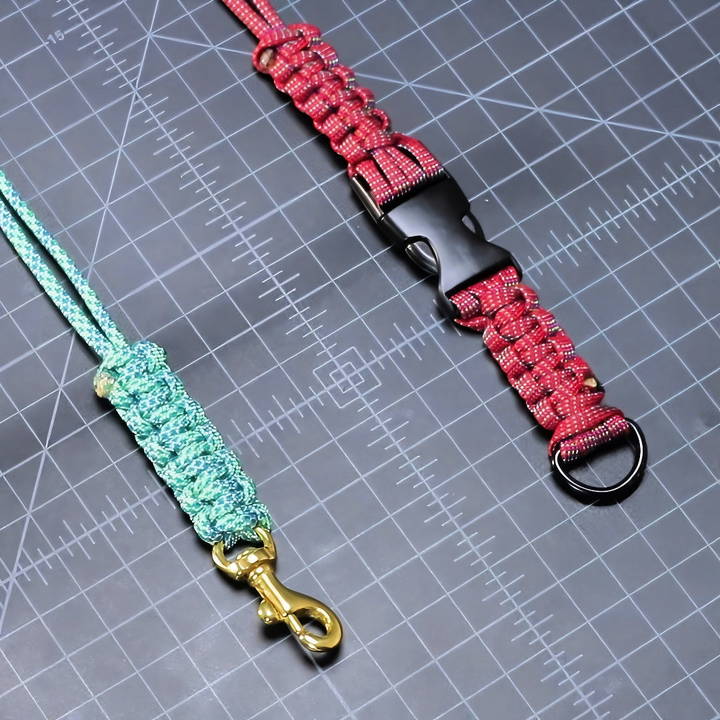
One popular variation is the buckle lanyard. This design incorporates a flat buckle, which allows you to easily detach the lanyard from your keys or other items. Buckles also offer the advantage of convenience, as you can remove the lanyard without taking it off your neck. Some buckles even feature a breakaway function, offering an added safety precaution if the lanyard gets caught on something.
2. Adding a D-Ring
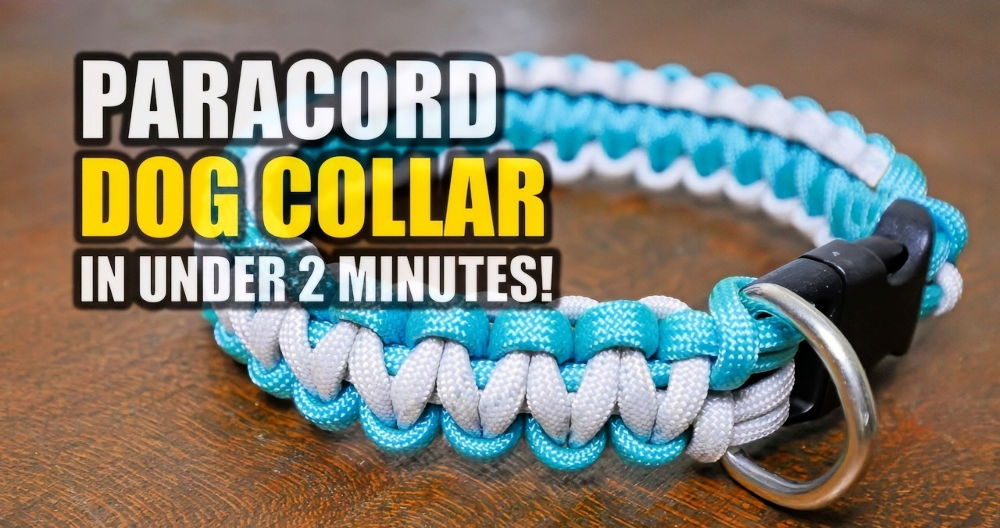
A D-ring is another useful feature you can incorporate into your lanyard. The D-ring allows for multiple items to be attached to the lanyard, such as keys, whistles, or small tools. This makes the lanyard more versatile for different tasks or environments, whether you're using it at work, school, or for outdoor activities.
3. Paracord Colors and Patterns
One of the best aspects of making your own paracord lanyard is the ability to personalize it with different colors. Paracord comes in a wide array of colors and patterns, from solid tones to camouflage and neon designs. You can choose a color that suits your personal style or that serves a specific purpose. For example, bright colors can make your lanyard more visible in low-light conditions, while camouflage can help it blend in during outdoor activities.
Uses for Paracord Lanyards
Paracord lanyards are incredibly versatile and can be used in many different ways. Here are a few ideas for how to use your newly crafted lanyard:
- Key holder: Keep your keys organized and easily accessible by attaching them to the lanyard.
- Whistle holder: If you're into outdoor activities like hiking or camping, a paracord lanyard is a great way to keep a whistle handy in case of emergencies.
- ID badge holder: In professional settings, a paracord lanyard can serve as a stylish and durable way to display your ID badge or security pass.
- Tool holder: Attach small tools or gadgets to your lanyard for easy access, whether you're working on a DIY project or need tools readily available at work.
Final Thoughts
Making a paracord lanyard is a simple yet satisfying project that's perfect for beginners. With just a few materials and basic knotting skills, you can make a useful accessory that's both practical and stylish. Once you've mastered the basic Cobra Weave lanyard, there's no limit to how creative you can get with colors, patterns, and additional features like buckles or D-rings. So gather your supplies and give it a try—your next DIY adventure awaits!
Remember, whether you're making a lanyard for yourself or as a gift, the handmade touch makes it all the more special. Enjoy the process, and don't hesitate to explore more advanced techniques as you grow comfortable with paracord crafting.
FAQs About Paracord Lanyard
Discover answers to common questions about paracord lanyards, from usage tips to crafting techniques, in our comprehensive FAQs guide.
For a standard neck lanyard, about 5 feet of paracord is usually sufficient. If you want a longer lanyard or a different style, like a wrist lanyard, you may need more. For example, for a 3-foot lanyard with hooks on each end, you would need approximately 7-8 feet of cord.
To avoid blackening the paracord when finishing, melt the ends slowly by holding the flame at a slight distance from the cord. Once it softens, press the ends flat using a tool like scissors.
Yes, but keep in mind that polyester behaves differently than nylon when melted. Nylon melts more uniformly, while polyester may require a different approach when finishing the ends.
Any standard lighter will work for this project. A butane lighter can offer better precision since it directs the flame in a straight line, but it's not necessary.
If your lanyard feels too short or too long, you can adjust the length by modifying where the paracord sits around your neck or by adding more weave if necessary. Try testing the length before knotting.
Yes, breakaway buckles are a great option, especially for safety purposes. They allow the lanyard to detach if it gets caught on something, reducing the risk of injury.
If your lanyard unravels, you might not have melted the ends properly. Make sure the ends are fully melted and flattened against the weave to secure them.


