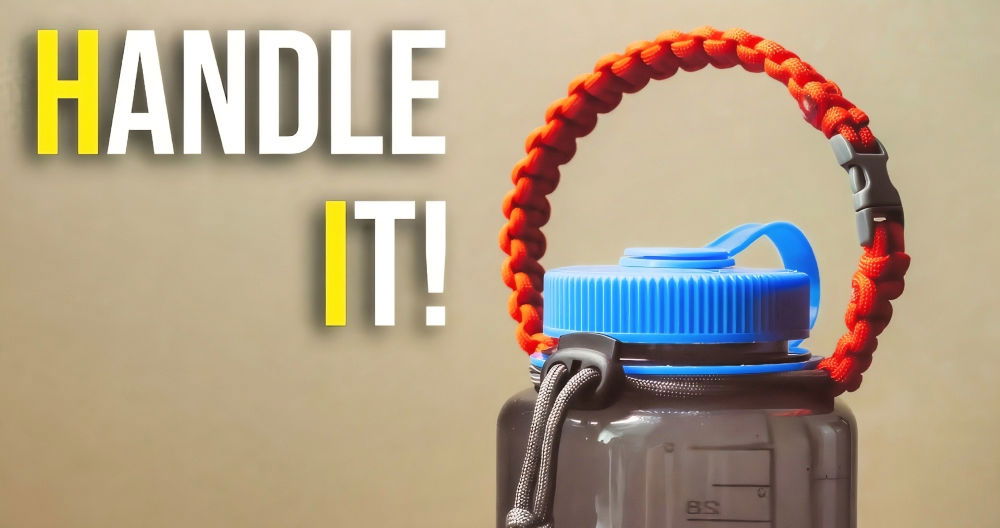
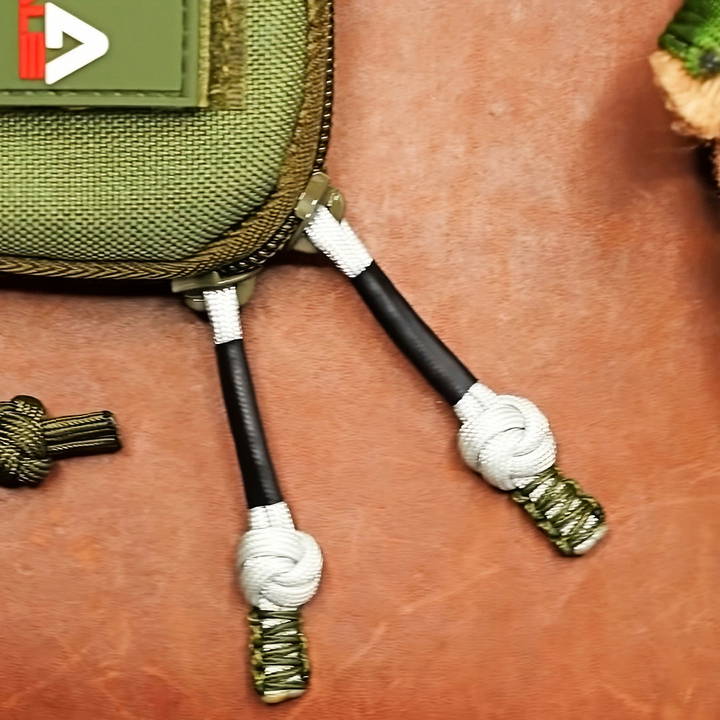
Paracord zipper pulls are a perfect blend of functionality and style, adding a touch of sleek professionalism to your gear. Whether it's your backpack, jacket, or tactical equipment, these little enhancements can have a big impact. In this detailed guide, we'll show you how to make your own paracord zipper pulls using heat shrink tubing, explore various knotting methods, and share expert tips to help you achieve a refined, polished look.
What You'll Need
Before we dive into the process, let's take a look at the essential materials required to make your paracord zipper pull:
- Paracord: A strong, lightweight cord often used in outdoor activities, paracord is both durable and versatile. It's available in various colors and thicknesses, giving you plenty of customization options.
- Heat Shrink Tubing: This tubing is typically used in electronics to insulate wires, but it serves a dual purpose here by giving the zipper pull a professional, polished look. You can choose from different colors and sizes depending on your aesthetic preferences.
- Lighter or Heat Gun: A lighter can be used to melt and seal the ends of the paracord and shrink the tubing. A heat gun provides a more even and precise result when shrinking the tubing.
- Scissors or Paracord Cutter: These are necessary for cutting the paracord to the desired length.
Step by Step Instructions
Learn how to make paracord zipper pulls with our step-by-step guide. From cutting to knotting, customize your pulls easily and add a practical touch.
Step 1: Cutting the Paracord to Length
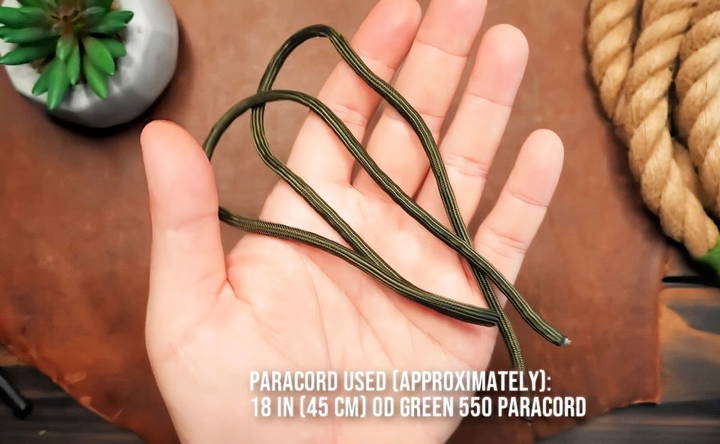
The first step in making your zipper pull is cutting the paracord to the desired length. A good rule of thumb is to cut the paracord longer than you think you'll need. This gives you room to tie the knots and ensures you have enough to work with. For a standard zipper pull, you'll want to cut the cord to about 6-10 inches in length, depending on the size of the object you're attaching it to.
Once cut, melt the ends of the paracord with a lighter to prevent fraying. Be careful not to overdo it—just enough to seal the ends.
Step 2: Inserting the Paracord into the Zipper or Lanyard Hole
Next, insert the paracord through the hole in your zipper or other item. If you're using it as a lanyard, feed the paracord through the hole of the item, like a flashlight or keychain. For a zipper pull, thread the paracord through the zipper, making sure to leave a loop large enough to grab comfortably.
If you're adding the zipper pull to a zipper, use a cow hitch knot to secure the cord to the zipper loop.
Step 3: Adding Heat Shrink Tubing
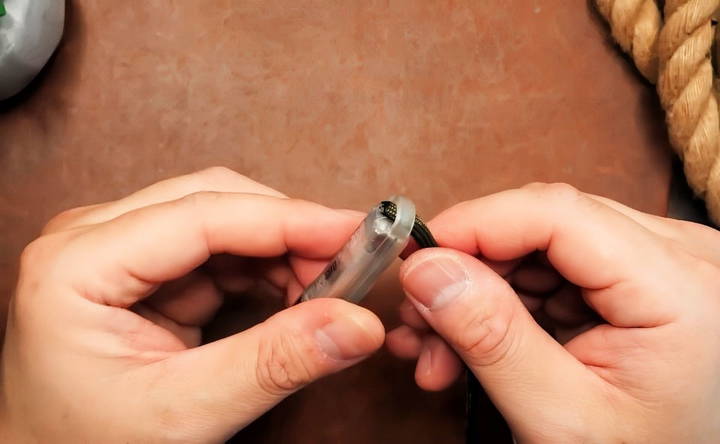
Heat shrink tubing not only adds a clean, polished look to your paracord pull, but it also helps protect the cord from wear and tear. To apply it, first slide a small piece of heat shrink tubing over the paracord. The tubing should be positioned close to the attachment point, whether that's a zipper or a lanyard hole.
Make sure the tubing is the right size for your paracord—too tight, and it won't fit properly; too loose, and it won't shrink evenly around the cord.
Step 4: Choosing and Tying Your Knot
Now comes the fun part—choosing which knot to tie. Here are a few popular options that will add both style and functionality to your paracord zipper pull:
The Snake Knot
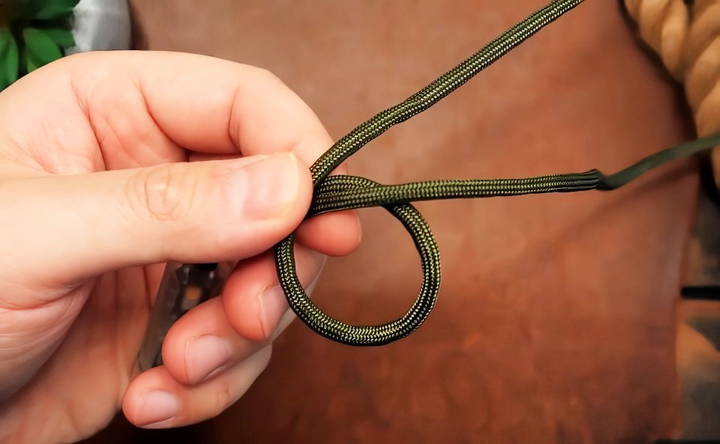
The snake knot is a simple yet elegant knot that works well for small zipper pulls. Here's how to tie it:
- Hold the two ends of the paracord in one hand.
- With the other hand, form a loop around one cord using the other cord.
- Take the opposite cord and wrap it over the loop, then pass it through the loop.
- Pull tight to secure the knot. You can repeat this process to add more snake knots, depending on how long you want your zipper pull to be. Typically, two or three snake knots are sufficient.
The Double Snake Knot
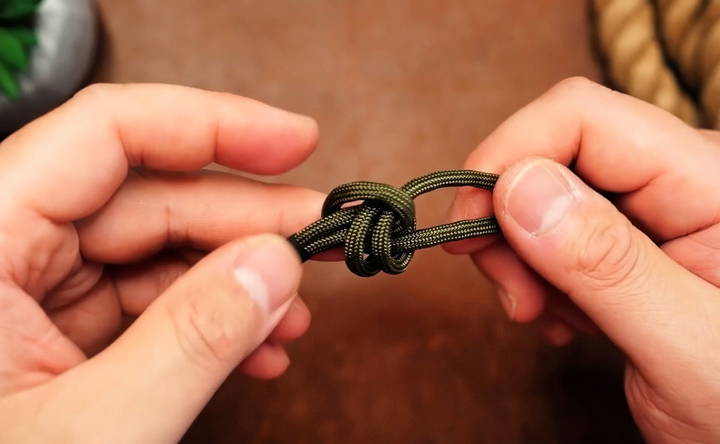
For a more intricate design, you can opt for the double snake knot. The process is similar to the regular snake knot but with an additional pass of the cord:
- Start by tying a basic snake knot.
- After forming the first knot, double up the cords on one side and pass them through the loop on the opposite side.
- Flip the paracord and repeat the process on the other side.
- Tighten the knots evenly. The double snake knot makes a more substantial and decorative zipper pull. It's an excellent choice for those who want something with a little more texture.
The Diamond Knot
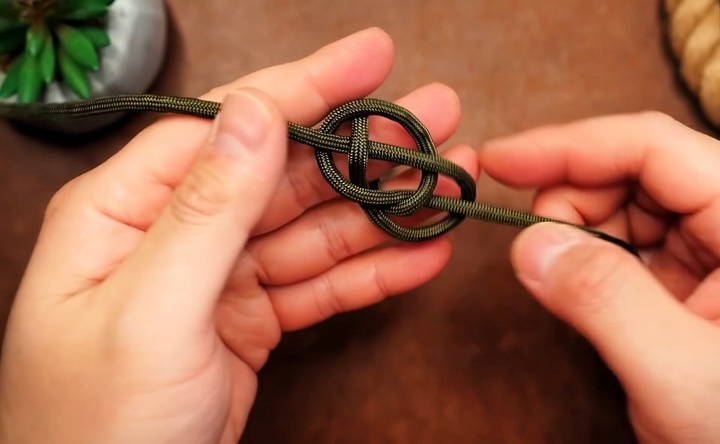
The diamond knot, also known as the lanyard knot, is a bit more complex but makes a beautiful, rounded finish. This knot is popular for zipper pulls and lanyards alike:
- Start by crossing the two ends of the paracord, forming a loop.
- With one end, make an overhand loop over the other cord.
- Pass the other cord through this loop, then under its standing end.
- Continue passing the ends through the central loop, tightening the knot as you go. While this knot can take a bit more practice to master, the result is well worth the effort. It provides a compact, symmetrical finish that works perfectly as a zipper pull.
Step 5: Snip and Melt the Ends
Once you've tied your chosen knot, it's time to trim the excess paracord. Using scissors or a paracord cutter, snip the ends to your desired length. After trimming, use a lighter to melt the cut ends, preventing them from fraying.
Step 6: Shrinking the Heat Shrink Tubing
Finally, it's time to shrink the tubing around the paracord. Using a lighter, carefully heat the tubing while moving the flame back and forth to avoid burning the paracord. You can also use a heat gun or hair dryer for more even results. Be cautious not to overheat the tubing, as this could damage the cord.
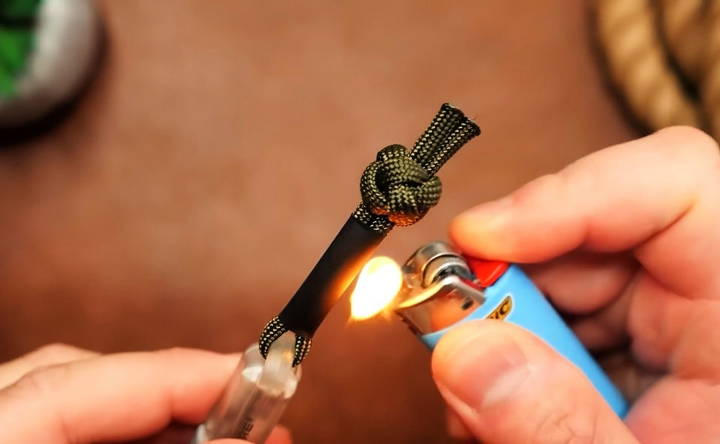
Once the tubing shrinks around the paracord, your zipper pull will have a clean, professional look.
Practical Applications and Uses of Paracord Zipper Pulls
Paracord zipper pulls aren't just a stylish addition to your gear—they also offer several practical benefits:
- Durability: Paracord is highly durable and resistant to wear and tear, making it ideal for outdoor gear that sees a lot of use.
- Improved Grip: Zipper pulls provide a better grip, especially on small or hard-to-reach zippers.
- Customization: With various colors, knots, and designs, you can customize your zipper pulls to match your gear or personal style.
- Emergency Situations: In a pinch, paracord can be unraveled and used for survival purposes, such as building a shelter or repairing gear.
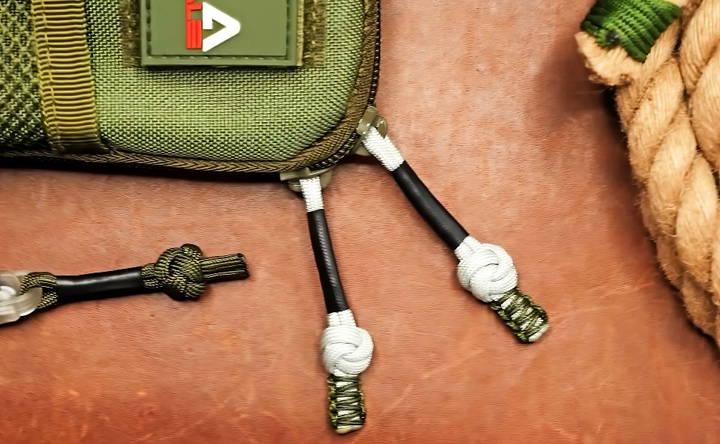
Customizing Your Paracord Zipper Pull
One of the great things about making paracord zipper pulls is the level of customization you can achieve. You can experiment with different knot styles, paracord colors, and tubing sizes to make a unique look. For example:
- Mix and Match Colors: Use two different colors of paracord to make a contrasting or patterned design.
- Try Different Tubing Sizes: Thicker tubing can give your zipper pull a more substantial feel, while thinner tubing keeps it lightweight.
- Add Beads or Charms: You can even thread beads or small charms onto the paracord before tying your knot for a personalized touch.
Tips for Perfecting Your Paracord Zipper Pulls
- Practice Your Knots: Some knots, like the diamond knot, can be tricky at first. Practice on scrap pieces of paracord until you're confident in your technique.
- Use a Heat Gun for Shrinking: While a lighter works fine for shrinking the tubing, a heat gun provides more control and an even shrink without the risk of burning the cord.
- Don't Over-Melt the Ends: When melting the ends of your paracord, use just enough heat to prevent fraying. Over-melting can cause the ends to become too hard or deformed.
Conclusion
Making paracord zipper pulls is a simple and rewarding project that adds both style and functionality to your gear. With just a few materials and a bit of practice, you can craft zipper pulls that look professional and last for years. Whether you're adding them to a jacket, backpack, or outdoor equipment, paracord zipper pulls are a versatile and practical accessory.
By experimenting with different knots, colors, and tubing, you can make each pull unique to your style or needs. So, gather your materials, practice your knots, and start making paracord zipper pulls that will enhance your everyday gear!
FAQs About Paracord Zipper Pulls and More
Discover essential FAQs about paracord zipper pulls, their uses, crafting tips, and more to enhance your outdoor gear and accessories.
Leftover paracord can be repurposed for smaller projects like keychains or zipper pulls. It's a great way to minimize waste and still make something functional and stylish.
The smaller cord mentioned in the video is often micro cord. It’s thinner than regular paracord and is used for finer detailing or smaller projects like micro lanyards.
You can use a hair dryer on its highest setting to shrink the tubing. Be sure to keep the dryer about 6 inches away and avoid staying in one spot too long to prevent overheating the cord.
For tutorials on wrapping or using micro cord, refer to cobra knot tutorials or micro lanyard guides. They’ll provide step-by-step instructions on how to begin and finish a wrap.
Use a heat gun or hair dryer for more controlled, even heating. If you must use a lighter, move it constantly to prevent the tubing or paracord from burning.
The knot demonstrated on the white paracord is called the double snake knot. It's decorative and adds durability to your zipper pull or lanyard.
To seal paracord ends, use a lighter to melt the ends slightly and press them down gently to prevent fraying. Be careful not to overheat and harden the ends too much.
Yes, you can add beads or charms to customize your paracord pulls. Simply thread them onto the cord before tying your knots for a personalized touch.
Practice is key to perfecting the diamond knot. Ensure you evenly pull on both ends and adjust the slack through the knot for a tighter, cleaner finish.
If you're looking to tie a whipping knot, it's a straightforward knot often used to secure the ends of ropes. You can follow dedicated tutorials that explain this technique step-by-step.


