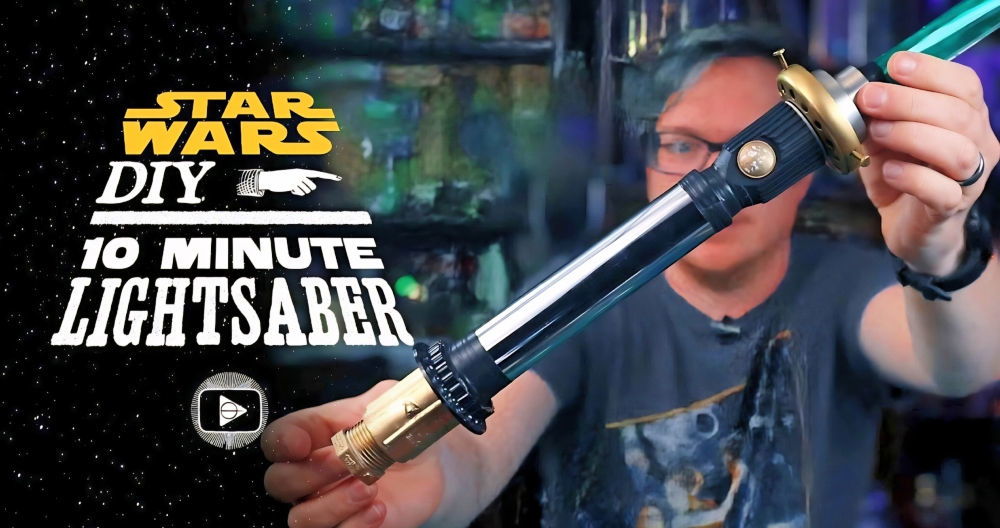
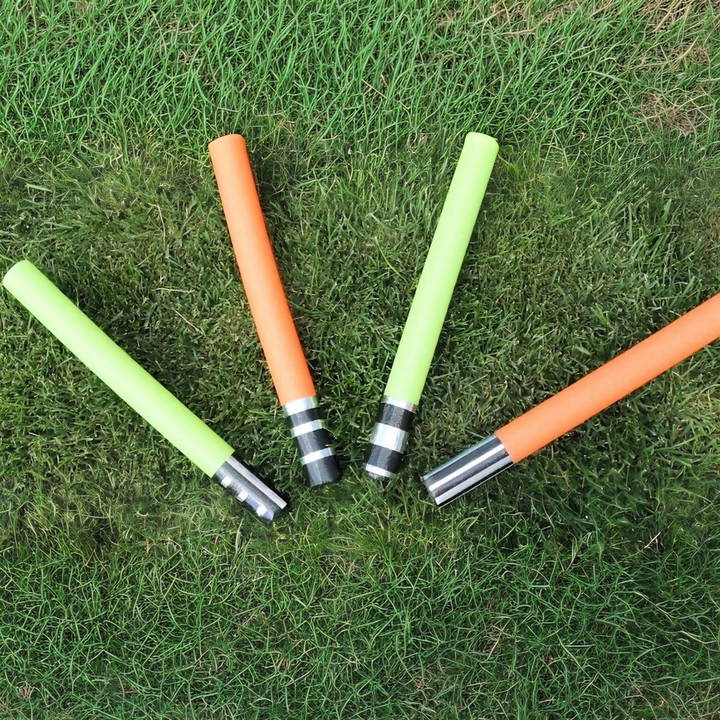
Making a pool noodle lightsaber is an easy, fun project that brings the excitement of the Star Wars universe to life in a safe, family-friendly way. Whether for a themed birthday party, a costume accessory, or simply to enjoy a “lightsaber duel” with your kids, this DIY project is perfect for all ages. In this step-by-step guide, you'll find everything you need to make your own pool noodle lightsaber, including materials, tips, and creative customization ideas.
What You'll Need for Your Pool Noodle Lightsaber
Before you begin, gather the materials required for this project. They're inexpensive and widely available, especially at dollar stores or craft supply shops.
Materials:
- Pool noodle: Any color works, but traditional lightsaber colors are blue, green, and red.
- Duct tape: Black and silver (or any color you prefer for customization).
- Scissors: Sharp scissors make the cutting easier.
- Ruler or measuring tape: To find the center of your pool noodle.
- Optional: Vinyl-backed paper (like the backing from vinyl stickers) if you want precision-cut duct tape shapes.
Step by Step Instructions
Learn how to make a DIY pool noodle lightsaber with step-by-step instructions, pro tips, and safety guidelines for creative fun!
Step 1: Cutting the Pool Noodle to Size
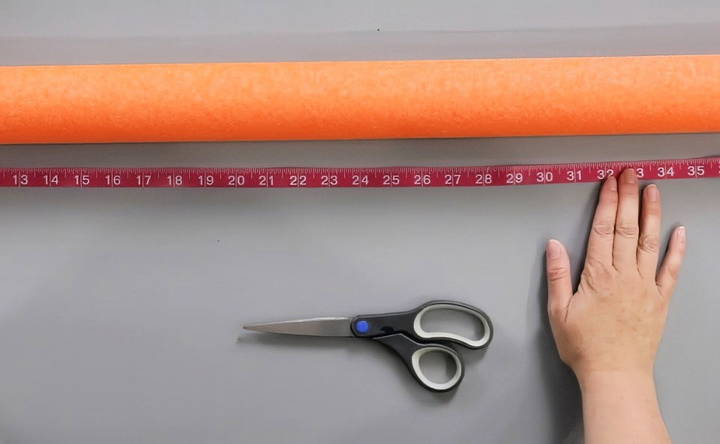
- Find the halfway point of your pool noodle. Typically, pool noodles are around 48 inches long, so the halfway point would be at 24 inches. This size is manageable for kids and mimics the length of a lightsaber.
- Cut the noodle in half with a pair of sharp scissors. Aim for a straight cut, but don't worry if it's not perfect—this end will become the handle and be covered in tape, which hides minor imperfections.
Step 2: Making the Handle Base with Duct Tape
A lightsaber's hilt typically has a metal look. For our purposes, black and silver duct tape does the trick, but you're free to use any colors you like for a unique style.
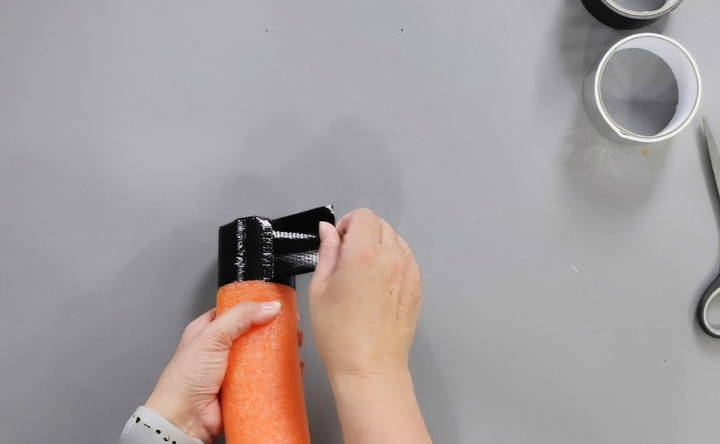
- Prepare your duct tape: If you're using dollar-store duct tape, it may be extra sticky and difficult to cut, so ensure you have sharp scissors. Cut two small pieces of black duct tape, each large enough to wrap around the noodle's base.
- Attach the base layer: Center the bottom of the pool noodle on the two strips of tape, then fold the tape up around the noodle. To get a smooth, clean finish, cut small slits into the tape around the edges and fold each section individually. This prevents bunching, giving your handle a neater appearance.
Step 3: Wrapping the Handle
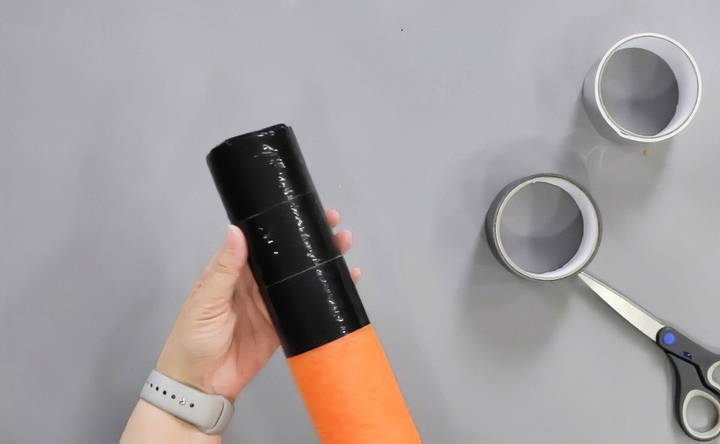
Now it's time to wrap the handle of your lightsaber with more black duct tape to make a sturdy grip.
- Cut several strips of black duct tape, each long enough to wrap around the noodle's circumference. Begin wrapping from the bottom up, layering about three strips to form a handle section.
- Align the edges as you wrap each strip to keep a straight, clean appearance. You can adjust the tape slightly if you need to straighten it.
- For a little extra durability, consider wrapping an additional layer to ensure a comfortable, well-cushioned handle.
Step 4: Adding Silver Details
The silver accents on the handle give it a futuristic, lightsaber-like feel. Here's how to add those finishing touches:
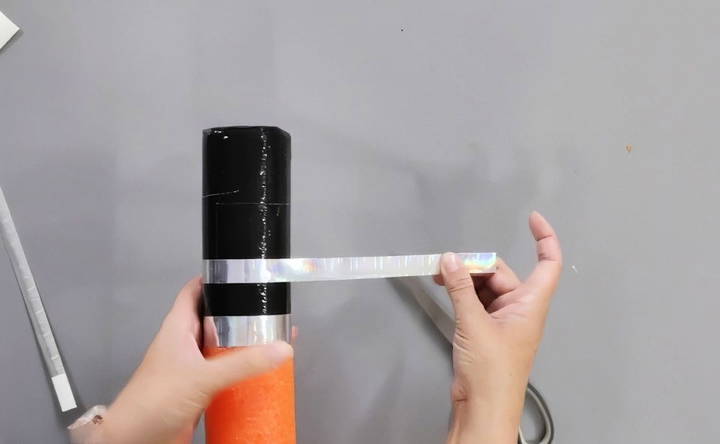
- Cut your silver tape into smaller, manageable strips. The width of each strip is flexible, but around three-quarters of an inch looks great for most designs. If cutting evenly is challenging, you can use a paper trimmer or the vinyl-backed paper trick:
- Take a piece of vinyl-backed paper and lay the duct tape on top. This allows you to cut strips without tape sticking to your scissors.
- Apply the strips around the handle, spacing them as you like. For a classic look, wrap one strip near the top of the black handle section and another midway down. These give the handle a polished look and a bit of extra grip.
- Get creative: You can cut small squares, rectangles, or any other shapes from the silver tape and apply them along the handle to make unique designs or patterns.
Step 5: Personalize Your Lightsaber
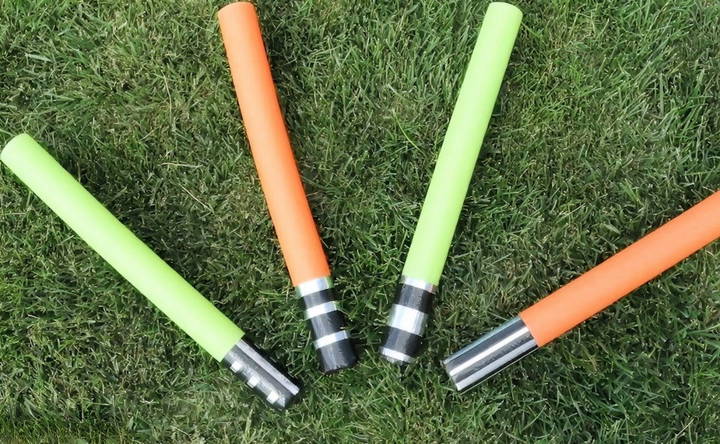
One of the best parts of DIY crafts is personalization! Here are some ideas to make your lightsaber one-of-a-kind:
- Color Variation: Use different colors of duct tape beyond black and silver. A handle with red accents, for instance, could be a "Sith-inspired" saber.
- Additional Materials: Use glow-in-the-dark duct tape for extra fun or add small decals to give it a more customized look.
- Detailed Grip: Try wrapping a section in a crisscross pattern for a textured grip.
- Name It: Consider adding initials or a small label, especially if you're making several lightsabers for a party. Kids will love having their own “signature” saber.
Pro Tips for the Best Pool Noodle Lightsaber
Master the art of crafting the best pool noodle lightsaber with these expert tips. Perfect for fun battles or themed parties. Learn more now!
1. Duct Tape Tricks
- Avoid Tape Wrinkles: To prevent wrinkles, make small cuts around the edges of the tape when wrapping circular sections.
- Reusable Paper for Cutting: Vinyl-backed paper (from sticker sheets or vinyl for a Cricut machine) provides a smooth surface to lay your tape on, making cutting easier without getting residue on your scissors.
2. Durability Tips
- If you want your lightsaber to last, consider reinforcing the top part of the handle where the pool noodle ends. A small band of clear tape around the connection can help prevent tearing from enthusiastic play.
- If your kids are especially energetic, reinforce the “blade” section with another layer of colored duct tape.
3. Customizing for Themed Parties
- Lightsaber colors can represent different Star Wars characters or affiliations: green or blue for Jedi, red for Sith, purple for unique characters like Mace Windu. By varying the colors, you can assign “roles” for each child at a party.
- Use different duct tape patterns to signify rank or status in a themed party setting. For instance, add gold accents for “Master Jedi” and simpler designs for Padawans or apprentices.
Wrapping Up Your DIY Pool Noodle Lightsaber
This pool noodle lightsaber project is a perfect blend of creativity and fun, providing a safe and inexpensive way to channel Star Wars excitement. It's a fantastic activity for families, classrooms, or parties and can be tailored to suit any level of crafting ability.
By following this guide, you'll not only have a blast making these lightsabers but also make lasting memories. So, grab some pool noodles, tape, and scissors, and let your creativity flow. May the Force be with you and your new lightsabers!
FAQs About DIY Pool Noodle Lightsaber
Discover answers to common questions about DIY pool noodle lightsabers and learn how to create your own fun, safe light-up toy.
Yes! This DIY can be easily adapted to various themes beyond Star Wars. For example, use brown or tan duct tape for a pirate-themed handle, or add themed stickers like unicorns, pirates, or monsters. Customize the colors and decorations to fit any party or character.
When wrapped well with tape, pool noodles stay relatively stiff and are great for light dueling. However, they may become more flexible over time or if they get wet. For increased durability, ensure the tape is tightly wrapped around the handle.
Yes, adding a core like a plastic or wooden rod can make the lightsaber stiffer. However, it can also make it hurt more on impact and may risk sliding out. To prevent this, secure the core well, possibly by taping the top to avoid slippage.
These lightsabers are generally safe because of the soft foam, especially compared to harder toys. However, adding a hard core might make it less safe. For kids under six, avoid rigid cores and supervise play to ensure safety.
If the tape peels, add a fresh layer to secure it. Ensure the pool noodle is clean and dry before applying tape, as dirt or moisture can reduce adhesion. Regularly check and smooth down loose edges to keep it looking neat.
These lightsabers aren't water-resistant, and moisture can make the pool noodle bend or lose stiffness. Avoid using them in wet conditions to maintain durability. If they do get wet, let them air dry completely before play.


