Popcorn ceilings, popular in the mid-20th century, add texture to a room but can be a hassle to repair when damaged. If your ceiling has sustained water damage or general wear, you may notice bare patches or peeling areas. Repairing these spots can seem daunting, but with the right tools and techniques, it's straightforward. This guide covers everything you need to know about popcorn ceiling repair, from preparation to finishing touches.
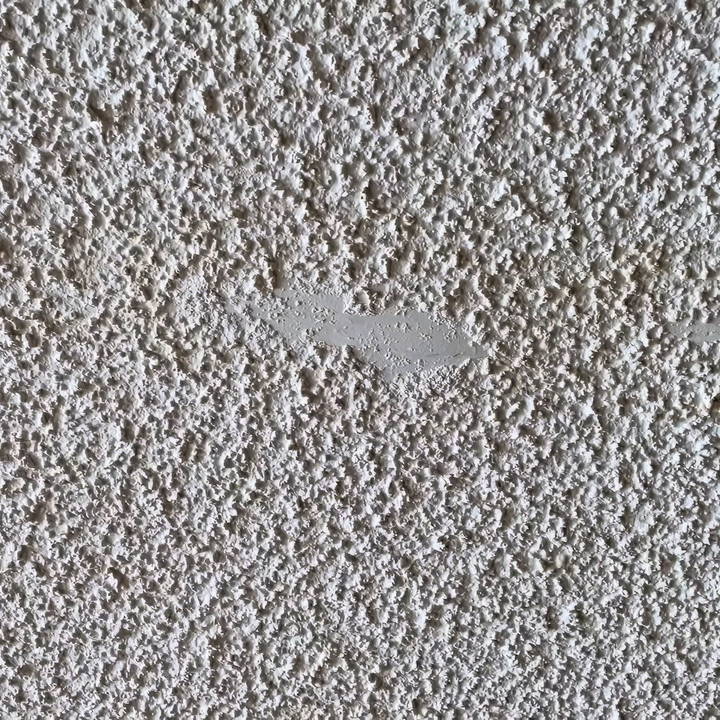
Why Repair a Popcorn Ceiling?
Over time, popcorn ceilings can suffer from water damage, cracks, or peeling due to humidity, age, or impact. Repairing these imperfections not only restores the ceiling's appearance but can prevent further issues like mold growth or structural damage. However, applying new popcorn texture with traditional sprays can be messy, difficult to control, and often results in inconsistent finishes.
Materials and Tools You'll Need
Before starting your popcorn ceiling repair, gather the following items:
- Homax Popcorn Ceiling Patch or another tub-based popcorn patch compound
- Dollar store paintbrush (small, soft-bristle brushes work best)
- Spray bottle filled with water
- Drop cloth to protect the floor
- Putty knife (optional, as paintbrushes generally offer better control)
- Primer (like KILZ) for water-damaged areas
Having these tools on hand will help streamline the process and make application easier, especially if you're working with minor repairs.
Step by Step Instructions
Learn how to repair a popcorn ceiling with our step-by-step guide. From prep to finishing touches, ensure a flawless repair every time.
Step 1: Preparing the Work Area
Start by preparing your work area to minimize cleanup later:
- Lay down a drop cloth: Spread a drop cloth beneath the repair area to catch any falling debris or compound. This will protect your flooring and make cleaning up easier.
- Wear protective clothing: Popcorn repair can get messy, so it's best to wear old clothes.
- Prepare the repair compound: Open your popcorn ceiling patch product and give it a gentle stir. The product should resemble a thick, oatmeal-like consistency, ready for direct application.
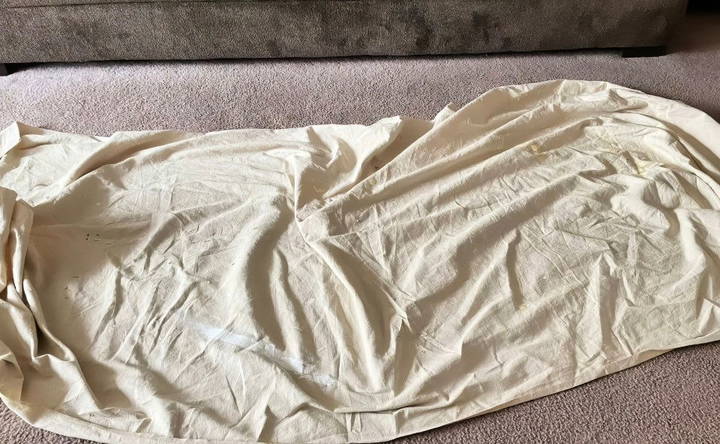
Tip: For larger repair areas, practice applying the patch compound on a piece of cardboard or wood to get a feel for the texture and thickness.
Step 2: Cleaning and Prepping the Damaged Area
For a seamless repair, you'll want to clear any loose or damaged popcorn from the area before applying the patch:
- Moisten the damaged area: Use a spray bottle to lightly mist the damaged area. A few squirts of water will help soften the old popcorn texture, making it easier to remove loose pieces.
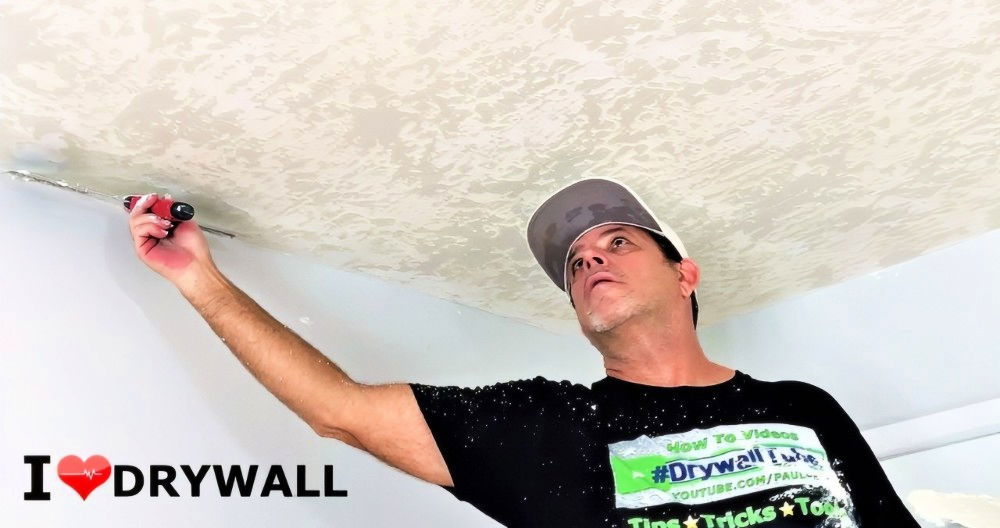
- Gently scrape away loose popcorn: After allowing the water to soak in for about 10-15 seconds, gently scrape the area with a putty knife or simply use your fingers to remove loose popcorn. If any pieces resist, add a bit more water and let it soak again.
- Clean up the edges: Expand the repair area slightly by removing any cracked or flaking popcorn around the damage. This will give you a clean edge to work with, ensuring the new patch blends well.
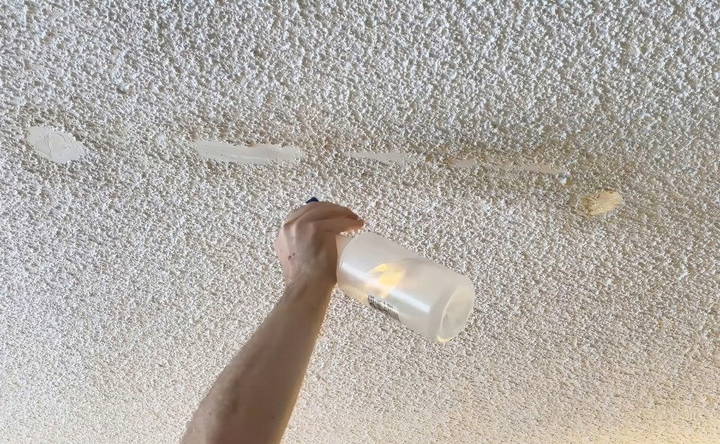
Pro Tip: Only scrape lightly; applying too much pressure can damage the ceiling drywall.
Step 3: Priming the Damaged Area
Priming is an optional but recommended step, especially if your ceiling sustained water damage. Primer will prevent any stains from bleeding through and will help the popcorn patch adhere better.
- Apply primer: Using a small paintbrush, apply a light coat of primer over the damaged areas. This doesn't need to be thick; a simple tap of primer is enough to cover the area.
- Allow to dry: Let the primer dry for a few hours, or overnight if possible. This ensures a strong base for the popcorn patch.
Step 4: Applying the Popcorn Patch Compound
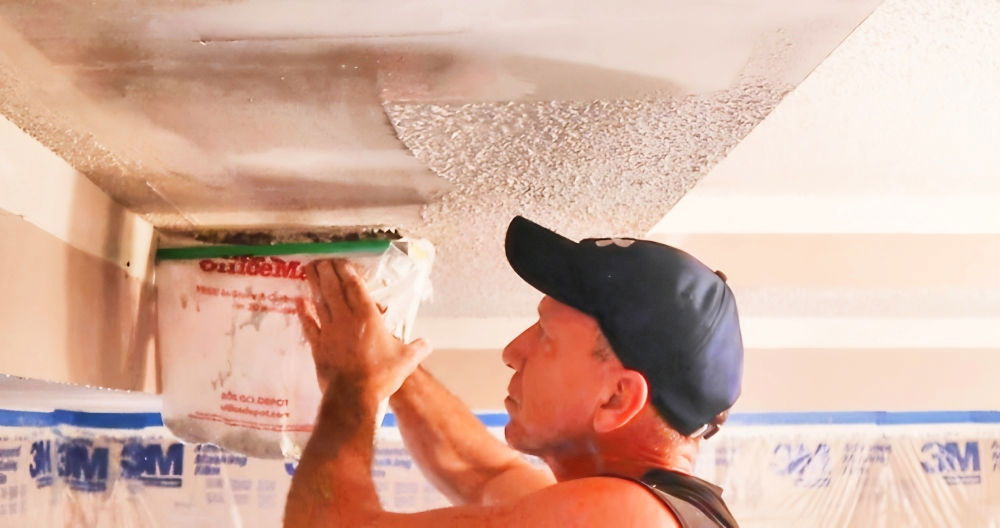
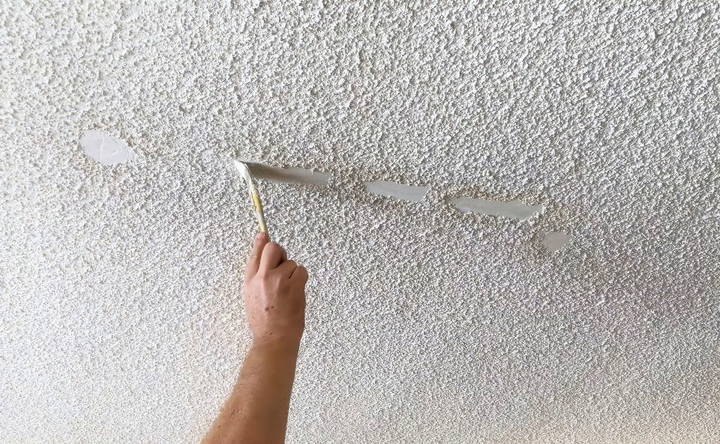
With your area prepared, it's time to apply the patch compound. The Homax Popcorn Ceiling Patch (or similar products) comes in a tub, making it easy to apply without a popcorn spray applicator.
- Start dabbing the compound: Dip a paintbrush into the compound, picking up a small blob of the mixture. Press the patch compound onto the bare spots, dabbing as you go. This dabbing motion helps make the textured look typical of popcorn ceilings.
- Distribute evenly: Make sure to cover the entire damaged area. Don't worry if it looks a bit rough initially; a second coat will smooth things out.
- Allow to dry: The compound typically dries in a few hours. Check the label on your specific product for precise drying times.
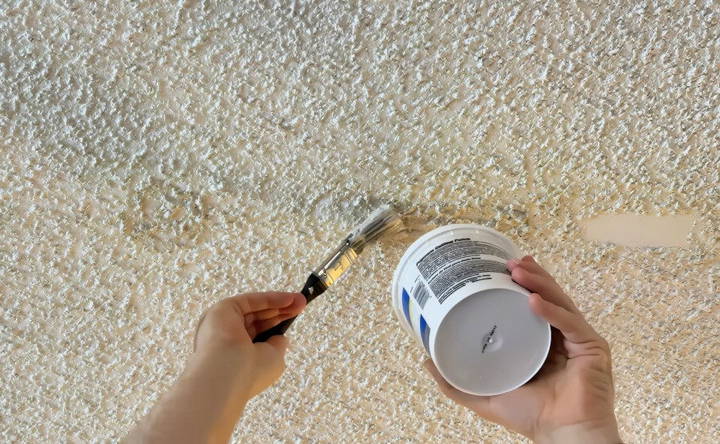
Note: The compound will likely go on darker but will lighten as it dries. If the color doesn't match perfectly, a second coat can often help.
Step 5: Applying a Second Coat (If Necessary)
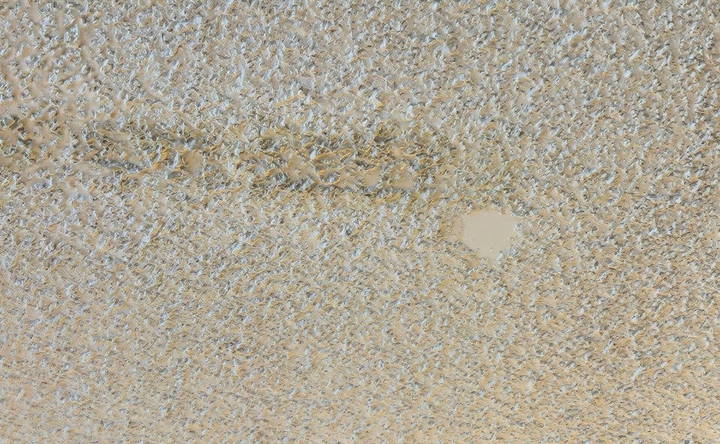
Once the first coat has dried, evaluate the repair area. Some spots may appear less textured than others, and a second coat can help achieve an even finish.
- Repeat the dabbing technique: Apply the second coat just like the first, using the same paintbrush dabbing method.
- Check for consistency: Ensure the texture and thickness match the surrounding ceiling. Dab lightly to blend the edges, so the repair area integrates smoothly with the undamaged parts of the ceiling.
Step 6: Finishing Touches
After the second coat has dried, inspect your work to ensure it matches the rest of the ceiling.
- Color matching: If there's still a noticeable color variation, you can paint over the patched area. Choose a flat ceiling paint that matches your existing ceiling color to blend the repair completely.
- Optional sanding: If you find any small lumps or bumps in the texture, you can very lightly sand the area with fine-grit sandpaper. However, be careful not to over-sand and remove the new texture.
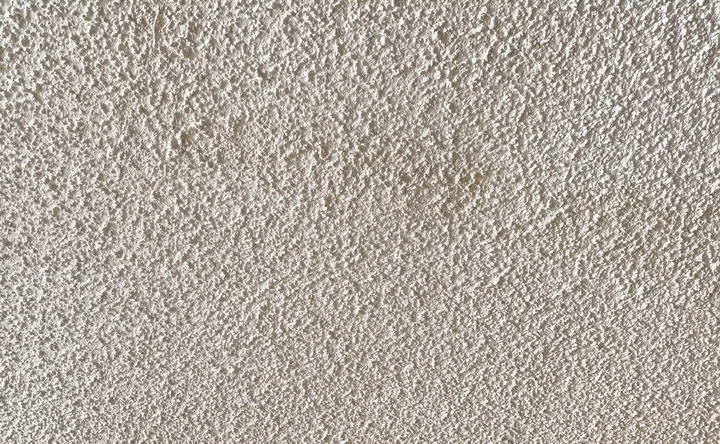
- Clean up: Remove your drop cloth and any debris. Your popcorn ceiling should now look as good as new, with no signs of previous damage!
Tips for a Successful Popcorn Ceiling Repair
Repairing popcorn ceilings can be challenging, but these tips will help you achieve a professional finish:
- Apply in layers: Instead of trying to build up the texture in one go, apply the patch compound in layers. This allows for better control over texture and reduces the risk of chunks falling off before drying.
- Use a brush over a putty knife: Brushes offer more control and are ideal for smaller patches. Putty knives can work but may flatten the texture, making it harder to achieve a popcorn effect.
- Practice on a spare board: If you're new to using a popcorn patch compound, practice on cardboard or scrap drywall first. This helps you get used to the product's consistency and drying time.
- Add water sparingly: The popcorn patch compound generally comes pre-mixed. If you find it too thick, add a tiny amount of water to thin it. Be cautious—adding too much water can make it difficult for the compound to stick.
When to Consider Replacing the Ceiling
For extensive water damage or large repairs, you may need to consider replacing the ceiling rather than patching it. If water has seeped through, causing widespread drywall damage, it's better to start fresh with new drywall and texture. Large-scale damage may also pose a risk of mold, so always assess the severity of the issue before starting.
Alternative Methods for Popcorn Ceiling Repair
In addition to using patch compounds, there are a few alternative methods to consider:
- Popcorn spray texture: Although messy, spray-on popcorn texture is still an option for larger repairs. It's best applied in empty rooms where you can fully protect surfaces from overspray.
- Full ceiling replacement: Removing the entire popcorn ceiling and opting for a new texture (like a smooth finish or knockdown texture) can update the look of your home. However, this approach is more labor-intensive and expensive.
Final Thoughts on Popcorn Ceiling Repair
Repairing a popcorn ceiling doesn't have to be intimidating. With the right products, a careful approach, and patience, you can make your ceiling look as good as new. Whether you're fixing small spots or addressing larger patches, following the steps in this guide will help you achieve professional-looking results. Now, your ceiling can regain its original charm, free from unsightly damage or discoloration.
Popcorn ceiling repair is an achievable DIY project with the right guidance. Remember to take your time, apply in layers, and ensure a smooth transition from repaired spots to the rest of the ceiling.
FAQs About Popcorn Ceiling Repair
Find answers to common questions about popcorn ceiling repair, including costs, methods, and safety tips. Get expert insights now!
Some tubs of popcorn repair compound may vary in thickness. If your mixture is too thin, try gently shaking the tub (with the lid securely closed) or stirring it thoroughly. For additional thickness, consider adding a bit of joint compound. Alternatively, check for other brands like Zinsser or ask at the store for a tub with a thicker consistency.
Yes, painting over the repair patch is common, especially if there's a color mismatch. Use a flat, ceiling-grade white paint for best results. Keep in mind that older ceilings may have subtle color variations, so perfect matching can be challenging.
To blend color differences, a light spray of ceiling primer, such as Kilz, can help make a more consistent appearance. This works well to feather edges and match the repair area with the rest of the ceiling.
Yes, some users find success using a roller, especially for thicker applications. Rolling can evenly spread the texture, though it may take several coats to achieve a similar popcorn look.
A small, stiff paintbrush or even a piece of sponge can be effective. Both options allow you to dab on the texture, simulating the popcorn effect without needing a larger tool. Practice on a spare surface first to achieve the desired texture.
Popcorn ceilings installed before the mid-1980s may contain asbestos. If you're unsure, have a professional test the material before you disturb it. DIY asbestos test kits are available, but handling asbestos requires specific safety measures.
Allow each coat to dry fully, usually for a few hours. If you're layering multiple coats, waiting 30-40 minutes between applications may suffice, depending on room conditions and product drying recommendations.
Not necessarily. For minor damage, repair as usual. But if the damage covers a substantial area, removing the entire texture may be easier. Use a sprayer to moisten and scrape off the texture, though keep in mind this approach can be messy and time-consuming.


