Building a popsicle stick bridge is an enjoyable and educational project that helps you understand basic engineering principles while exercising creativity. Whether you're preparing for a school science project, an engineering competition, or just exploring a fun DIY craft, this guide will help you construct a sturdy popsicle stick bridge with simple tools and materials. By the end, you'll know exactly how to build a bridge that can hold a significant amount of weight while staying within the constraints of using only popsicle sticks and hot glue.
Materials You Will Need
Before we get started, it's important to gather all the materials needed for the project. The materials are affordable, and many can be found at home or in any local craft store.
Required Materials:
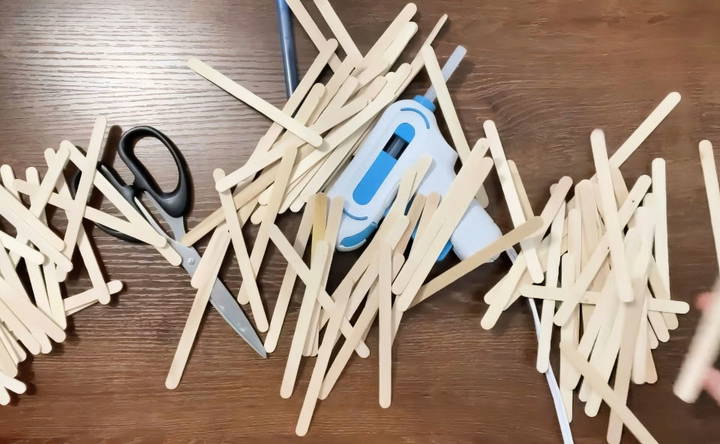
- Popsicle sticks: You'll need around 126 popsicle sticks for this project. These are standard wooden sticks used for popsicles and can be found in bulk at craft stores. Make sure they are uniform in size and thickness for consistency.
- Hot glue gun: A hot glue gun is essential for securing the popsicle sticks together. Ensure you have extra glue sticks to avoid running out halfway through the project.
- Ruler: You'll need this to measure the dimensions of your bridge and ensure accuracy.
- Scissors or cutting tool: This is optional but useful for trimming the sticks as needed.
- Paper and pencil: For sketching the design and planning before you start construction.
Optional Materials:
- Clamps: These are useful for holding parts of the bridge together as the glue dries.
- Weighing materials: Once your bridge is complete, you may want to test its strength. You can use weights or books for this purpose.
Bridge Dimensions and Overview
Before you begin construction, it's important to understand the basic dimensions of the popsicle stick bridge you're building. Based on the project described in the source:
- Length: 18 inches (46 cm)
- Width: 4.4 inches (11 cm)
- Height: 4 inches (10 cm)
This bridge will be strong enough to bear a surprising amount of weight, and we'll share tips throughout this guide to ensure maximum strength and durability.
Step by Step Instructions
Learn how to build a strong popsicle stick bridge with step-by-step instructions, design tips, and testing guidelines. Perfect project for all ages!
Step 1: Plan Your Design
Before you dive into construction, it's important to sketch out your design. The bridge you're building will follow a basic truss design, which distributes weight evenly across the structure, making it strong and stable.
What is a Truss Bridge?
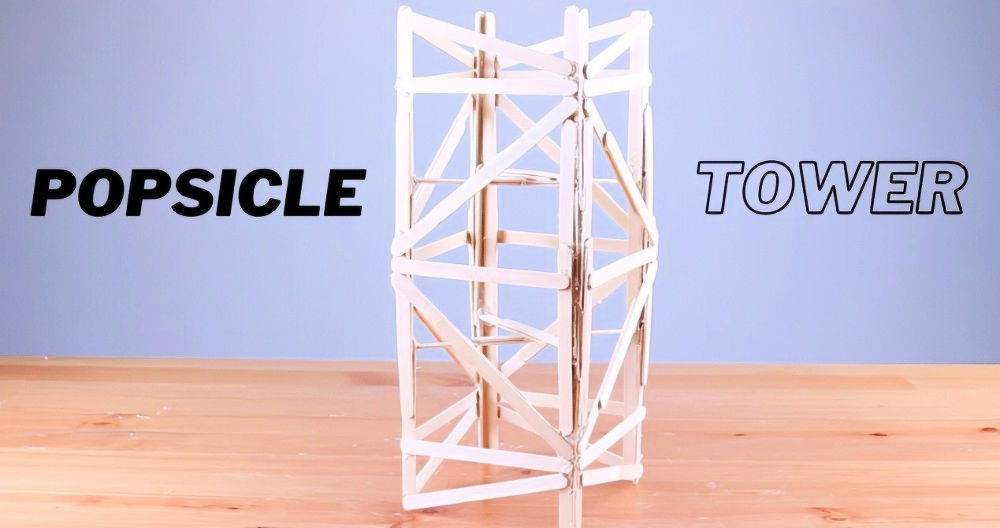
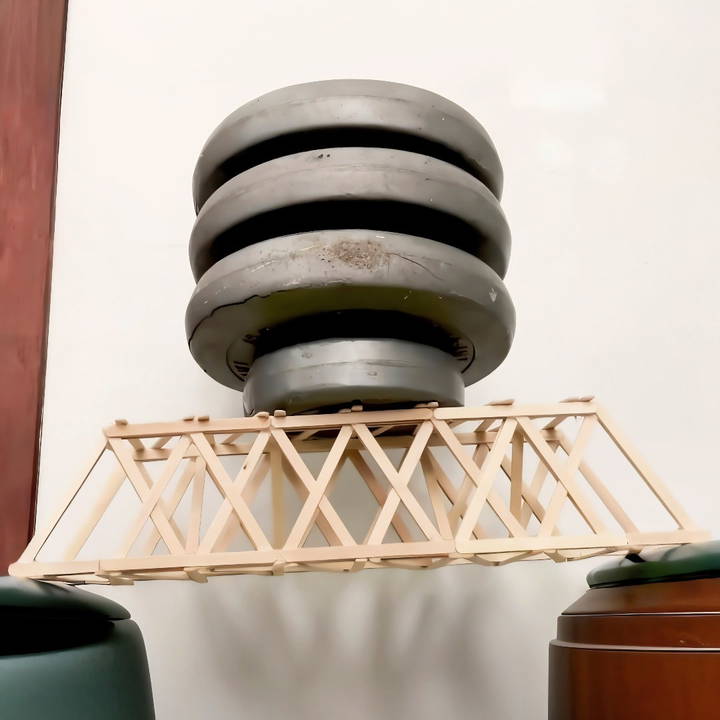
A truss bridge is made up of triangular units that spread the load across the structure. The triangle is one of the strongest shapes because it does not easily deform, making it ideal for this kind of project. The key to a strong truss bridge is symmetry and consistency, which ensures that all parts of the bridge bear weight equally.
Design Considerations:
- The bridge will be 18 inches long, which allows it to span across most gaps between desks or tables.
- Width should be around 4.4 inches. This gives the bridge enough stability and a proper surface for weight distribution.
- Height of 4 inches keeps the bridge compact yet strong.
Step 2: Build the Bridge Base
Strengthen your bridge-building skills with expert strategies, tips, and techniques for competitive gameplay and improvement.
Instructions:
- Lay out 2 rows of popsicle sticks for the bottom deck of the bridge. Line them up side by side, keeping them even and spaced out for balance.
- Glue the sticks together along their long edges to make a solid, continuous base. Make sure each stick is glued firmly so that there are no weak spots.
- Repeat this process to make a second identical base structure. These will act as the top and bottom beams of your bridge.
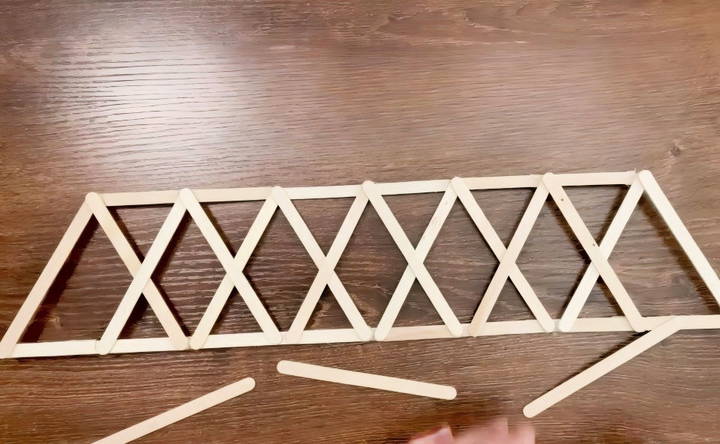
Tip: Make sure the two bases are perfectly even and identical. This symmetry is critical for your bridge's strength and stability.
Step 3: Construct the Side Trusses
The side trusses are the triangular parts of your bridge that will carry most of the load.
Instructions:
- Lay two popsicle sticks parallel to each other, about 4 inches apart, which will act as the top and bottom beams of your truss.
- Take more popsicle sticks and start forming triangles by gluing them at angles between the top and bottom beams.
- Ensure the triangles are evenly spaced along the entire length of the bridge.
- Once one side truss is complete, repeat the process for the second side.
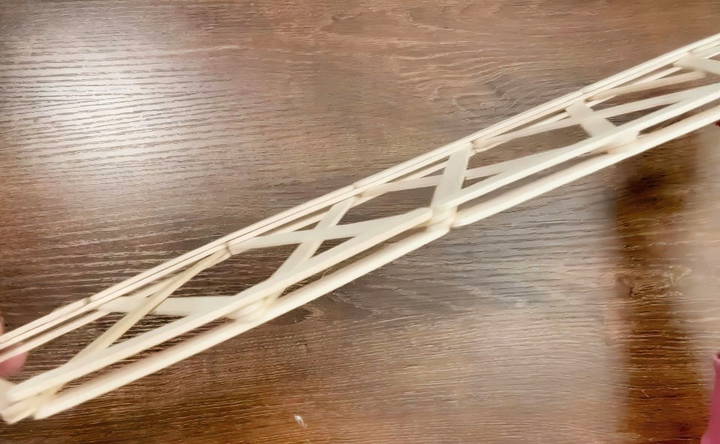
Tip: Be careful with the angles you make. Aim for as close to 45-degree angles as possible to form stable, uniform triangles.
Step 4: Assemble the Bridge Structure
Now that you have two identical trusses and two bases, it's time to bring them together into a 3D structure.
Instructions:
- Glue the first truss to one side of the base you maked in Step 2. Hold it upright, ensuring it is straight and properly aligned.
- Attach the second truss to the opposite side of the base, making a box-like frame.
- Place the second deck (the top beam) on the structure and glue it to the top of both trusses.
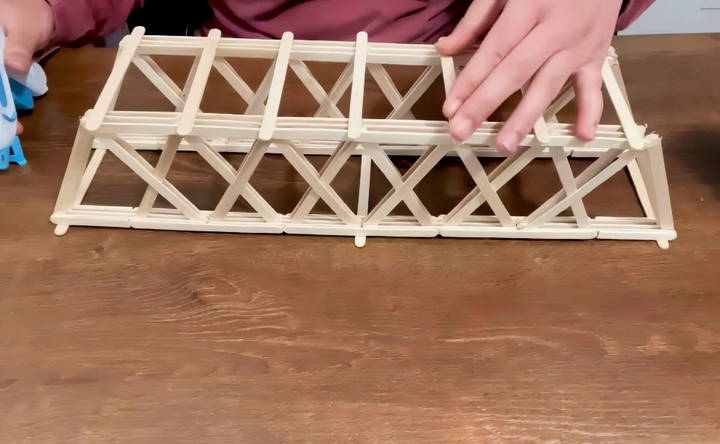
At this point, you should have a solid structure that looks like a bridge!
Step 5: Reinforce the Structure
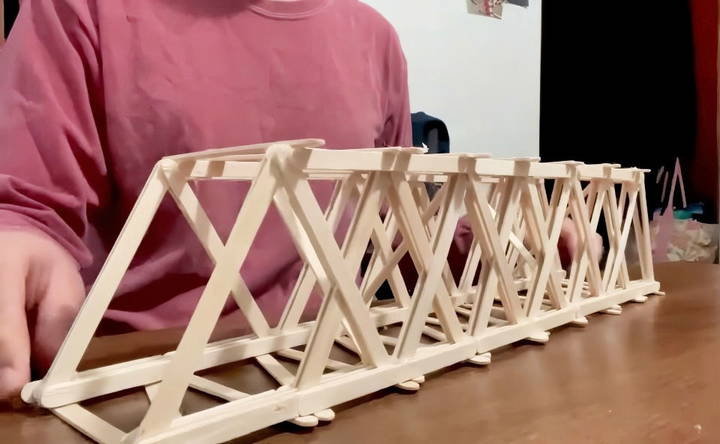
Reinforcing your bridge is crucial to ensuring it can hold weight. This can be done by adding more popsicle sticks to areas that experience the most stress, such as the joints and corners.
Instructions:
- Strengthen the joints: Add extra popsicle sticks around the points where the triangles meet the top and bottom beams. Use glue liberally to ensure these connections are solid.
- Add diagonal bracing: In some designs, adding diagonal sticks between the top and bottom beams along the sides can further improve weight distribution.
Step 6: Let the Glue Dry
Allow your bridge to fully dry before testing it. Depending on the amount of glue used and the environment (temperature and humidity), this could take anywhere from 30 minutes to an hour. It's best to leave it for at least an hour to ensure it's completely dry and solid.
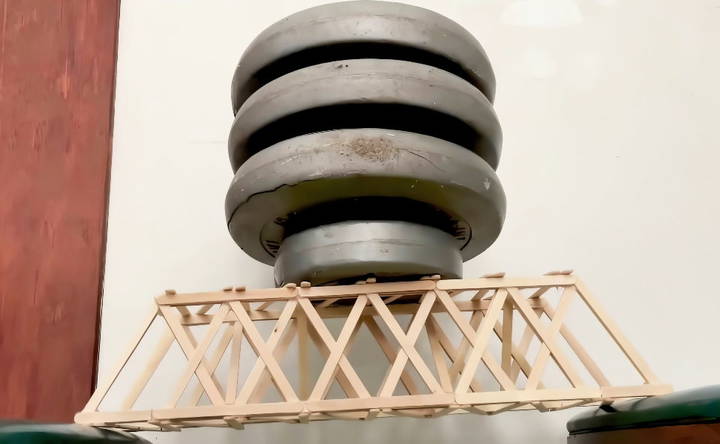
Step 7: Test Your Bridge
Once your bridge is dry, it's time to put it to the test!
Instructions:
- Place the bridge between two sturdy surfaces (such as two desks or chairs).
- Begin adding weight to the center of the bridge. You can use books, small weights, or any other objects you have available.
- Observe how the bridge holds up and how much weight it can bear before bending or breaking.
Tip: If you want to increase the weight capacity, consider adding more popsicle sticks in critical load-bearing areas or increasing the number of triangles in your design.
Tips for a Stronger Popsicle Stick Bridge
Now that you have the basic structure, here are a few tips to make your popsicle stick bridge even stronger:
- Use Double Layers: You can double up the popsicle sticks in the base or side trusses for added strength. Two layers of sticks glued together can bear more weight than a single layer.
- Distribute the Weight Evenly: The more evenly you distribute the weight along the bridge, the better it will hold up. Place weight gently and gradually to test the bridge's capacity.
- Reinforce Key Areas: Focus on reinforcing joints and corners, as these areas tend to experience the most stress during weight testing.
- Use Symmetry: Symmetry in the design is crucial. A lopsided or uneven structure can easily buckle under pressure.
- Patience with Glue: Apply glue generously but not excessively. Too little glue will lead to weak joints, while too much can cause the structure to become messy and heavy. Make sure to allow ample time for the glue to dry between steps.
The Engineering Behind the Popsicle Stick Bridge
While this project may seem simple, it introduces basic engineering principles such as tension, compression, and load distribution. Understanding these concepts can help you modify your design to bear even more weight.
- Tension: This occurs when forces try to pull apart the materials in your bridge. The top layer of your bridge experiences tension when weight is applied in the middle.
- Compression: This is the opposite of tension. The bottom layer of the bridge compresses under the weight, trying to hold the structure together.
- Load Distribution: The truss design helps distribute the load evenly across the bridge. Instead of all the weight being focused in one spot, the triangular structure helps spread it along the entire length.
Conclusion
Building a popsicle stick bridge is an exciting and rewarding project that teaches you the fundamentals of engineering in a hands-on way. By following this guide, you can make a bridge that's both functional and impressive. The key to success lies in careful planning, symmetry, and reinforcing the structure in critical areas. Once complete, your popsicle stick bridge will not only look great but will also showcase your ability to make a strong, reliable structure from simple materials.
FAQs About Popsicle Stick Bridge
Discover everything you need to know about popsicle stick bridge FAQs, including building tips, materials, and step-by-step guidance.
If hot glue is not allowed, wood glue or Elmer’s glue are better alternatives. Wood glue offers a stronger bond, but it takes more time to dry. Elmer's glue is also a viable option, especially if you're patient.
You can reduce the number of sticks by shortening the length of your bridge and minimizing overlapping parts. Opt for a simple truss design and use only one layer of reinforcement instead of two.
The bridge described in the guide is 18 inches long, 4.4 inches wide, and 4 inches high.
Yes, regular glue will work, but it will take longer to dry. If you’re not in a rush, this might actually result in a stronger bridge.
The standard bridge described in the guide uses 126 popsicle sticks. However, this number can vary based on the length and design adjustments.
The design described follows a Double Intersection Warren Truss, which is known for its strength and even load distribution.
The load-bearing capacity depends on your design and materials. Some users reported bridges holding up to 40 kg, but this varies with reinforcement techniques and glue used.
To reduce weight, consider reducing the number of overlapping popsicle sticks and reinforcing only the most critical points of the structure. Focus on the strategic placement of triangles in the truss.
Yes, it's possible to make a stable bridge with fewer sticks by simplifying the design. Opt for smaller, well-placed triangles in your truss and minimize overlap.
Yes, the concept works with straws, but the structure may be weaker unless you double the straws or reinforce critical joints.


