Maintaining your asphalt driveway is essential to keep it looking fresh and prolong its lifespan. Sealing the driveway not only enhances its appearance but also provides a protective barrier against the elements, preventing cracks, water damage, and deterioration. While hiring a professional can be costly, this guide will show you how to save money by sealing your driveway yourself.
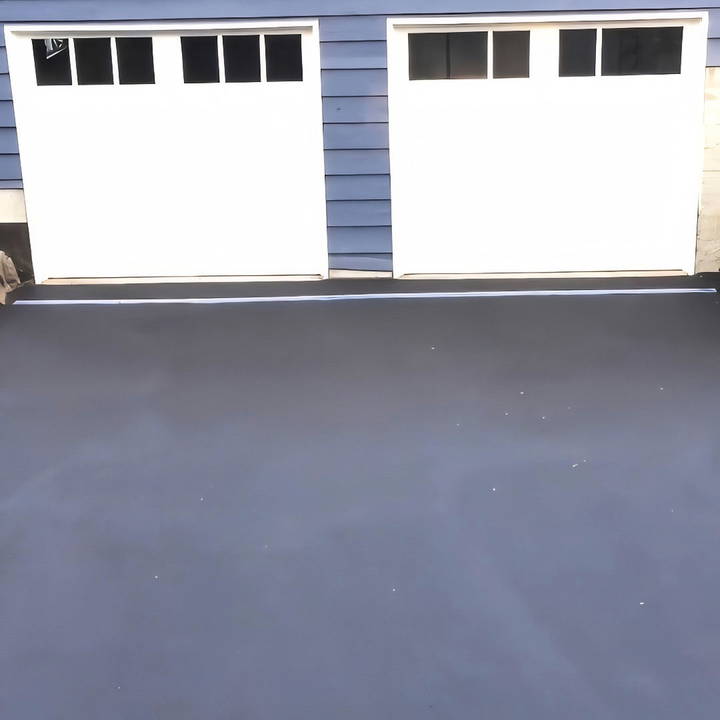
With some basic tools, the right materials, and a bit of elbow grease, you can tackle this home improvement project on your own. In this comprehensive DIY guide, we'll walk you through every step of the process, including tips on what to avoid to ensure a professional finish.
Why Seal Your Driveway?
Before diving into the actual process, it's important to understand why sealing your driveway is a necessary task. Asphalt is a porous material that, when exposed to moisture and sunlight, can develop cracks and lose its structural integrity. Over time, water seeps into these cracks freezes during the winter, and expands, causing further damage. Sealcoating acts as a protective layer, safeguarding your driveway from:
- Water penetration
- UV rays that can lead to fading and cracking
- Oil, gas, and other chemical spills
- Erosion caused by wind and rain
Regular sealing, about every one to two years, prevents small problems from becoming costly repairs down the road.
Materials and Tools You'll Need
To ensure your project goes smoothly, gather the following materials and tools before you begin:
Materials:
- Asphalt sealant: Choose a high-quality product like Ultra Shield by Latexite, which offers a 10-year warranty and strong protection.
- Crack filler: Latex-ite Airport Grade Crack Filler is an ideal choice for filling cracks in the driveway.
- Degreaser: An industrial degreaser like Purple Power helps remove stains and contaminants that could interfere with the sealant.
- Patch material: Useful for fixing dips or leveling uneven areas.
Tools:
- Pressure washer: Crucial for cleaning the driveway before applying the sealant.
- Squeegee: Designed specifically for driveway sealing, this will help evenly spread the sealant.
- Paintbrush: For detail work around edges and tight spots.
- Rubber mallet: Useful for tamping down patch material.
- Painter's tape: Helps with clean lines, especially around edges.
- Protective gloves and clothing: Sealing is a messy job; protect yourself from spills.
Step by Step Instructions
Learn how to seal your driveway yourself. Follow these step-by-step DIY driveway sealing instructions to ensure a smooth and lasting finish. Maintain and protect!
Step 1: Clean the Driveway
Start with a thorough cleaning of your driveway. Any debris, dirt, or oil stains left on the surface will prevent the sealant from adhering properly. Follow these steps:
- Remove debris: Sweep away leaves, rocks, and dirt. Also, remove any grass or weeds that may have grown through cracks.
- Degrease the surface: Spray the entire driveway with an industrial degreaser to lift stubborn oil and chemical stains.
- Pressure wash: Use a pressure washer to wash away all dirt and debris. This ensures the surface is clean and ready for sealing.
Tip: If you don't own a pressure washer, they are inexpensive to rent and come in handy for many household tasks. Using a pressure washer is also satisfying because you can literally see the dirt wash away!
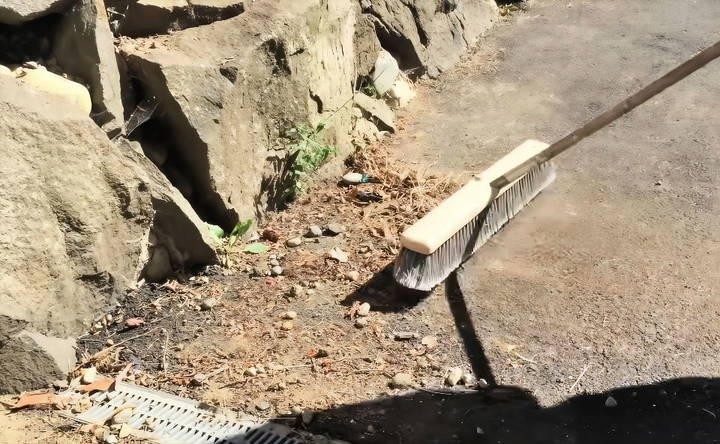
Let the driveway dry completely before moving on to the next step.
Step 2: Fill Cracks and Potholes
Once your driveway is clean, inspect it for cracks and potholes. It's crucial to fill these imperfections before applying the sealant, as they can allow water to seep underneath the asphalt, causing further damage.
- Crack filler: For minor cracks, use a product like Latex-ite Airport Grade Crack Filler. Apply the filler directly into the crack and smooth it out with a trowel or paintbrush. The crack filler typically takes about 48 hours to dry completely.
- Patch potholes: If your driveway has deeper potholes, use a patch material. Apply it to the hole, then tamp it down using a rubber mallet. Make sure it is level with the rest of the driveway.
Pro Tip: Although crack fillers are self-leveling, using a paintbrush can help smooth out the surface for a better finish.
Step 3: Prepare the Driveway for Sealing
Before you begin sealing, there are a few preparations to take care of:
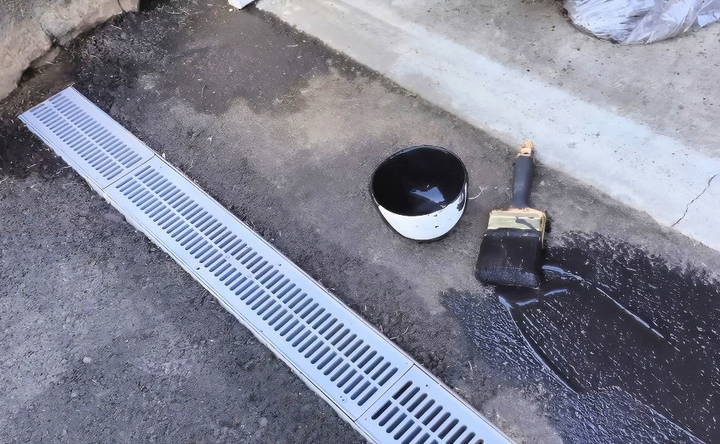
- Tape edges: Use painter's tape to mask off areas where you don't want the sealant, such as sidewalks, curbs, or decorative stones. This will help build clean lines and prevent sealant from spilling over.
- Mix the sealant: Asphalt sealants, like the Ultra Shield, tend to separate over time. Use a long stick or a drill attachment to thoroughly stir the sealant for an even consistency.
Important: Check the weather forecast before starting this project. You need dry conditions for at least 24-48 hours after application for the sealant to cure properly.
Step 4: Apply the Sealant
Now that your driveway is prepped, it's time to apply the sealant.
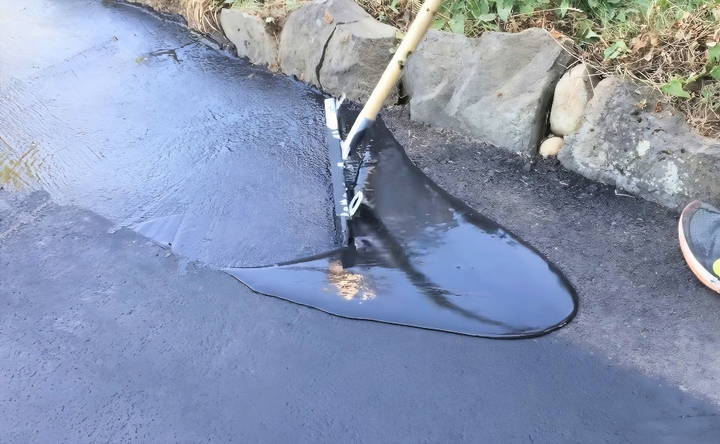
- Start with the edges: Using a paintbrush, apply sealant around the perimeter of your driveway and in any tight areas. This gives you control in areas that are difficult to reach with a squeegee.
- Pour the sealant: Pour a small amount of sealant directly onto the driveway in manageable sections.
- Spread with a squeegee: Use the squeegee to spread the sealant evenly, working in small areas. Always move the squeegee in the same direction to prevent streaks.
- Work downhill: If your driveway is sloped, work from the top down, allowing gravity to help spread the sealant.
- Apply a second coat (optional): For added protection, some homeowners prefer applying a second coat. If you choose to do so, wait until the first coat has fully dried, usually about 24 hours.
Note: If this is the first time you're sealing your driveway, it may absorb more sealant than expected. Be prepared to use extra products.
Step 5: Allow Time to Cure
After applying the sealant, it's important to let it dry and cure properly.
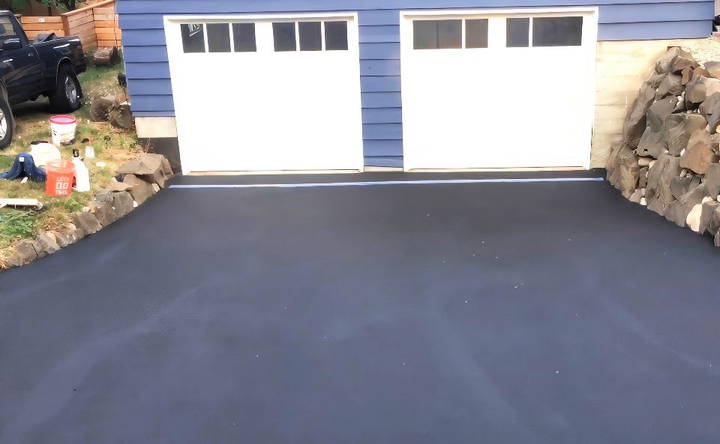
- Drying time: Wait at least 24 hours before walking on the driveway, and 48 hours before driving on it. This ensures that the sealant has fully cured and won't get damaged by foot or vehicle traffic.
- Block the driveway: Use cones, barricades, or any visible barrier to block off your driveway and prevent anyone from accidentally driving on it too soon.
Weather Conditions: Make sure temperatures stay above 55°F during application and drying. Cooler temperatures can prevent the sealant from curing properly.
Maintenance Tips After Sealing
Once your driveway is sealed, there are a few maintenance tips to help prolong the life of your sealant:
- Keep it clean: Sweep away debris and hose down the driveway periodically to keep dirt and grime from building up.
- Fill cracks immediately: If new cracks form, fill them as soon as possible to prevent them from spreading.
- Reapply every 1-2 years: Although sealants can last longer, reapplying every 1-2 years ensures optimal protection and a fresh appearance.
Common Mistakes to Avoid
- Skipping the cleaning step: Failing to clean the driveway properly will prevent the sealant from adhering, leading to premature failure.
- Using too much sealant: Pouring too much sealant at once can cause puddling and an uneven finish. Always work in small sections for better control.
- Not considering weather: Rain, cold temperatures, or extreme heat can all affect the outcome of your project. Always check the weather forecast before starting.
Conclusion
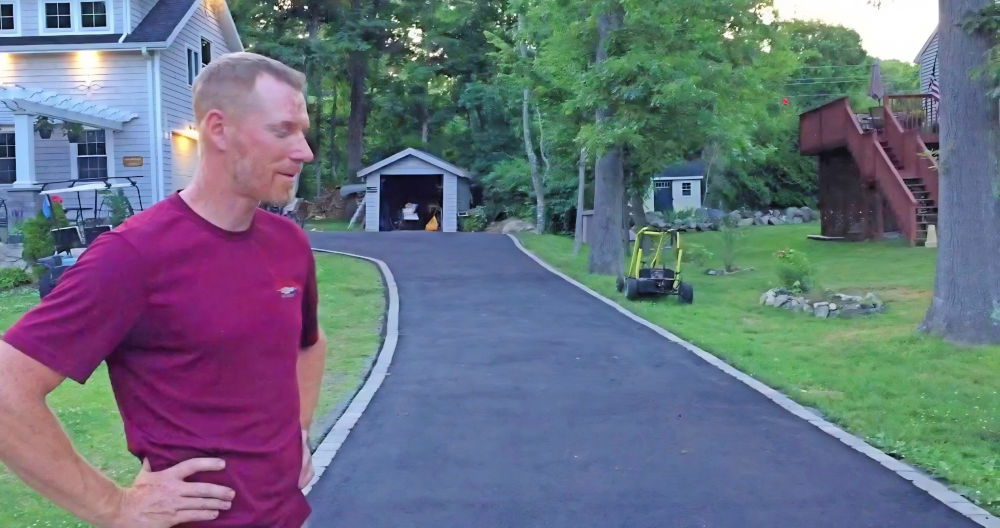
Sealing your driveway is a great DIY project that not only improves the appearance of your home but also protects your investment. While it can be a bit messy, following these steps will ensure a professional-looking result. With a clean surface, filled cracks, and a fresh coat of sealant, your driveway will look brand new and be protected for years to come.
By taking the time to do this project yourself, you can save a considerable amount of money and enjoy the satisfaction of maintaining your property. So, grab your tools, follow this guide, and give your driveway the facelift it deserves!
FAQs About DIY Driveway Sealing
Discover the top FAQs about DIY driveway sealing, including tips, tools, and best practices to protect and maintain your driveway's longevity.
If you don’t own a pressure washer, consider renting one from a local hardware store. A hose can help, but a pressure washer is highly effective for removing dirt, grease, and debris, ensuring proper adhesion of the sealant.
Yes, you can use a roller for smoother application and to avoid streaks, especially in tight areas. A rough-surface roller can build a uniform finish and help eliminate squeegee marks.
A second coat is not required but can offer extra protection. If the first coat looks uneven or streaky, applying a second coat can help achieve a more uniform finish. Always allow the first coat to dry before reapplying.
The temperature should be at least 55°F and rising. Avoid applying the sealant if temperatures are expected to drop below 50°F, or if rain is forecasted within 24-48 hours of application.
It is best to wait at least 48 hours before driving on the newly sealed surface, although you can usually walk on it after 24 hours. Ensure that it’s fully dry to avoid damage.
To prevent weeds, apply weed killer before sealing and fill any cracks with an appropriate filler. Installing an edge barrier between your lawn and the driveway can also help stop grass from creeping into the asphalt.
No, asphalt sealants are not designed for concrete. Use concrete-specific sealants for protection. There are options for coloring or resurfacing concrete if you want a blacktop look.
If streaks or patches appear after drying, it’s likely due to uneven application. To fix this, apply a second coat. Make sure to use consistent pressure when spreading the sealant with a squeegee or roller.
Most asphalt sealants last 1-3 years, depending on the quality of the product, weather conditions, and how well the driveway was prepped. For best results, reseal your driveway every two to three years.
While Flex Seal can be used for small cracks or temporary repairs, it's not recommended for full driveway sealing. Asphalt-specific sealants provide the best long-term protection and durability.


