Making sensory bags for toddlers is a fantastic way to stimulate their senses, keep them entertained, and support their development. Sensory bags are versatile, easy to make, and can be crafted from everyday household items, making them accessible and affordable. In this guide, we'll explore everything you need to know about sensory bags, including why they're beneficial, what materials you'll need, and some creative ideas to get started.
What Are Sensory Bags?
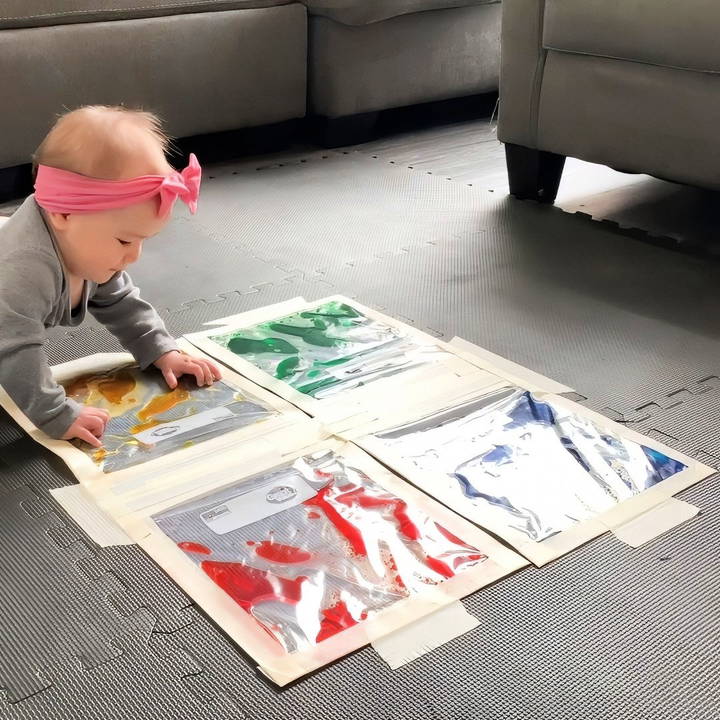
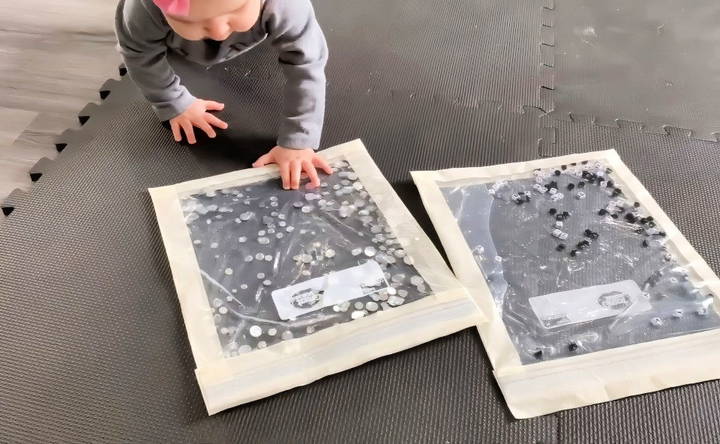
Sensory bags are sealed pouches filled with different materials that make unique textures, colors, and effects when squished, moved, or manipulated. Typically made using clear, sealable plastic bags, they provide a safe, mess-free way for young children to explore various sensory elements. These bags are especially beneficial for babies and toddlers who enjoy tactile experiences but may not yet have the fine motor skills needed for more hands-on sensory play activities.
Benefits of Sensory Bags for Toddlers
Sensory bags offer a variety of developmental benefits:
- Encourage Fine Motor Skills: Manipulating the bag helps toddlers improve hand-eye coordination and muscle strength in their fingers.
- Promote Sensory Exploration: Each bag can introduce different sensations, such as wet, squishy, smooth, or textured.
- Support Early Learning: Through sensory play, toddlers can begin to understand colors, shapes, and cause-and-effect relationships.
- Provide Calm and Focus: Sensory bags can have a soothing effect, making them a helpful tool during calming routines or quiet times.
- Encourage Creativity: With various themes and materials, sensory bags inspire creativity and allow parents and caregivers to personalize each bag to their child's interests.
Materials Needed for DIY Sensory Bags
Most sensory bags require just a few basic materials, many of which are likely already in your home. Here's what you'll need to get started:
- Plastic Bags: Freezer or sandwich bags work well for sensory bags. Opt for sturdy, sealable bags to minimize the risk of leaks.
- Duct Tape or Masking Tape: Use this to reinforce the bag's edges, ensuring it's durable and safe for toddler play.
- Filling Materials: Almost any household item can be a sensory bag filler. Here are some popular choices:
- Liquids: Water, baby oil, or vegetable oil for unique textures.
- Coloring: Food coloring to make the contents visually interesting.
- Small Objects: Glitter, beads, pom-poms, sequins, or small toys for visual and tactile stimulation.
- Soft Fillers: Gel, shaving cream, or hair gel for squishy and malleable textures.
- Optional Add-Ons: Stickers, letters, or themed decorations that can add an educational element or visual appeal.
Step by Step Instructions
Make sensory bags for toddlers with easy, step-by-step DIY instructions. Boost learning and development through fun, hands-on activities!
1. Basic Water and Oil Sensory Bag
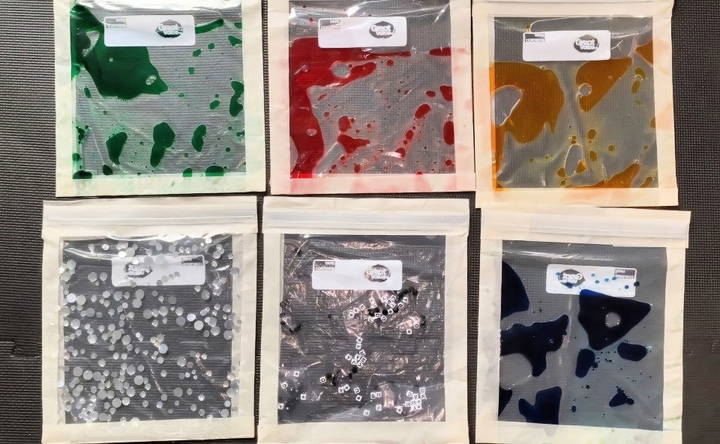
This simple sensory bag combines water, oil, and food coloring to make a mesmerizing effect as the two liquids don't mix, allowing kids to watch blobs of oil move in the water.
What You'll Need:
- Plastic freezer bag
- Duct or masking tape
- Water and vegetable oil
- Food coloring (any color you prefer)
Instructions:
- Pour a small amount of water into the plastic bag.
- Add about a ¼ cup of vegetable oil.
- Drop in a few drops of food coloring.
- Seal the bag and reinforce the edges with duct tape.
- Leave a small air pocket inside the bag so that bubbles can form and move when pressed.
2. Glittery Gel Sensory Bag
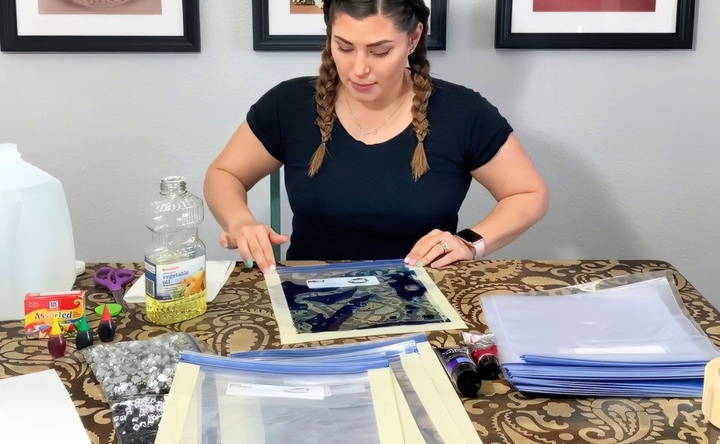
A glittery gel bag offers a sparkly, colorful experience for toddlers to enjoy.
What You'll Need:
- Plastic bag
- Clear hair gel or aloe vera gel
- Glitter in various colors
- Duct tape
Instructions:
- Fill the bag with a generous amount of clear hair gel or aloe vera gel.
- Sprinkle in glitter of your choice.
- Seal and tape the bag, pressing down gently to distribute the glitter throughout the gel.
3. Colorful Bead and Water Sensory Bag
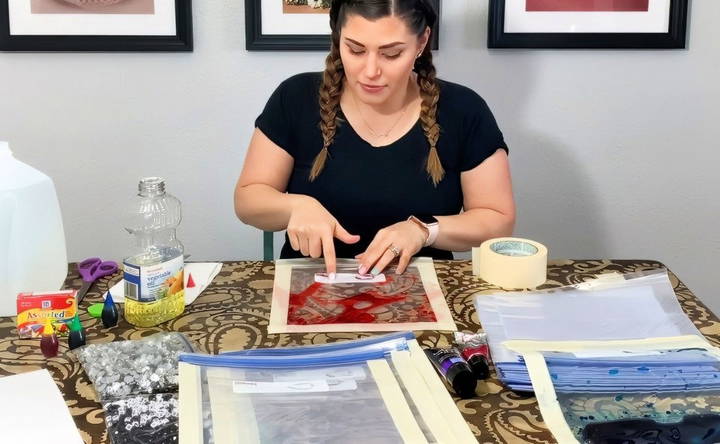
Using beads and water, this sensory bag allows toddlers to manipulate and observe colorful beads floating and moving with the water's flow.
What You'll Need:
- Plastic bag
- Water
- Small, colorful beads
- Duct tape
Instructions:
- Fill the plastic bag halfway with water.
- Add a handful of colorful beads.
- Seal and tape the bag, then encourage your toddler to press, shake, and explore the different colors and shapes.
Creative Ideas for Sensory Bags
Now that you know the basics, here are some more creative variations to make sensory bags extra engaging:
- Alphabet Letter Bag: Add a learning twist to your sensory bag by including foam letters or plastic letter beads. This way, toddlers can identify and explore letters as they play.
- Seasonal and Themed Sensory Bags: Consider incorporating seasonal items such as fake leaves in autumn, small pom-poms for winter, or flower confetti in spring. These can help familiarize children with seasonal themes and celebrations.
- Texture-Filled Sensory Bags: You can vary the textures by including materials such as sand, rice, or small pasta. For example:
- A sandbag filled with sand and small shells can mimic a beach experience.
- A rice bag with colored rice and small plastic insects or animals adds a tactile and educational component.
Important Tips for Using Sensory Bags
Making sensory bags safe and enjoyable involves a few key considerations:
- Double Bagging for Safety: If your toddler tends to bite or squeeze items hard, consider double-bagging to prevent leaks.
- Always Supervise: Sensory bags should always be used under supervision. Even though they're designed to be mess-free, accidents can happen.
- Reinforce the Edges: Duct tape can help reinforce the bag's edges and opening, making it more durable and less likely to burst under pressure.
- Avoid Small Choking Hazards: For younger toddlers, avoid adding very small items that could pose a choking risk if the bag were to break.
Using Sensory Bags to Support Learning and Development
Sensory bags aren't just about play; they're also powerful learning tools. Here's how they can support different developmental areas:
- Cognitive Development: Toddlers can learn colors, shapes, and even counting by observing and identifying the items inside each bag.
- Language Development: Sensory bags can be used to introduce new vocabulary. For example, when using a bag filled with water and oil, you can talk about words like “float,” “sink,” and “mix.”
- Problem Solving: When toddlers manipulate the bags, they explore cause and effect. For example, when they press down on a gel bag, they'll see the glitter and objects move.
Cleaning and Maintenance Tips
Sensory bags don't usually require maintenance, but a few tips can help them last longer and prevent any mess:
- Replace as Needed: Over time, the contents of some sensory bags may degrade or leak. Replace them periodically for cleanliness.
- Wipe Down the Exterior: After each use, you can quickly wipe down the outside of the bags with a baby wipe or damp cloth.
- Store Properly: Keep bags in a cool, dry place away from sharp objects to prevent accidental punctures.
Final Thoughts
Sensory bags are a fantastic DIY activity for parents and caregivers looking to provide their toddlers with engaging, developmental play without spending much. Not only are they easy and affordable, but they also offer countless opportunities to tailor each bag to your child's interests and developmental needs. Whether you're looking for a quick, engaging activity or a way to help your toddler explore textures, colors, and shapes, sensory bags are an ideal solution.
By incorporating these sensory bags into your playtime routine, you can foster a love of learning and creativity in your little one, all while enjoying the process of making something fun together.
FAQs About Sensory Bags for Toddlers
Discover the benefits and top FAQs about sensory bags for toddlers, enhancing playtime with engaging textures and stimulating learning experiences.
No problem! Sensory bags are highly customizable. Substitute items like food coloring with colored paper or use leftover shampoo instead of hair gel. The goal is to make different textures and colors, so feel free to get creative with household items.
Yes, sensory bags are often enjoyed by children with sensory processing challenges or autism. They provide a safe, calming way to explore textures and can be personalized to suit individual preferences. Always supervise closely to ensure safety.
For extra durability, double-bag your sensory bags. Place the primary bag inside a second one and reinforce the edges with duct tape. This added layer can withstand rougher play and minimizes the risk of leaks.
Sensory bags can often be reused for several days or weeks, depending on the filler. Store them in a cool, dry place and inspect for leaks before each use. Bags with liquid or perishable items might need to be replaced sooner.
Older siblings can help choose colors, fill bags, or add decorations. Letting them write color names or draw designs on the bags provides an educational element and keeps everyone involved in the process.
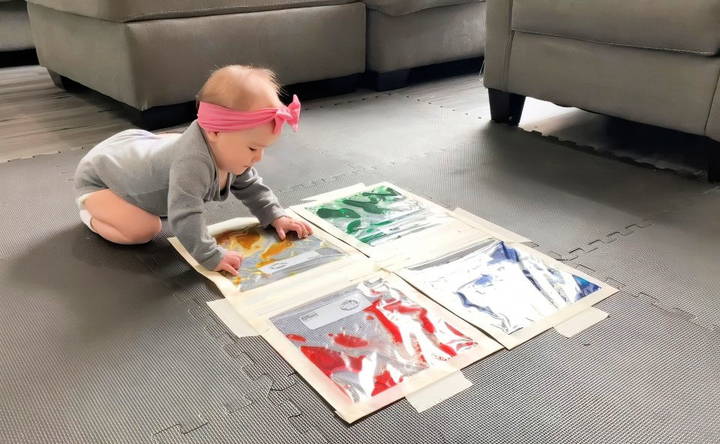
You can tape sensory bags to highchair trays for entertainment during meals or attach them to the floor or wall for a new play experience. Some parents use them as calming tools during travel or transitions.
Yes! Consider using small, reusable silicone bags or sealed pouches for an eco-friendly option. These are often more durable and can be easily cleaned, though they may not provide as clear a view of the contents.
If your toddler enjoys sensory bags, they might also love sensory bins with rice or pasta, finger painting, or water play with sponges. Each of these activities offers unique tactile experiences, further enhancing sensory exploration.


