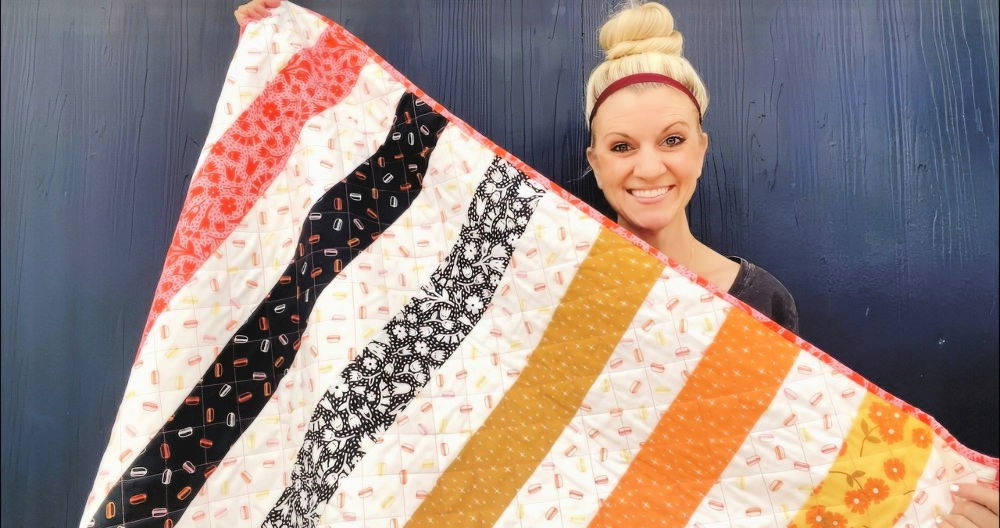
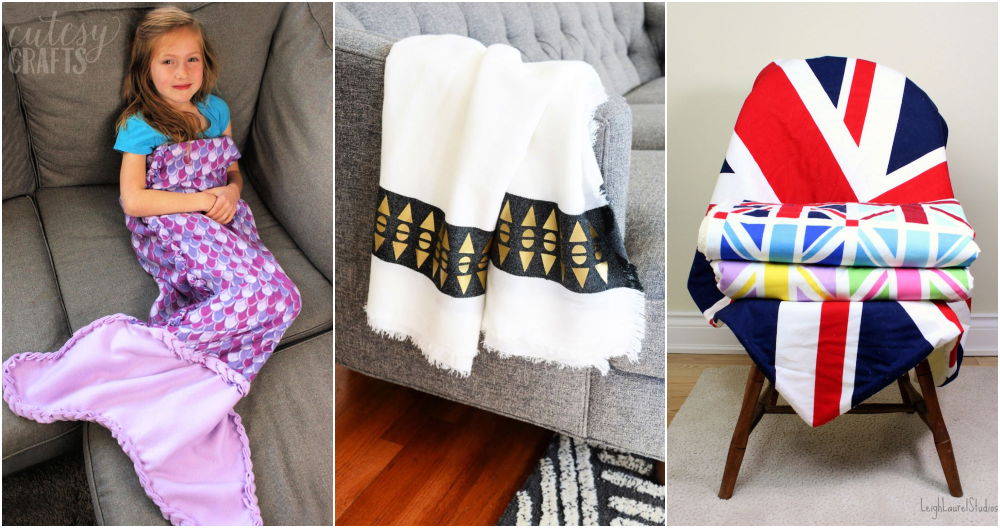
Starting something new can feel overwhelming, but learning how to sew a quilt is simpler than it seems. I remember the first time I picked up a needle and fabric, unsure where to begin. Slowly, step by step, I learned the basics, and each piece came together. Quilt-making became a relaxing and enjoyable way to create something personal and lasting.
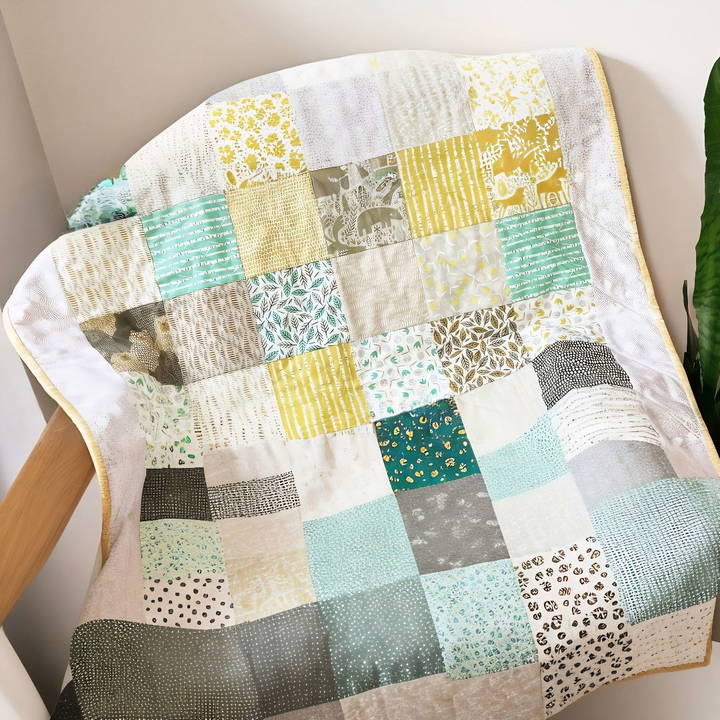
Now, I want to share what I've learned with you, so you can start your own quilt. Whether it's a simple project or a more detailed design, these tips will guide you through the process. Quilting can be rewarding, and by following this guide, you'll see how easy it is to begin. I'm here to help you get started.
Why Quilting? The Essence Behind the Craft
Before jumping into our guide, I want to share why quilting holds a special place in my heart. Quilting is more than a hobby to me; it's a meditative process brimming with creativity. Every piece of fabric represents a part of my history, and the final quilt doesn't just keep me warm; it wraps me in memories.
Materials Needed: The Essentials for Quilting
Starting a quilting project requires gathering specific materials. Choosing the right materials can make or break your project, so here is a list with explanations of why each item is crucial:
- Fabric: You'll need a variety of fabrics for the top layer of your quilt. Quality fabric ensures durability and aesthetic appeal. I recommend 100% cotton for its softness and ease of handling.
- Batting: This is the middle layer that provides warmth. There are various options like cotton, polyester, and wool. I use cotton batting for its natural feel and lightweight.
- Backing Fabric: This is the fabric on the back of the quilt. It should complement your overall design. I prefer using a single solid-colored fabric for a clean look.
- Sewing Machine: While hand quilting is an option, a sewing machine speeds up the process significantly. Ensure your machine can handle quilting threads and fabrics.
- Rotary Cutter and Cutting Mat: These tools help you cut fabric pieces precisely, which is vital for a good-fitting quilt.
- Quilting Ruler: A clear ruler with grid lines helps ensure your pieces are cut accurately.
- Pins or Clips: These hold pieces together when you're sewing. I recommend quilting pins because they are longer and easier to handle.
- Thread: Use quilting thread, which is stronger and comes in various colors. Match it to your fabrics for a seamless finish.
- Iron and Ironing Board: Pressing each piece as you work makes sewing easier and results in cleaner edges.
Step by Step Instructions
Learn how to sew a quilt with our easy step-by-step instructions, perfect for beginners and experienced quilters alike.
Step 1: Planning Your Quilt
The initial stage in quilting is planning your design. Spend some time choosing colors and patterns that evoke emotions or memories. For my quilt, I selected hues that reminded me of the countryside where I grew up, resulting in a nostalgic design.
- Draft Your Design: Sketching a pattern helps visualize your project and serves as a roadmap. Use graph paper or a digital design app to draw your vision accurately.
Step 2: Cutting Your Fabric
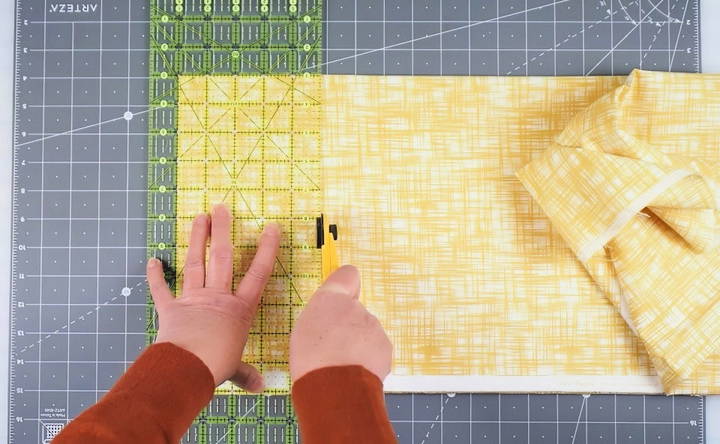
With your design in hand, it's time to cut your fabric into pieces. This stage requires patience and precision.
- Measure Twice, Cut Once: Ensure your measurements are exact to avoid frayed edges and wasted fabric. I find joy in this meticulous process because it's the foundation upon which your quilt will be built.
Step 3: Assembling the Quilt Top
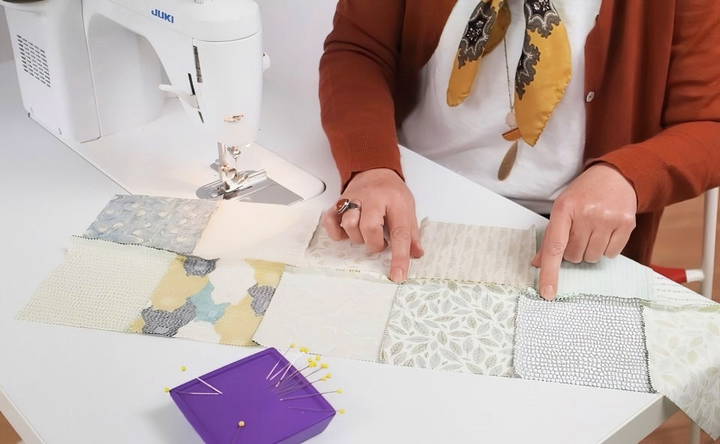
Now, it's about bringing your quilt top to life by sewing your pieces together following your design:
- Organize Your Pieces: Lay out your pieces in the order they will be sewn. This visual arrangement prevents mistakes.
- Sew and Press Seams: Use your sewing machine to stitch your pieces, pressing the seams after each row. Ironing seams flat helps achieve a polished finish.
Step 4: Adding the Batting and Backing
Creating a quilt is a layering process. The batting and backing are crucial for stability and warmth.
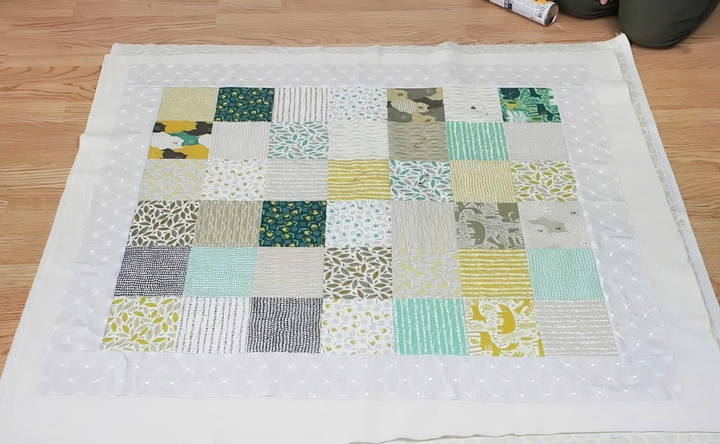
- Layering the Quilt Sandwich: Lay the backing fabric wrong-side up, positioning the batting and then the quilt top. Ensure all layers are smoothed out to avoid wrinkles during sewing.
- Baste the Layers: Temporarily pin or clip these layers together so they don't shift. This step often requires patience and precision but is necessary for even quilting.
Step 5: Quilting the Layers
This step is where texture and depth are added to your quilt, making it truly three-dimensional.
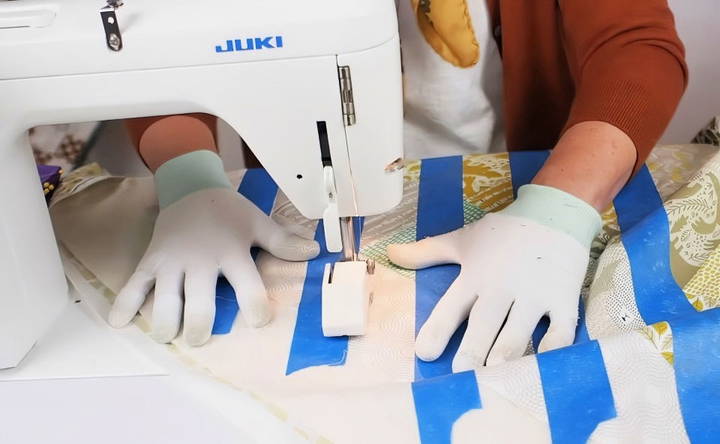
- Choose a Quilting Pattern: Deciding on a pattern depends on your skill level. Straight-line quilting is an excellent start for beginners, while experienced quilters might tackle intricate designs.
- Sew the Quilt: Carefully sew through all layers using your chosen pattern. I enjoy this step the most; it transforms the quilt into a functional piece of art.
Step 6: Binding the Quilt
The binding is the final touch, giving your quilt a finished and professional look.
- Cut and Prepare Binding Strips: Use fabric that complements your quilt to cut binding strips. Fold and press them into double-fold bias strips for durability.
- Attaching the Binding: Sew the binding to the front of the quilt first, then fold it over to the back and sew it in place by hand or machine. I often find a quiet corner and hand-sew the binding, finding the rhythm relaxing.
FAQs About Sewing a Quilt
Discover answers to common questions about sewing a quilt, from choosing fabric to stitching techniques and finishing touches.
Batting choice depends on the desired warmth, loft (thickness), and drape of your quilt. Consider the climate you live in, the intended use of the quilt, and your personal preference for weight and feel. Common batting types include cotton, wool, polyester, and blends. Research different options and their properties to find the best fit for your project.
Spray basting is a popular and convenient method, involving adhesive spray to temporarily secure the quilt layers. Pin basting is another option, using safety pins to hold the layers together. Alternatively, you can try thread basting, which involves hand-stitching long running stitches through all layers.
If puckers or wrinkles appear, try gently steaming the affected area with an iron to relax the fabric. Avoid pressing directly on the quilt, as this can flatten the batting. If steaming doesn't work, you might need to carefully unpick some quilting stitches and smooth out the fabric before re-quilting.
Besides traditional binding, explore facing, which involves sewing a separate fabric strip to the quilt back and then folding it to the front. You can also try flange binding, which adds a decorative flange or ruffle along the edge. Consider using decorative stitches or adding embellishments like lace or ribbon for a unique touch.
Proper care is essential for quilt longevity. Wash your quilt gently in cold water with a mild detergent, and avoid using bleach or fabric softener. Air dry or tumble dry on low heat. Store your quilt in a cool, dry place, away from direct sunlight and moisture. Avoid folding the quilt for extended periods, as this can create creases and weaken the fibers.
Conclusion: Reflecting on the Experience
Completing my quilt was a labor of love, filled with lessons and warm memories. While it can seem daunting at first, each step is a manageable task that adds to the immense satisfaction once you cuddle under your homemade quilt. Quilting has taught me patience and precision, and it has imbued each piece with personal stories.
Final Thoughts and Encouragement
Quilting is more than making a blanket; it's journeying through a tactile and emotional process, creating a physical manifestation of memory and creativity. Whether you're a beginner or an experienced quilter, each quilt you create is a testament to your creativity and perseverance.
Caring for Your Quilted Blanket
Now, as you admire your handiwork, it's vital to know how to care for your quilt to ensure it stays in top condition for years.
- Washing and Drying: Gentle washing in cold water and air drying are best. I wash my quilt with a mild detergent, avoiding harsh chemicals that can degrade the fabric.
- Regular Maintenance: Inspect your quilt regularly for any wear and tear. Addressing small issues promptly can prevent bigger problems.
- Storage Tips: Store your quilt in a cool, dry place, preferably in a cotton or linen bag to let the fabric breathe. Never use plastic bags, as they trap moisture and could lead to mold.
Sharing Your Quilting Journey
Quilting is a community-driven craft, and sharing your experiences can enrich others' journeys and inspire them to start their projects. I've shared my quilting stories in quilting bees and online forums, finding camaraderie and support from fellow quilters.
Resources for Further Learning
- Online Tutorials and Videos: Platforms like YouTube offer countless tutorials from basic to advanced techniques.
- Quilting Books and Magazines: These are excellent for pattern ideas and technical advice.
- Local Quilting Classes: Many community centers offer classes that can provide hands-on help and feedback.
Encouraging a Mindful Approach
Finally, I encourage a mindful and patient approach to quilting. Embrace the small errors and learn from them. Each stitch is part of a larger tapestry, much like each day is part of our lives.


