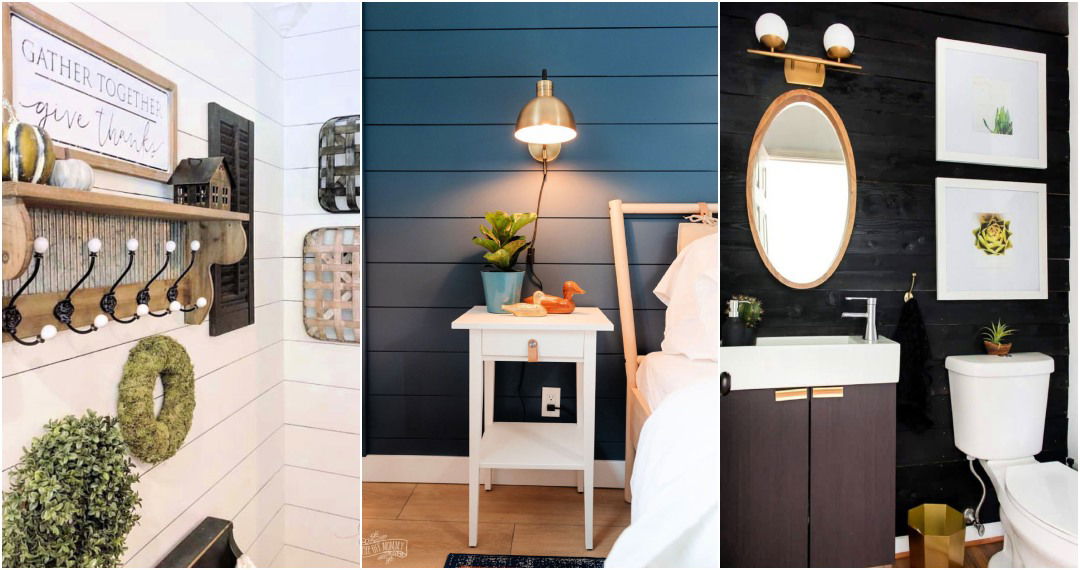
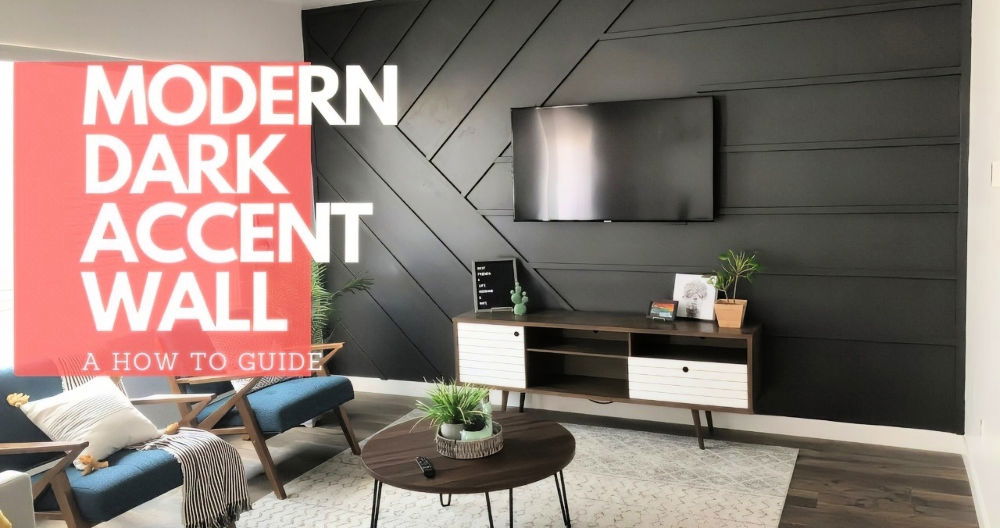
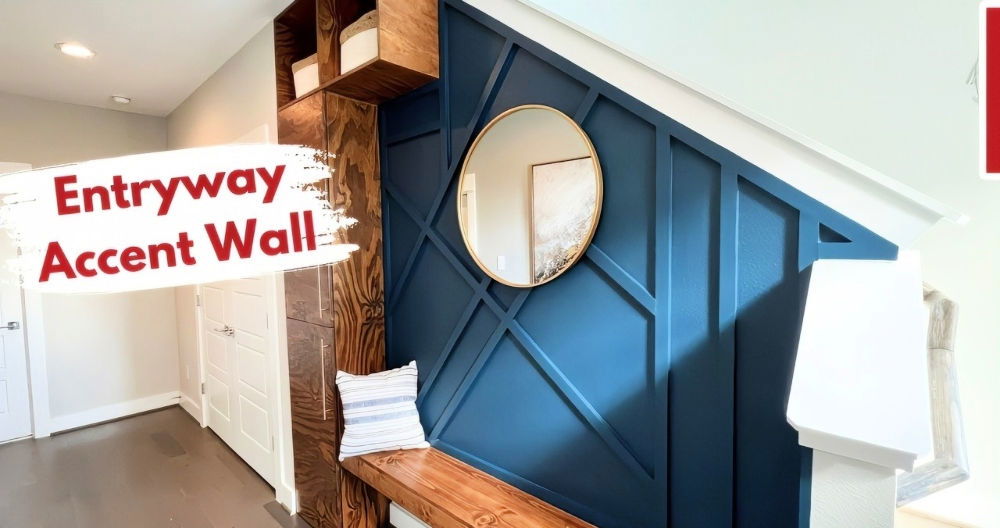
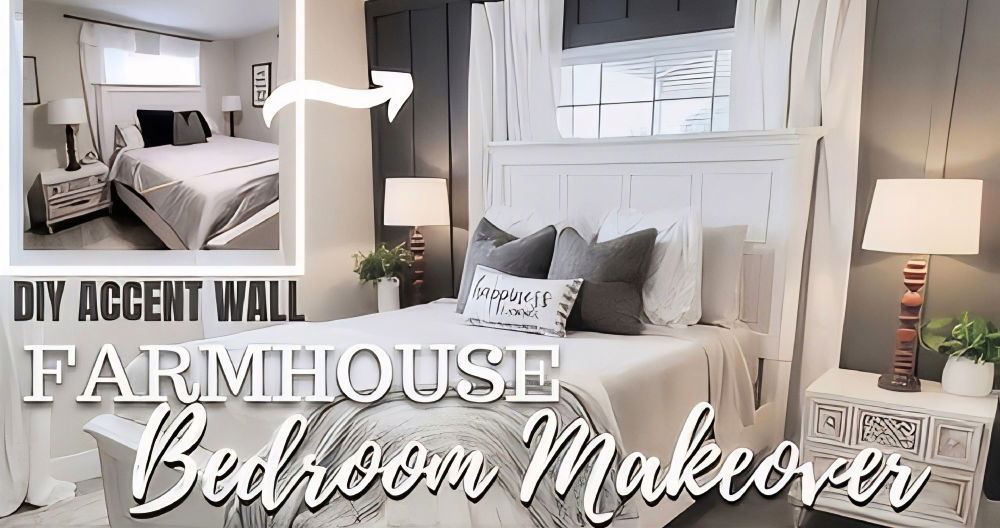
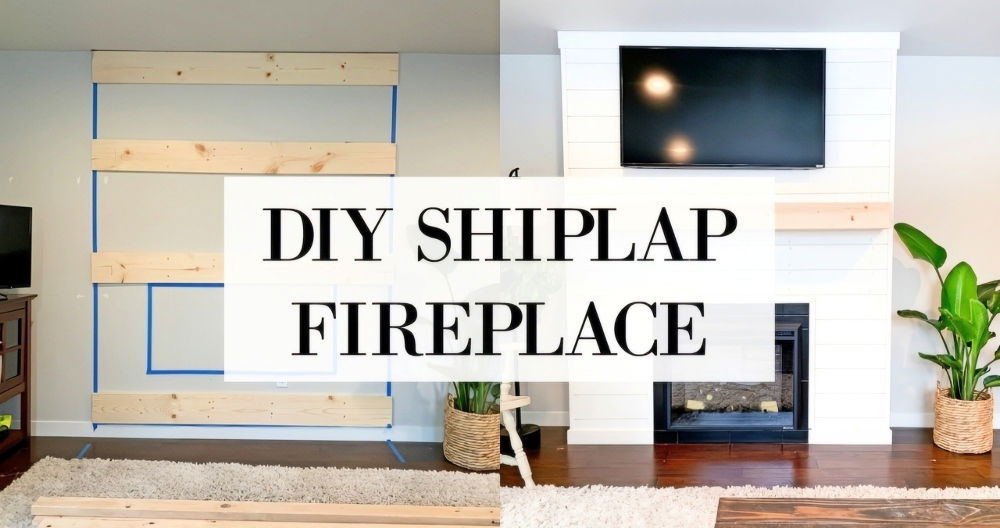
Shiplap accent walls have become a popular design trend for adding character and sophistication to spaces like bathrooms, living rooms, and bedrooms. This guide will take you through the detailed process of making a stunning shiplap bathroom accent wall in a small space. Whether you're a seasoned DIYer or a beginner, this guide will provide actionable insights, tips, and techniques to achieve professional results.
Why Choose a Shiplap Accent Wall?
Shiplap accent walls are not only visually appealing but also versatile and easy to implement. They can:
- Enhance Small Spaces: Perfect for small bathrooms to build depth and focus.
- Offer a Luxurious Feel: Provide a high-end finish without breaking the budget.
- Adapt to Any Style: From farmhouse rustic to modern chic, shiplap complements various decor themes.
Tools and Materials You'll Need
Before diving into the installation process, gather the following tools and materials:
Materials:
- Shiplap Panels: 9/16-inch thick, 5 ¼ inches wide, and 8 feet long boards.
- PVC Trim: ¾-inch x 1 ½-inch x 8-foot for edging.
- Construction Adhesive: Liquid Nails or a similar panel adhesive.
- Caulk: White, paintable caulk (Dynaflex 230 recommended).
- Wood Filler: To fill gaps and holes for a seamless finish.
- Paint: Satin finish for a smooth and washable surface.
Tools:
- Measuring tape, level, and speed square.
- Stud finder to locate secure points for nailing.
- Miter saw for precise cuts.
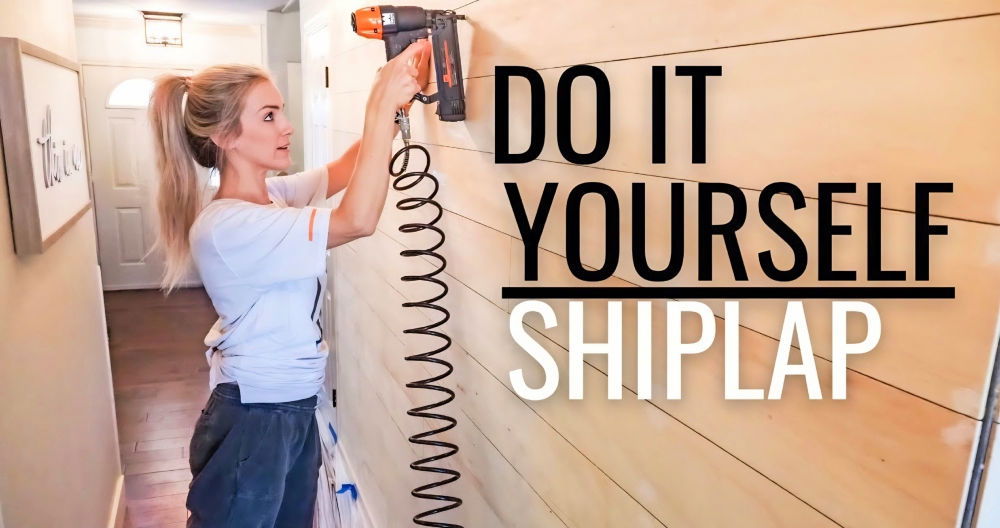
- Nail gun and compressor with 2-inch 16-gauge brad nails.
- Caulking gun and putty knife.
- Sanding block or sponge.
- Paint roller and angled brush.
Step by Step Instructions
Learn how to make a stunning shiplap bathroom accent wall with easy step-by-step instructions. Elevate your bathroom’s style effortlessly!
Step 1: Preparing the Surface
Preparation is key to a flawless installation. Begin by clearing the wall and ensuring it is smooth and ready for shiplap panels.
Remove Fixtures and Smooth the Wall
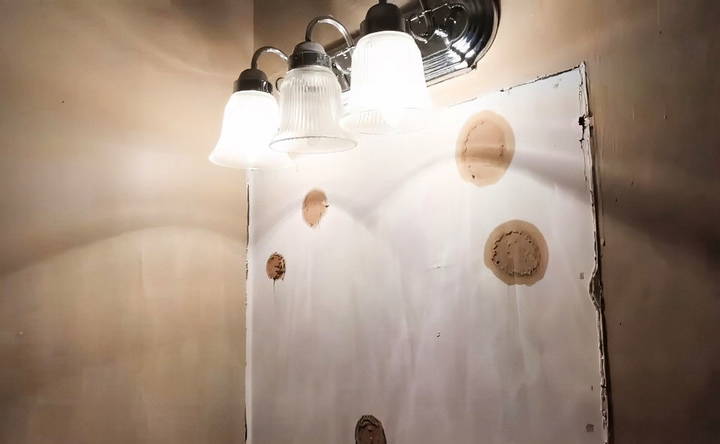
- Detach any light fixtures, mirrors, or decor from the wall.
- Scrape off excess caulking and patch any holes using a putty knife and patching compound.
- Sand the patched areas for a smooth finish.
Clean the Surface
- Wipe the wall to remove dust and debris. This ensures the adhesive and panels bond properly.
Step 2: Planning the Layout
Master planning your layout, measuring and cutting, and choosing the ideal baseboard or first panel for a seamless project finish.
Measure and Cut
- Measure the dimensions of your wall to calculate the number of shiplap panels required.
- Remember to account for outlets, fixtures, or plumbing that may require custom cuts.
Choose a Baseboard or First Panel
- You can start with either a baseboard for a cohesive look or directly with a shiplap panel.
- If using a baseboard, ensure it aligns seamlessly with existing trim.
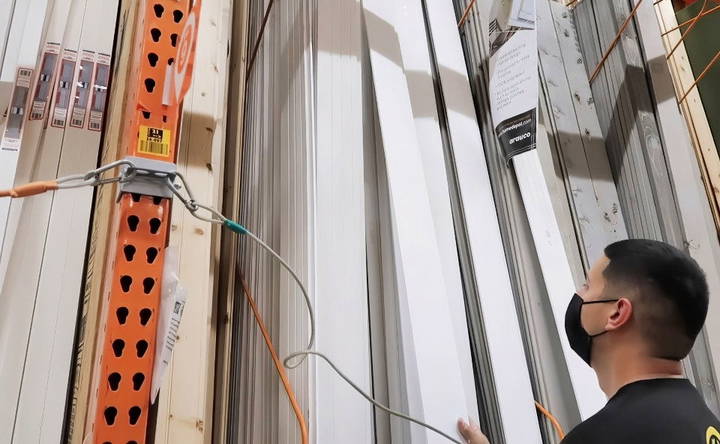
Step 3: Installing the Shiplap Panels
Now comes the exciting part—installing the shiplap panels!
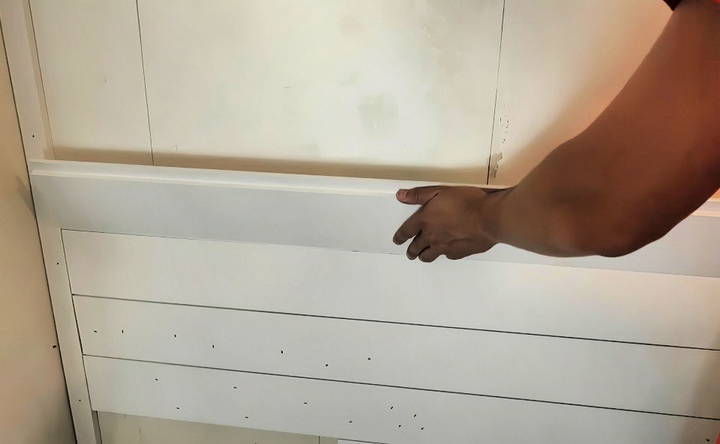
Secure the Baseboard and Borders
- Install the Baseboard: Apply construction adhesive to the back of the baseboard.
- Press it firmly onto the wall and check alignment with a level.
- Nail it into studs using a nail gun for added security.
- Add Vertical Trims: Measure and cut PVC trims for the left and right edges of the wall.
- Attach them similarly with adhesive and nails, ensuring they are straight and flush with the wall.
Step 4: Installing the Panels
Learn to install panels by starting from the bottom and adjusting for fixtures for a professional finish in your home improvement project.
Start From the Bottom
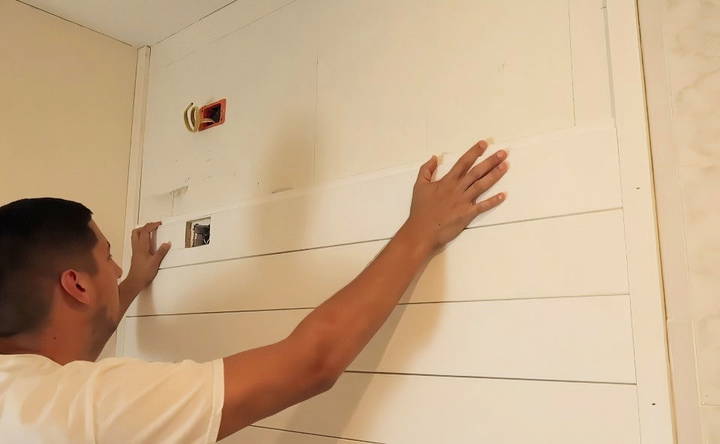
- Prepare the First Panel: Apply adhesive to the back of the shiplap panel.
- Position it above the baseboard and press firmly.
- Nail along the top lip of the panel into the studs.
- Work Upwards: Continue adding panels, applying adhesive and nailing into studs for each one.
- Use a level after securing each panel to ensure alignment.
Adjust for Fixtures
- Cutouts for Outlets or Fixtures: Measure and mark the location of outlets or fixtures on the panel.
- Use a jigsaw to cut out precise openings.
- Dry-fit the panel before attaching it to ensure accuracy.
Step 5: Finishing Touches
Discover essential finishing touches with our guide on filling and caulking for a polished, professional look in your home projects.
Filling and Caulking
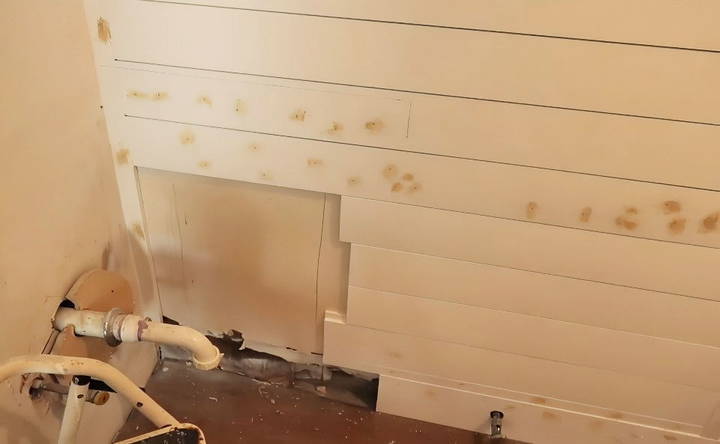
- Fill Holes and Gaps: Apply wood filler to nail holes and gaps between panels.
- Let it dry before sanding for a smooth finish.
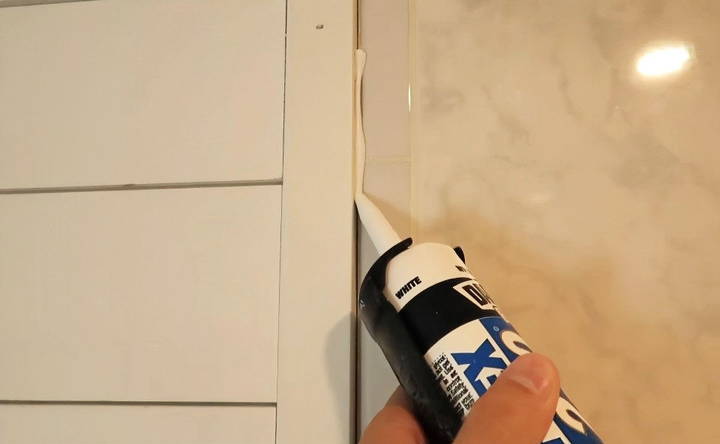
- Caulk Edges: Apply caulk along the edges of the panels and corners to seal gaps.
- Smooth the caulk with a damp sponge or finger for a seamless look.
Step 6: Painting
- Choose the Right Paint: Opt for a durable, satin-finish paint that complements your bathroom decor.
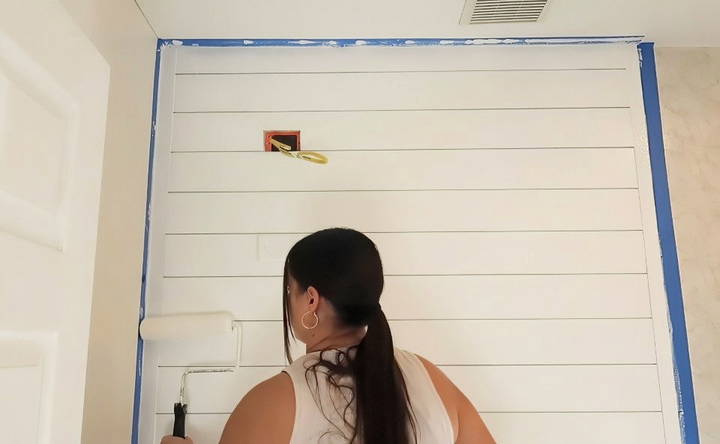
- Apply the Paint: Tape the edges of the wall to prevent paint from spilling onto adjacent surfaces.
- Use a brush for corners and a roller for flat surfaces.
- Apply two coats, allowing the first coat to dry before adding the second.
Step 7: Advanced Finishing Techniques
Now that the shiplap panels are installed and painted, you can refine the details to ensure a polished and professional look.
Sanding and Smoothing for a Seamless Finish
- Sand the Dried Filler: Use a sanding block to smooth out areas filled with wood filler.
- Ensure the surface is level and free of uneven patches.
- Clean the Panels: Wipe the surface with a damp cloth to remove any dust buildd by sanding.
- Allow it to dry before proceeding to painting or touch-ups.
Touch-Up Painting
- After sanding, check for any exposed wood filler or missed areas.
- Use a fine brush to touch up small spots with paint for a cohesive finish.
Step 8: Styling Your Shiplap Wall
A well-decorated shiplap wall can become the centerpiece of your bathroom. Here are some ideas to enhance its appeal:
Add Functional Elements
- Mirrors: Hang a decorative mirror to amplify light and add elegance.
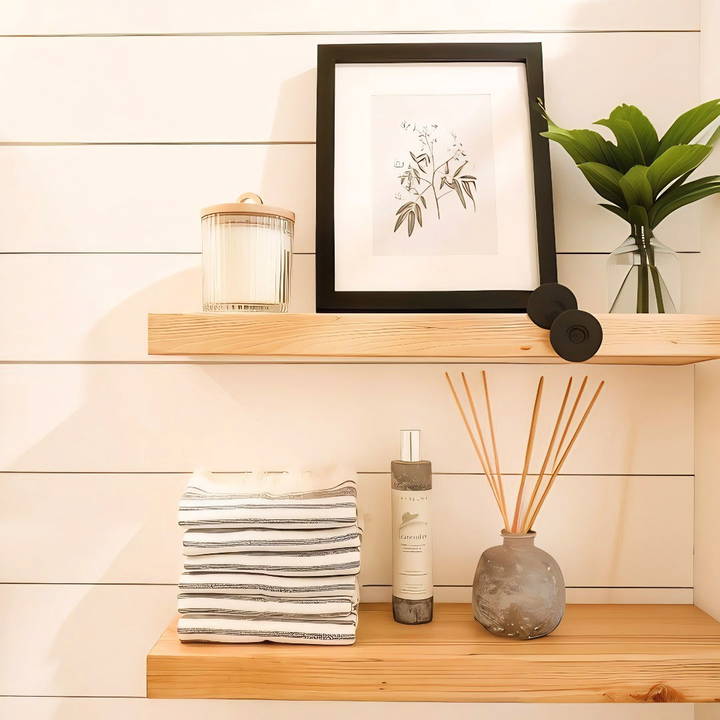
- Shelving: Install floating shelves for storage or decor items like candles and plants.
- Towel Hooks: Incorporate stylish hooks to maximize functionality.
Choose Complementary Decor
- Color Palette: Use neutral or pastel colors for a soothing spa-like atmosphere.
- Textures: Incorporate textured accessories, such as woven baskets or fluffy towels, to add depth.
- Lighting: Opt for modern or rustic lighting fixtures to highlight the wall's texture and finish.
Step 9: Maintenance and Longevity
To ensure your shiplap wall remains in top condition, regular maintenance is key. Here's how to care for it:
Cleaning the Panels
- Wipe the wall periodically with a damp cloth to remove dust and moisture buildup.
- Avoid abrasive cleaners that could damage the paint or wood finish.
Addressing Wear and Tear
- Inspect the wall for any cracks or gaps over time.
- Reapply caulk or wood filler as needed to maintain a seamless look.
Troubleshooting Common Issues
Even with careful planning, you may encounter challenges during or after installation. Here's how to address them:
- Gaps Between Panels: Use wood filler or caulk to close small gaps and sand smooth before repainting.
- Uneven Panels: If panels appear uneven, gently remove and reattach them, ensuring alignment with a level.
- Moisture Concerns: Ensure proper ventilation in the bathroom to prevent warping or damage caused by humidity.
- Consider sealing the shiplap with a water-resistant coating for added protection.

Benefits of a Shiplap Accent Wall
Reflecting on the process, it's clear that a shiplap accent wall offers numerous advantages:
- Affordability: Achieve a high-end look without a hefty price tag.
- Ease of Installation: Straightforward tools and techniques make this a DIY-friendly project.
- Customizability: Tailor the design to your style with paint, trim, and decor choices.
Final Reveal: Transforming Your Space
Once complete, your shiplap accent wall will transform your bathroom into a visually stunning and functional space. Whether you're showcasing it behind a vanity or using it as a focal wall, the shiplap adds charm, texture, and a modern edge to the room.
Conclusion: Start Your Shiplap Journey Today!
Building a shiplap accent wall in your bathroom is a rewarding DIY project that adds style and value to your home. With careful preparation, the right tools, and a touch of creativity, you can achieve professional-quality results.
If you're inspired to start your own project, remember to plan thoroughly, measure accurately, and enjoy the process. The end result will be a beautiful, functional space that reflects your unique style. Happy shiplapping!
FAQs About Shiplap Bathroom Accent Wall
Discover answers to FAQs about shiplap bathroom accent walls to enhance style, durability, and charm in your bathroom design.
To protect your shiplap, use a water-resistant finish or sealer. Proper ventilation in the bathroom will also help reduce humidity, preventing potential warping or damage.
Patch uneven areas with joint compound and sand smooth. For severely uneven walls, consider installing a backing board to build a uniform surface before attaching the shiplap.
Use a measuring tape to mark precise measurements on the panel. Drill pilot holes in each corner, then use a jigsaw to cut the outlined area.
Yes, use a hammer and nails instead. While it requires more effort, the results will still be durable. Apply construction adhesive for added support.
Double-check measurements before cutting and keep extra panels on hand for replacements. Dry-fit panels to the wall before applying adhesive or nails to avoid errors.
Not necessarily. Caulking is optional and depends on the look you want. For a seamless finish, apply caulk sparingly in gaps. For a rustic look, leave gaps as-is.
Clean it regularly with a damp cloth to remove dust and moisture. Reapply caulk or paint as needed to maintain its appearance and protect it from wear.
Yes, but it requires preparation. Use adhesive suitable for tiles and ensure the surface is clean and dry. Sand the tiles lightly to help the adhesive bond.
Fill nail holes with wood filler, sand them smooth, and paint over them for a flawless finish. Use a caulking gun for consistent application.
Yes, with patience and proper tools, it's an achievable DIY project. Follow each step carefully, measure twice before cutting, and ask for help if needed.


