Shou Sugi Ban, also known as Yakisugi, is an ancient Japanese technique for preserving wood by charring its surface. This process not only adds a distinctive, elegant aesthetic to the wood but also enhances its durability, protecting it from the elements, pests, and decay. The technique has been around for centuries and has gained modern-day popularity due to its eco-friendly properties and unique visual appeal.
In this comprehensive guide, we'll walk you through everything you need to know about how to Shou Sugi Ban, especially if you're a beginner. You'll learn about the tools you need, the proper steps to follow, and essential safety tips for achieving that stunning burnt wood finish.
What Is Shou Sugi Ban?
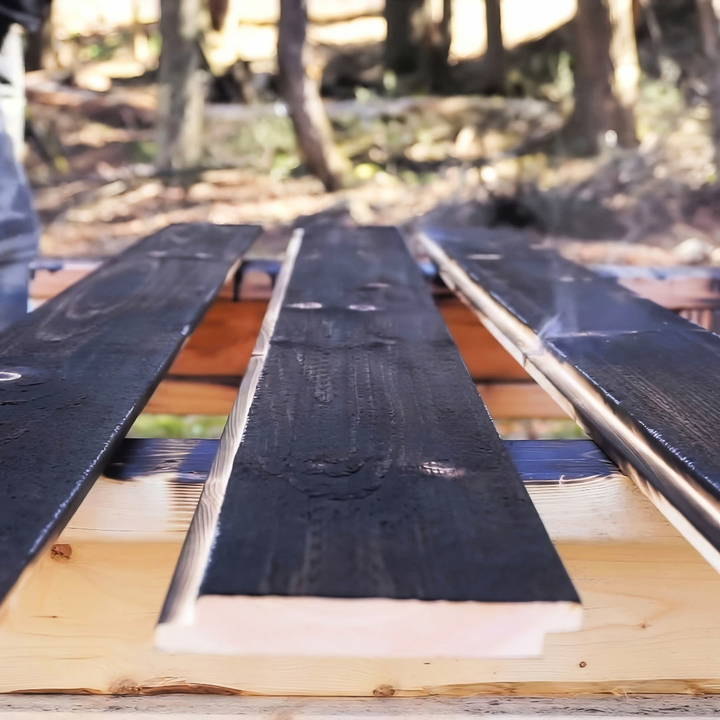
Shou Sugi Ban is a wood preservation technique that involves charring the surface of the wood, cooling it, and then applying oil to seal it. Traditionally, it was used in Japan to weatherproof cedar siding on homes. The burning process helps protect the wood from various threats, including water, insects, and decay, by creating a carbon layer that resists damage.
The charring process also enhances the wood's appearance, giving it a rich texture that ranges from deep black to brown, depending on the level of burn and post-processing. The final result can vary from a rustic to a more refined, modern aesthetic depending on how you choose to finish the wood.
Benefits of Shou Sugi Ban
- Durability: The charred surface helps protect the wood from the elements, increasing its longevity.
- Pest-Resistance: The charred layer is unappealing to pests like termites and rodents.
- Weatherproofing: Charring the wood seals it, making it more resistant to moisture and weather-related damage.
- Aesthetic Appeal: The unique texture and color of burnt wood offer a visually stunning and customizable look.
- Eco-Friendly: The process does not require harmful chemicals, making it a natural way to preserve wood.
Now that we've covered what Shou Sugi Ban is and its benefits, let's dive into how to actually do it.
Tools and Materials Needed
Before you start, make sure you have the following tools and materials on hand:
- Wood: The type of wood you choose matters. Traditionally, Shou Sugi Ban was done with cedar, but you can use various types of wood, such as pine, spruce, or oak. For beginners, pine or cedar are recommended because they burn evenly and produce beautiful finishes.
- Torch: You'll need a propane torch, which is essential for evenly charring the wood. A weed torch attached to a 20-pound propane tank is commonly used for this technique.
- Propane Tank: A 20-pound propane tank will give you enough fuel to work on a substantial amount of wood.
- Wire Brush: A wire brush is essential for removing the loose charred material after burning. This step helps smooth the surface and reveal the texture and grain underneath.
- Linseed Oil (or Tung Oil): After burning and brushing, you'll want to apply linseed oil to seal the wood. Linseed oil enhances the wood's color and gives it a lasting shine, while also adding another layer of protection.
- Protective Gear: Safety is important. Ensure you have the following:
- Gloves: Protect your hands from burns and splinters.
- Safety Glasses: Protect your eyes from ash and debris.
- Fire Extinguisher: Always keep this nearby in case of emergencies.
- Sanding Tools (Optional): If you prefer a smoother finish after brushing the wood, sandpaper or a power sander can help achieve the desired smoothness.
- Sawhorses: These are ideal for holding the wood steady while you work on it.
Step by Step Instructions
Discover easy-to-follow, step-by-step instructions for shou sugi ban. From torching to finishing touches, master this ancient Japanese wood-burning technique safely.
Step 1: Set Up Your Workspace
Before you begin, set up a safe working environment. This is crucial because you'll be working with fire. Ensure your workspace is outside, or at least in a well-ventilated area, away from anything flammable. Place your wood on sawhorses to elevate it and make the process easier.
- Safety Tip: Wet the ground around your work area to reduce the risk of unintended fires. Always have a fire extinguisher close by.
Step 2: Torch the Wood
Start by igniting your propane torch. Begin at one end of the wood, holding the flame a few inches above the surface. Move the torch slowly across the surface, ensuring an even burn. The goal is to char the wood thoroughly but not burn through it. You want the surface to blacken evenly.
There are two levels of burn you can choose from, depending on the look you want:
- Light Burn: This results in a brownish-charred wood with visible grain.
- Heavy Burn: This will blacken the wood deeply, resembling alligator skin and offering more protection.
Keep the flame moving to avoid burning a single spot for too long. If you want more depth to the charred look, you can go over the wood multiple times.
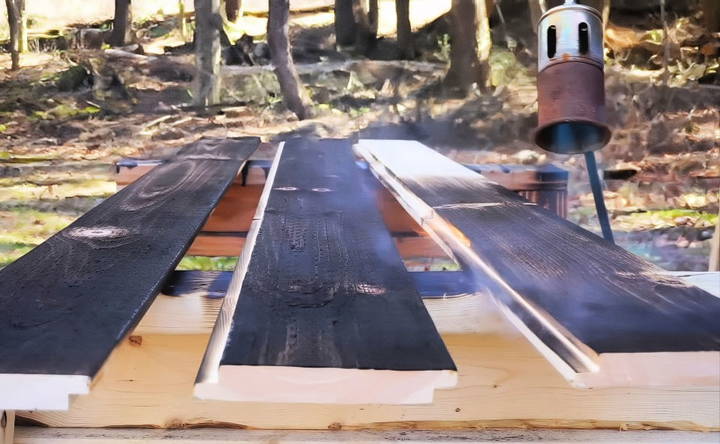
- Tip for Beginners: There's no single right or wrong way to burn the wood. It's okay to experiment with different levels of burning until you achieve the look you desire.
Step 3: Brush the Wood
After you've torched the wood and it's cooled down, the next step is to use a wire brush to remove the top layer of char. This will reveal the beautiful, textured grain underneath while maintaining the rich color.
Brush in the direction of the wood grain, applying consistent pressure. You'll notice that the shiny, blackened top layer gives way to a more matte, coffee-brown finish. You can brush as much or as little as you like, depending on the final look you're going for.
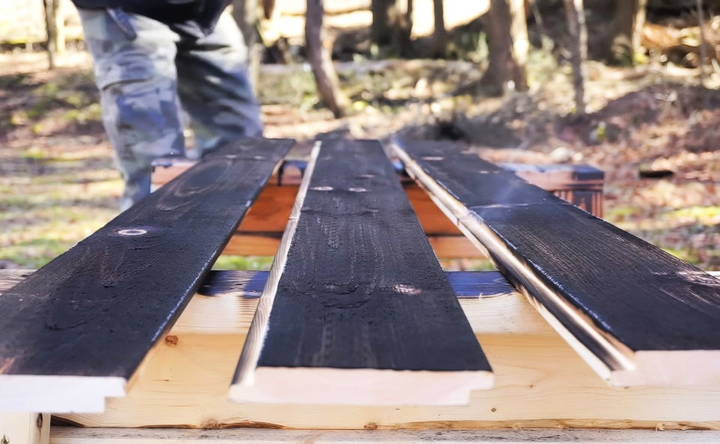
- Advanced Tip: For a smoother surface, you can use sandpaper or a power sander to go over the brushed wood. This step is optional, but it can give you a more polished finish.
Step 4: Apply Oil
Once you've finished brushing, it's time to seal the wood with oil. Linseed oil is a popular choice because it penetrates the wood and enhances the charred surface. Apply the oil with a clean cloth or brush, ensuring even coverage across the entire surface.
This step not only enriches the wood's color but also adds a protective layer, further weatherproofing the wood. Let the oil soak into the wood for a few hours before wiping off any excess.
Step 5: Let It Dry
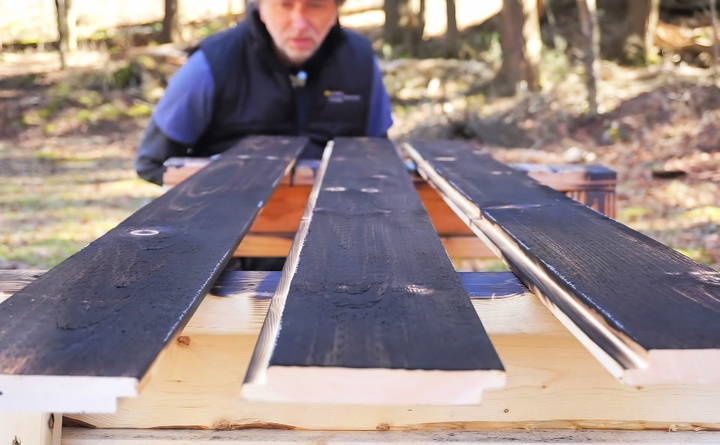
After applying the oil, let the wood dry completely. This can take anywhere from several hours to a full day, depending on the humidity and temperature. Once the wood has dried, it's ready to be installed or used in your project.
Finishing Touches and Variations
Shou Sugi Ban is a highly customizable technique. Depending on your preferences, you can experiment with different levels of burning, brushing techniques, or even apply additional finishes like varnish for extra protection and shine.
Here are a few ways to customize your project:
- Double Burn: Some people like to burn the wood, brush it, and then burn it again lightly. This creates a more intense blackened look while still highlighting the wood grain.
- Colored Oils: Instead of using clear linseed oil, consider using tinted oils to give the wood a unique color finish while maintaining the charred look.
- Different Textures: You can adjust the wire brushing step to create smoother or rougher textures, depending on the project.
Important Safety Tips
Working with fire and propane can be dangerous if you don't follow safety precautions. Here are a few essential safety tips to keep in mind:
- Work Outdoors or in a Well-Ventilated Area: The burning process creates smoke and fumes that should not be inhaled.
- Use Protective Gear: Always wear gloves, long sleeves, and safety goggles to protect yourself from heat, splinters, and flying debris.
- Fire Safety: Keep a fire extinguisher or a bucket of water nearby in case anything catches fire unexpectedly.
- Keep Your Workspace Clear: Make sure there are no flammable materials near your workspace.
- Propane Tank Safety: Ensure your propane tank is secure and away from direct sunlight or any source of flame.
Conclusion
Shou Sugi Ban is a rewarding technique that transforms ordinary wood into a durable, visually stunning material with unique textures and deep, rich tones. Whether you're using it for exterior siding, furniture, or artistic projects, the possibilities are endless.
Now that you know how to Shou Sugi Ban, it's time to gather your materials and start experimenting. Remember, there's no wrong way to do it—each piece of wood you burn will have its own character and beauty. With practice and creativity, you'll be able to master this ancient art and apply it to a wide range of projects.
FAQs About Shou Sugi Ban
Discover everything you need to know about shou sugi ban in our comprehensive faqs guide. Learn about its benefits, process, and maintenance.
The burning process is complete when the wood has turned black and developed a charred surface. If you're aiming for a light burn, stop when the wood is dark brown with some char. For a heavier burn, keep torching until the surface cracks and resembles alligator skin. The key is to experiment and find the look you prefer.
Yes, a smaller blowtorch like a 14oz Benzomatic can be used, but it will take longer to cover large surfaces. A small torch is ideal for precision burns on smaller projects, while a larger torch is recommended for faster work on bigger surfaces.
Yes, it’s a good idea to burn both sides of the wood to prevent warping and ensure the entire piece is sealed. This is particularly important for outdoor projects like siding or raised garden beds.
Yes, dry wood will burn more evenly and give better results. Wet or green wood may not char properly, and the moisture can cause uneven burns.
A standard 20-pound propane tank can cover a lot of wood, depending on how heavy the burn is. Lighter burns use less propane, while deep burns require more fuel.
Yes, Shou Sugi Ban works on rough lumber. However, burning can smooth out rough surfaces, reducing the need for sanding. This makes it great for a natural finish.
Wire-brushing is optional but recommended to remove loose char and reveal the underlying wood grain. It helps create a smoother finish and more refined look.
Linseed oil or tung oil is often used after burning to seal the wood and enhance its color. Both provide protection from moisture and improve the wood’s durability.
It's not recommended to use Shou Sugi Ban on pressure-treated wood due to the chemicals already present. This technique is best for untreated, natural wood.
Initially, yes, some char residue may rub off. Applying oil or a sealant after burning will help reduce this risk. Over time, the charred wood stabilizes and becomes less likely to rub off.


