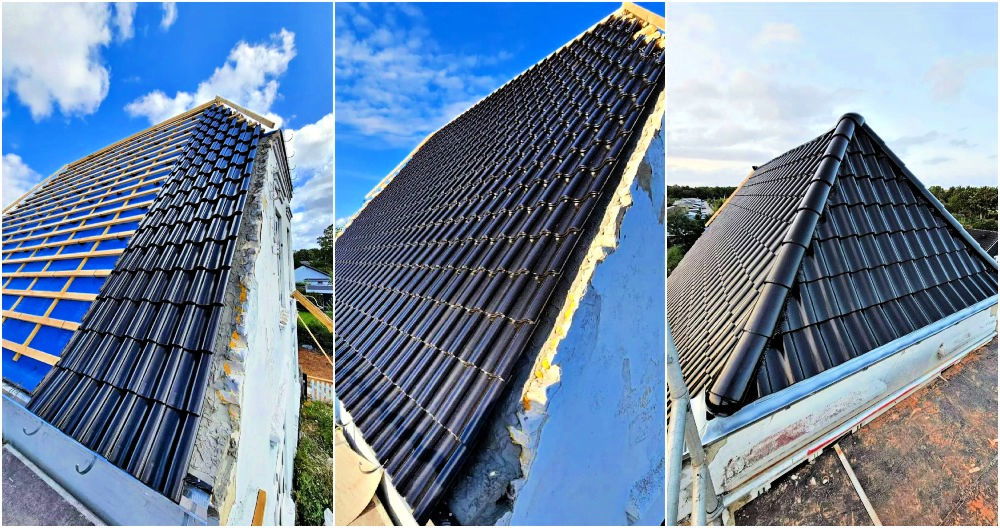
Learn step-by-step DIY standing seam metal roof installation for durability, energy efficiency, and cost savings on your roofing project. With the right tools, preparation, and patience, you can achieve a durable and visually appealing roof. Below, we cover every step from preparing the drip edge to securing the final seams, ensuring that even those new to roofing can confidently tackle this project.
What Is a Standing Seam Metal Roof?
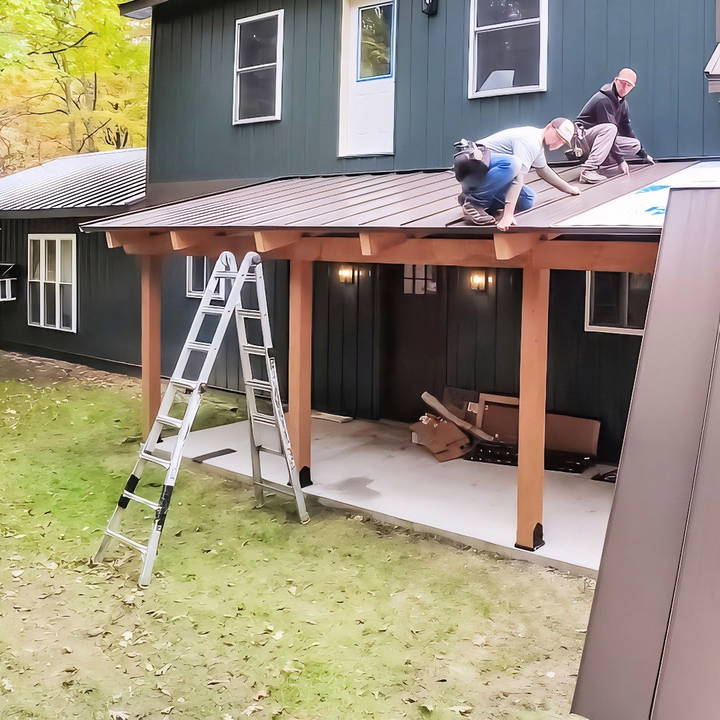
A standing seam metal roof features vertical panels with raised seams that lock together to form a waterproof and weather-resistant barrier. These seams, or “standing” sections, add both aesthetic appeal and structural durability, making standing seam roofs a popular choice for both residential and commercial applications. Unlike other metal roofing types, the standing seam doesn't require exposed screws or fasteners, offering a sleek look and enhanced longevity.
Why Choose a Standing Seam Metal Roof?
Standing seam roofs are known for their durability, aesthetic value, and low maintenance requirements. Here are a few key benefits:
- Weather Resistance: The locked seams prevent water from penetrating.
- Longevity: Metal roofing can last 50 years or more with proper maintenance.
- Energy Efficiency: Reflective metal roofs help reduce energy costs.
- Minimal Maintenance: Fewer exposed fasteners mean fewer chances of leaks or rust.
Tools and Materials Needed
Before beginning your installation, make sure you have the necessary tools and materials on hand:
- Standing seam metal panels (pre-cut to size, if possible)
- Drip edge and rake (corner) trim
- Ice and water shield (underlayment)
- Metal shears or power snips
- Hand seamer for folding edges
- Edge roller for bending metal
- Handbrake tool to crimp the final edges
- Screws and fasteners
Using high-quality tools, like tin snips and hand seamers, is crucial for achieving clean cuts and seams.
Step by Step Instructions
Learn how to DIY a standing seam metal roof with our detailed step-by-step guide. Perfect your installation with expert tips and instructions.
Step 1: Install the Drip Edge
The first essential step in installing a standing seam metal roof is setting up the drip edge, which directs water away from the roof's edge.
- Measure and Cut: Begin by measuring the length needed for your drip edge. Cut it to size, allowing for overlaps at the joints.
- Notch the Edge: Use tin snips to notch the drip edge where it will meet the rake trim, ensuring a snug fit.
- Position and Secure: Place the drip edge flush with the fascia board. It should align with the roof edge and provide a clean border.
- Overlap Sections: Where pieces meet, overlap them by about an inch. Cut back the overlapping section for a seamless look.
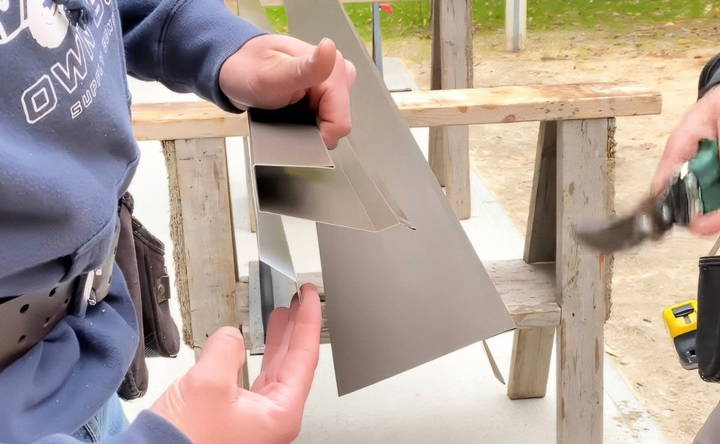
The drip edge forms the foundation of your roofing system, ensuring water flows correctly off the roof.
Step 2: Attach the Rake Trim
Next, install the rake (or corner) trim. This piece not only provides a finished look but also protects the edges from water and wind.
- Align the Trim: Start from the roof's edge and align the rake trim so that it meets the peak of your roof if you have an A-frame structure. If you're working on a lean-to or mono-slope roof, adjust the top end to fit against the end wall.
- Cut to Fit: Measure and cut the trim to ensure it fits snugly. Be sure to allow a bit of extra material (around an inch) so you can trim precisely.
- Fasten Securely: Once the trim fits properly, secure it along the roof edge. Use screws that match the metal material for a uniform look.
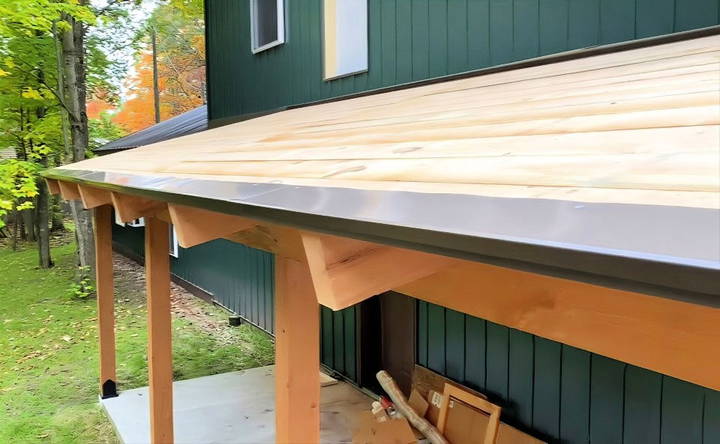
The rake trim supports the panels as you install them, giving the edges extra durability against wind uplift.
Step 3: Lay the Ice and Water Shield Underlayment
An underlayment adds an extra layer of protection between the roof and the metal panels, especially critical in cold or rainy climates.
- Position and Unroll: Start at the bottom edge of the roof and work your way up. Unroll the ice and water shield underlayment, allowing each section to overlap the one below.
- Secure the Shield: Nail or staple the underlayment at regular intervals, ensuring it lays flat and covers the entire roof surface.
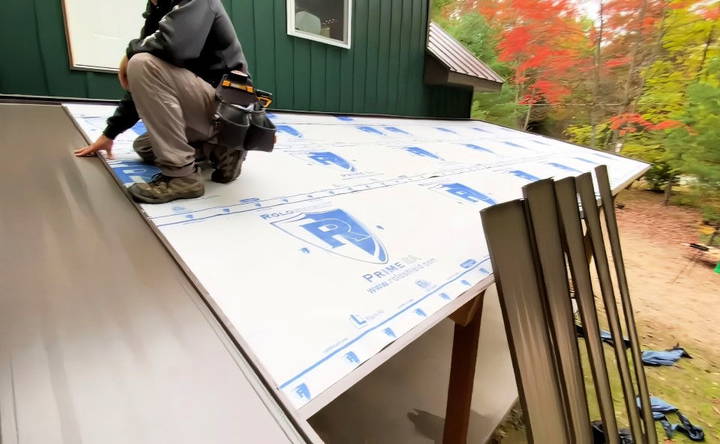
This underlayment serves as a weatherproof barrier, protecting against any moisture that might sneak past the metal panels.
Step 4: Install the Metal Panels
With the drip edge, rake trim, and underlayment in place, you're ready to install the metal panels. This is where the standing seams come into play.
- Position the Panel: Starting at one end, slide the panel into the rake trim and push it up against the drip edge.
- Secure the Panel: Use screws to secure the panel, positioning them in the appropriate concealed seam areas. Avoid placing screws near the panel's exposed edge to maintain the clean, uninterrupted look of the standing seam.
- Hem the Bottom Edge: For added stability, hem the panel's bottom edge by folding it over about an inch. This step reinforces the edge, preventing it from lifting or warping.
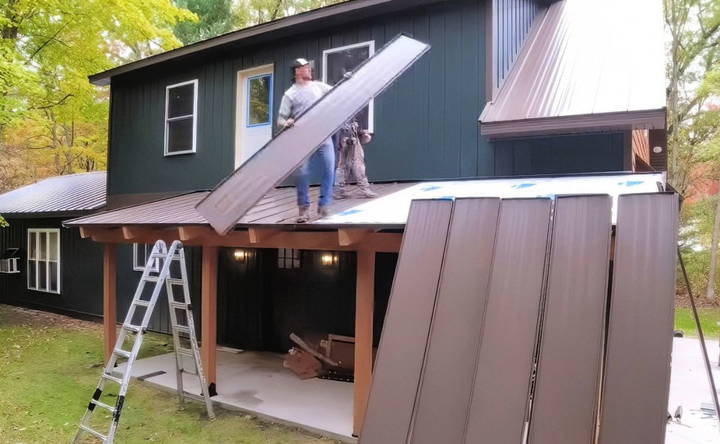
Tip: If your panels have been pre-notched from the factory, this will make installation quicker and result in cleaner edges.
Step 5: Overlap and Lock Seams
Locking the seams together is crucial for the waterproof properties of a standing seam roof.
- Align Panels: Line up the next panel so that its edge overlaps the previous one.
- Lock the Seams: Using an edge roller or seamer tool, bend the overlapping edge upward to form a tight seal.
- Avoid Using Power Saws: When cutting the panels to size, avoid using power saws, as they can overheat the metal and damage its protective coating. Instead, use metal shears or snips to maintain the panel's integrity and avoid rust issues.
Locking the seams effectively prevents water infiltration and helps the roof withstand strong winds.
Step 6: Finalize and Secure the Last Panel
The last panel often requires extra attention to ensure it aligns and locks correctly.
- Trim to Size: Measure and trim the final panel to fit the remaining space, allowing for any overhang or drip edge adjustments.
- Edge Finish: Bend the edge to a 90-degree angle using an edge roller, which secures the final seam tightly.
- Crimp the Bottoms: Using a handbrake tool, crimp the bottom edges of each panel. This step not only reinforces the panel but also provides a more polished finish to the entire roof.
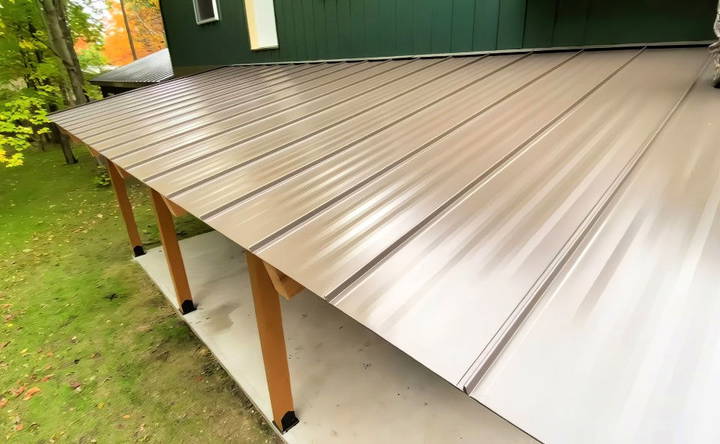
The last panel requires careful adjustments, as it caps off the installation and secures the overall structure.
Step 7: Check and Seal
After installing the last panel, it's crucial to inspect your work and seal any potential weak points.
- Inspect Seams and Edges: Check all seams to ensure they are locked tightly. Any gaps could allow water to seep in.
- Apply Sealant: Apply a roofing sealant at joints, corners, and around any openings like chimneys or vents. This will add extra weather resistance, especially in high-rainfall areas.
Sealing completes the roof's waterproofing, enhancing its resilience to rain and snow.
Tips for a Smooth Installation
- Work in Pairs: Metal roofing panels can be heavy and challenging to handle alone, so enlist a helper.
- Handle Panels with Care: Avoid dragging panels on rough surfaces, as this can damage the protective coating.
- Take Safety Precautions: Use gloves, safety glasses, and appropriate footwear. A fall harness is also recommended for roofs with a steep slope.
- Prepare for Adjustments: Metal panels expand and contract with temperature changes, so allow a small gap between panels for natural expansion.
Final Thoughts
Installing a DIY standing seam metal roof may seem complex, but following these steps can simplify the process. Whether you're updating an existing roof or starting from scratch, standing seam metal roofs are a durable, low-maintenance choice that can enhance your home's curb appeal and longevity. With patience, attention to detail, and quality materials, you'll make a roof that stands the test of time.
FAQs About DIY Standing Seam Metal Roof Installation
Explore the essential FAQs about DIY standing seam metal roof installation, offering expert insights and tips for a successful project.
The last panel is typically fastened with a few screws at the top, often positioned to be concealed beneath the ridge cap. This helps prevent any visible screws on the roof's surface, maintaining the clean appearance characteristic of standing seam roofs.
Bending and folding the bottom edges allow panels to hook onto the drip edge, holding them securely without visible screws. Folding also creates a clean, finished look and prevents moisture from entering exposed gaps.
Using purlins is a good practice in areas prone to moisture issues, as they create a ventilation gap beneath the metal. This helps reduce condensation, especially in regions with high humidity or significant temperature fluctuations.
Yes, but use long, self-tapping screws with washers to secure the panels. For foam insulation, it's recommended to place the panels on 2x4 supports spaced about every 4 feet. Be mindful that low slopes might still cause drainage concerns with foam-insulated panels.
For a clean finish, bend a “door” or tab to close off the rib end. If your panels come pre-notched, simply fold this section over; otherwise, use tin snips to make a tab yourself. This keeps the rib ends sealed from weather exposure.
While some projects place underlayment below trims, adding it on top as well helps prevent condensation, especially on open-air or porch roofs. The additional layer beneath the trim provides extra moisture protection in humid or rainy climates.
Most standing seam panels are 26-gauge, which offers a good balance of durability and weight for residential use. Heavier or lighter gauges are available but may require specific installation adjustments depending on climate and roof slope.
Custom trims, like specialized rake trim pieces, are often available from local metal shops. Some metal suppliers, such as those in Michigan, offer custom-made trims that are challenging to find through typical retail sources.


