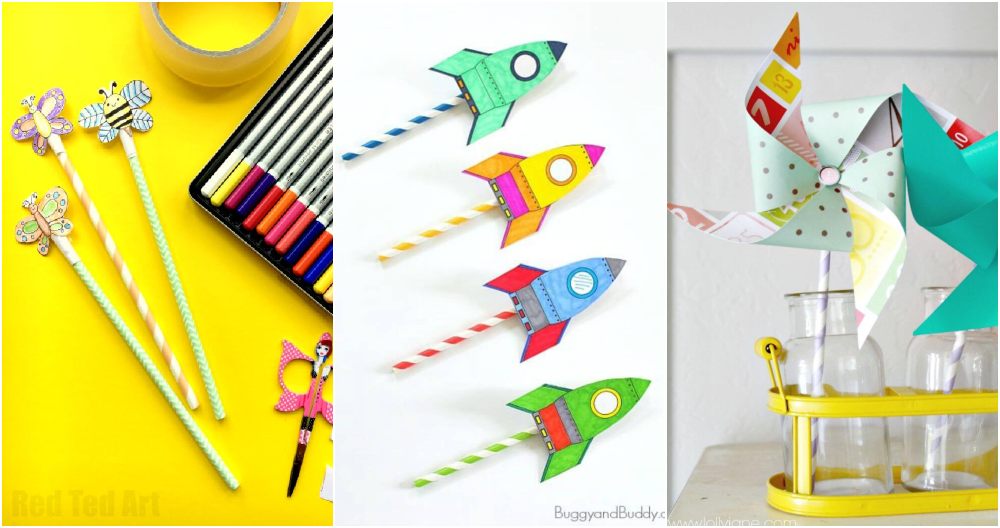
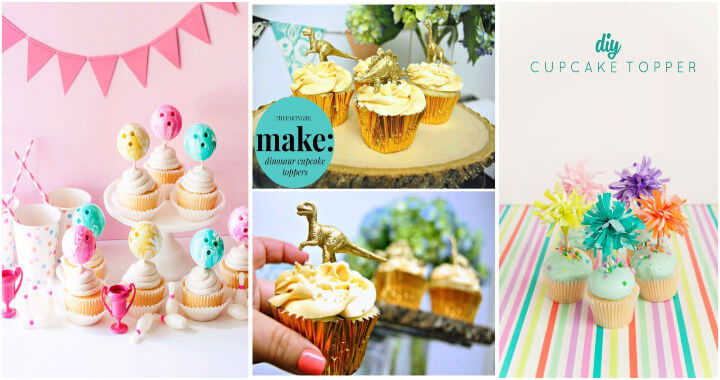
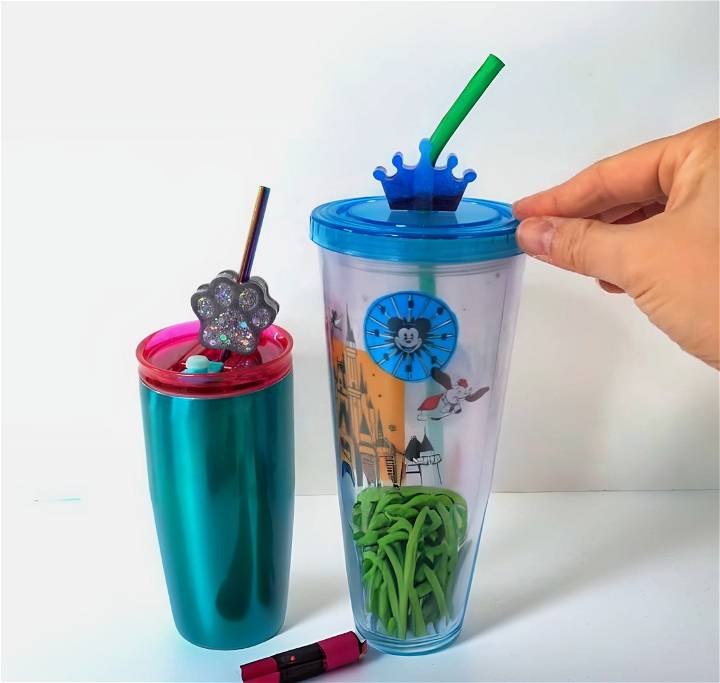
Discover the joy of crafting your own DIY straw toppers and give a personalized touch to your beverages. This guide offers clear, step-by-step instructions on how to make a straw cover, suitable for all skill levels. From selecting the right materials to the final assembly, we've got you covered with practical tips to ensure your crafting experience is both fun and successful.
As you dive into this venture, you'll learn to pick the right straw toppers for various occasions, understand the importance of material selection, and gauge the skill level required. Following our detailed instructions will lead you through the creation process with ease, making this an enriching experience.
Stay tuned for insights into sustainability and safety, ensuring your handmade toppers are both eco-friendly and safe to use. Join us as we embark on this creative journey, transforming simple straws into eye-catching accessories.
What You'll Need
- Resin (epoxy type recommended)
- Straw topper molds (available in various designs)
- Mica powder (optional for color)
- Chunky glitter (optional for sparkle)
- Toothpicks
- Small mixing cups
- Stir sticks
- Acrylic paint and markers (for additional detailing)
- Super glue
- Protective gloves and eyewear
Choosing the Right Straw Toppers
When planning an event or party, little details can add a big splash of fun and creativity. Straw toppers are one of those small touches that can bring your theme together, delighting guests of all ages. Whether you're gearing up for a birthday bash, a holiday celebration, or a themed party, the right straw topper can elevate your table setting. Here, we'll guide you through selecting the perfect straw toppers for your occasion, considering the material options and understanding which are best suited for different skill levels and ages.
Consider the Occasion
- Birthdays: For birthdays, especially for kids, bright, colorful toppers featuring characters from their favorite TV shows or movies can be a hit. Think about using vibrant materials like felt or paper that can be cut into fun shapes.
- Holidays: Holiday-themed toppers can range from spooky designs for Halloween, like mini pumpkins or ghosts, to festive Christmas motifs, such as tiny trees or snowflakes. Materials like polymer clay or resin are great for these, as they can be molded and customized into intricate designs.
- Themed Parties: Tailor your straw toppers to match any party theme, from a tropical paradise with palm trees and pineapples to a superhero bash with iconic logos. The choice of material here can vary widely based on the complexity of the design and the overall aesthetic you're aiming for.
Material Options
- Felt: Easy to cut and shape, felt is ideal for simple designs and is safe for children to work with. However, it may not be as durable or waterproof as other materials.
- Paper: Extremely versatile and great for intricate designs, paper toppers can be printed or handcrafted. Keep in mind they're not moisture-resistant, so they may not last long during the event.
- Polymer Clay: Perfect for detailed, durable toppers that can be kept as keepsakes. Working with polymer clay requires more skill and isn't recommended for very young children due to the need for baking to harden the clay.
- Resin: Offers a professional, glossy finish that's waterproof and durable. Resin work is more complex and involves chemicals, so it's best suited for adults or supervised older children.
Skill Level & Age-Appropriateness
When choosing a DIY project like straw toppers, consider the complexity of the material and design in relation to the skill level and age of those involved:
- Beginner/Easy (Suitable for young children with supervision): Felt and paper are excellent choices here. Designs can be simple cutouts or shapes, requiring minimal tools and presenting low safety risks.
- Intermediate (Older children and adults): Polymer clay introduces the need for shaping tools and an oven, making it a good step up for those ready for a bit of a challenge.
- Advanced (Adults): Working with resin involves chemical components and requires precision, patience, and safety precautions, making it suitable for adults or supervised teens.
Ensure a fun crafting experience by considering occasion, materials, and participants' skill level and age, guests will love the personalized touch of straw toppers.
Step-by-Step Instructions:
Learn how to make easy DIY straw toppers and add a personal touch to your drinks with our step-by-step guide below:
Step 1: Prepare Your Workspace
Before starting, ensure your workspace is clean, flat, and covered with a protective sheet to catch spills. Wear protective gloves and eyewear to handle resin safely.
Step 2: Mix Your Resin
Follow the instructions on your resin package to mix a small batch. You won't need much for straw toppers, so mix accordingly.
Step 3: Add Color and Sparkle
Divide your mixed resin into smaller cups if you're using multiple colors or textures. Add mica powder to some cups for color and chunky glitter to others for sparkle. Mix thoroughly.
Step 4: Carefully Pour the Resin
Using a toothpick, carefully drip your prepared resin into the molds' crevices. If you're using a two-part mold, fill one side entirely. Use toothpicks to dislodge any air bubbles.
Step 5: Let It Cure
Allow the resin to semi-cure for a few hours. You want it firm enough to add another layer but not completely hard.
Step 6: Add the Second Layer
For molds partially filled in step 4, now's the time to add the second layer. Fill the rest of the molds with your glitter mix or another color. For single-piece molds, they should be fully cured by this step.
Step 7: Full Cure Time
Let your toppers cure completely, which could take up to 24 hours depending on your resin type and the room's temperature.
Step 8: Unmold Your Toppers
Once fully cured, gently remove the toppers from the molds. Be patient and careful not to break them.
Step 9: Add Details
Use acrylic paint or markers to add details to your toppers. This step is especially useful if your mica powder and glitter are too similar in color and the details are not prominent.
Step 10: Assembly
Some topper designs come in pieces that need assembly. Use a small amount of super glue to join these pieces. Be mindful of alignment and give them time to dry.
Step 11: Enjoy Your Custom Toppers
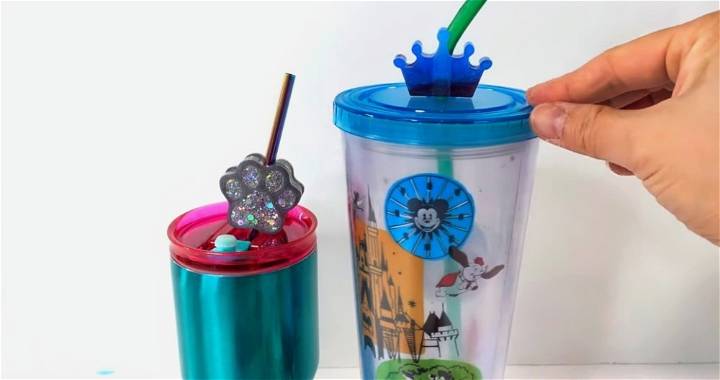
Now that your toppers are ready, slide them onto your straw and enjoy your drink in style!
Video Tutorial
For a step-by-step video tutorial on making DIY resin straw toppers, watch this YouTube video by Poppy DIY Crafts.
It pairs well with this written guide, enabling you to grasp the crafting techniques visually in an easily comprehensible way.
Making your own resin straw toppers is not only enjoyable but also allows for customizing your beverages for any occasion. Have fun mixing colors, adding sparkle, and personalizing your drinks. Enjoy crafting!
Sustainability and Safety
When diving into the creative world of DIY straw toppers, it's essential to prioritize both the health of our planet and personal safety. Let's explore how to make this activity both eco-friendly and secure for everyone involved.
Eco-friendly Materials
Choosing the right materials is crucial for keeping your DIY project green. Here are some environmentally friendly options:
- Recycled Paper: Ideal for making disposable straw toppers for a party, recycled paper can be colorful and versatile.
- Biodegradable Materials: Consider using materials like biodegradable felt or plant-based plastics that decompose naturally over time, leaving minimal environmental impact.
- Upcycled Decor: Look around your home for bits of fabric, buttons, and other small items that can be repurposed into charming straw toppers.
By selecting these materials, not only are you making a unique accessory for your drinks, but you're also contributing to a healthier planet.
Safety Precautions
While making, it's paramount to keep safety at the forefront, especially when the activity involves children. Here are key safety tips:
- Supervision is Key: Always ensure that an adult supervises any crafting session, particularly when using sharp tools like scissors or materials that could be harmful if ingested.
- Non-toxic Materials: Opt for materials that are non-toxic and safe to handle. This is especially important for items that will be in close contact with food or drinks.
- Careful with Sharp Edges: If your straw toppers involve cutting or shaping, make sure all edges are smooth to prevent cuts or scrapes.
By following these guidelines, your DIY straw topper project can be fun, creative, and safe for all. Remember to make responsibly.
Troubleshooting Common Issues
Making DIY straw toppers can be a fun and creative activity. However, you might encounter a few hurdles along the way. Here are solutions to some common problems to ensure a smooth crafting experience.
Material Breakage
If your toppers are breaking or cracking, consider the material you're using. Polymer clay, for instance, should be conditioned properly before use. Knead it until it's soft and pliable to prevent breakage. For paper or cardstock toppers, use a thicker grade material or apply a clear tape or laminate layer for added durability.
Uneven Coloring
For uneven coloring, especially when painting your toppers, ensure your base material is primed if necessary. Use multiple thin layers of paint rather than one thick layer, allowing each layer to dry completely before applying the next. This technique helps achieve an even and smooth finish.
Difficulty Attaching to the Straw
If you're having trouble attaching the topper securely to the straw, double-check the attachment mechanism. For instance, if using glue, ensure it's suitable for both the topper material and the straw. Hot glue often works well, but for a cleaner look, consider making a small slit or hole in your topper to slide it onto the straw snugly.
FAQs About DIY Straw Toppers
Here are answers to some frequently asked questions regarding DIY straw toppers.
How Do I Safely Store My Straw Toppers?
Store your straw toppers in a cool, dry place. If they're made of a flexible material, avoid stacking heavy items on top to prevent deformation. For delicate or intricately designed toppers, consider a storage box with individual compartments.
What Are the Cleaning Recommendations?
For most non-electronic, non-paper-based toppers, a gentle wash with soap and water works well. Avoid harsh chemicals or scrubbing too vigorously on painted surfaces. Always allow them to dry completely before storage.
Can I Adapt Designs for Different Straw Sizes?
Absolutely! The design adaptability depends on how the topper attaches to the straw. For toppers with a hole or slit, adjust the size accordingly to fit the straw snugly. For those using a universal attachment method like clips or ties, they should fit most straw sizes without modification.
Remember, patience and creativity are key to DIY success. Don't be afraid to try new things.
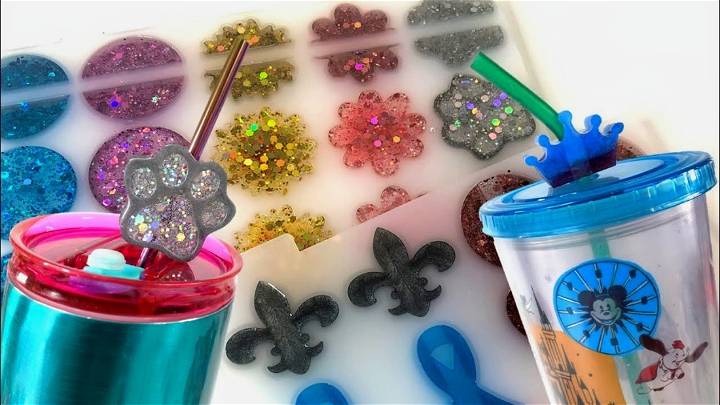
Conclusion:
In conclusion, mastering the art of making easy DIY straw toppers is a fulfilling and fun activity that can elevate your drinking experience or add that special touch to any occasion. This comprehensive guide has walked you through everything from selecting the right materials and designs based on the occasion, to detailed step-by-step instructions for making your very own straw cover.
We've also touched on important aspects such as sustainability, safety precautions, troubleshooting common issues, and frequently asked questions to ensure your crafting journey is as smooth and enjoyable as possible. So, why wait? Dive into crafting your custom straw toppers today and impress your friends and family with your creative flair!


