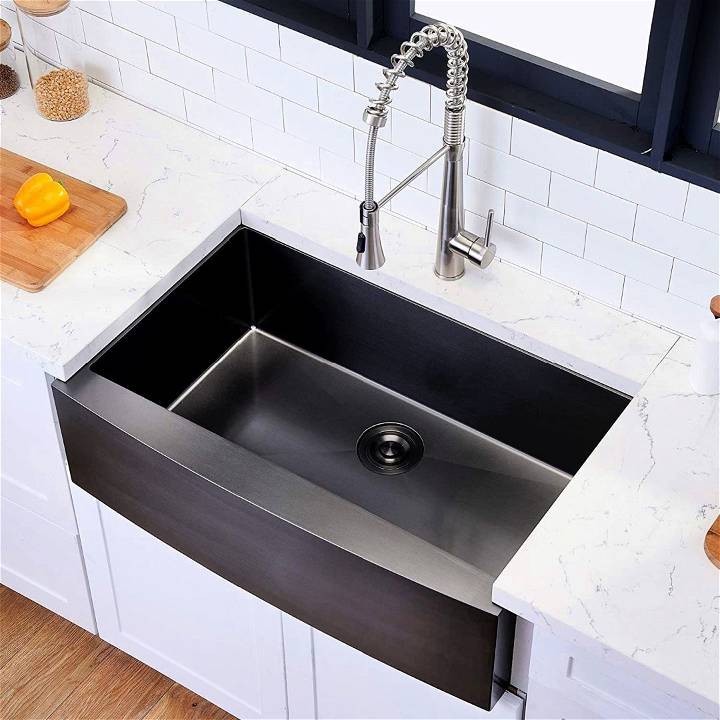
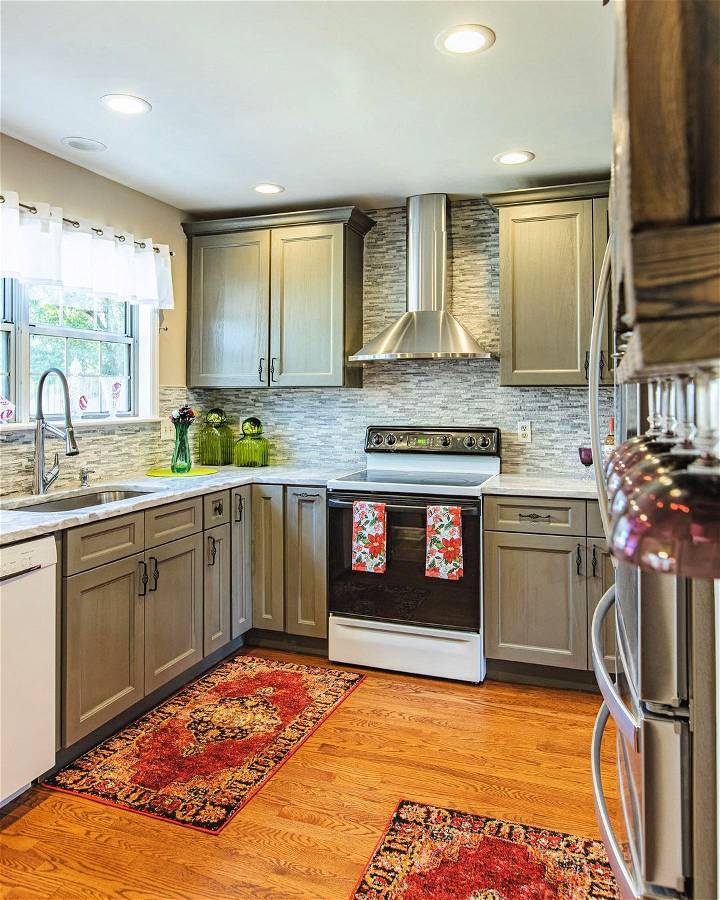
While tiling a countertop in the kitchen, integrating an under-mount sink can make a massive difference. It not only adds convenience to the cook but also helps save space with imaginative functional designs.
Generally, it depends on the homeowner’s preference to install one or more kitchen sinks. It can be installed both through the top of a tile counter or underside of it. Either way, it offers easy accessibility.
In this article, we will outline the tips on how to tile a countertop with an under-mount sink so that you can do it right without a compromise. If you wish to know how to keep your kitchen surface safe and clean, see this article for more information.

Tips On How To Tile A Countertop With Under-mount Sink
Most people have an issue during this tiling phase because they fail to follow the instructions correctly. But doing so can end up putting your entire countertop and the under-mount sink at severe risk of falling and breaking right away. It can also cause accidents while the cook is working on them. So, you have to be extra cautious. Also, ensure you have all the tools readily available to avoid any inconvenience.
- Place the upper rim of the sink against the underside of the kitchen countertop. Now, balance the edges so that the sink can make way smoothly. Remember that this is not the exact alignment. It is just preliminary for a modern kitchen design.
- Now, start measuring the sink underside to the cabinet surface. Keep noting the measurements for temporary support during sink clip installation. If you have a double sink, try to make measurements from the underside of a bowl. As per the measurements, cut two different pieces of one-by-two pine properly using a handsaw. Make sure you place the temporary supports in the interiors of the cabinet.
- Now, take a tube of silicone sealant and set up a caulking gun. Apply an equal tube of sealant on the upper rim of the sink. This will help contact the countertop underside. Place the upper rim against the bottom of the countertop at the opening of the sink. Now, install the temporary supports which help keep the sink in place. Make sure that the support is 12 inches apart in one bowl. It could also support both bowls on a double sink.
- Make sure that you are working from the top and paying attention to every detail. Remember, a single mistake could end up loosening the sink and damaging the countertop. Align the edges of the sink at the edge of the sink opening. Now, you have to tap the outer edges using the palm of your hands. Please don’t be too harsh as it could break the whole thing down. Align it properly at all sides of the opening in the countertop.
- Now, try to set up a cordless drill with a magnetic screw-tip attachment. Now, balance and put the under-mount sink clips and 1-inch wood screws. This needs to occur near the sink cabinet so that access can be made easy and comfortable while you install the hooks.
- Try to set up the head of a 1inch wood screw on the top of the magnetic screw-tip attachment. Now, focus on the underside of the sink. For that, place the sink clip against the bottom of the sink’s rim and the adjacent space of the underside of the kitchen countertop. Use a screwdriver to drive the screw into the machined hole in the clip. You also have to focus on doing this on the underside of the clip. Once it is done tightly, you can move on to the final step.
- Now, take the remaining clips and install them at 4-inch intervals. This has to be done at the rim to ensure that you secure the sink correctly at the underside of the kitchen countertop. Now, you can remove whatever temporary supports there are in the sink. Now, your countertop is ready for quarter-round tiles at the sink.
How To Cut And Layer The Tile?
Take a paper board. You could also use cardboard to pattern out the sink.
Now, dry-fit the tile over the sink and then place the design over the top of the sink.
Now, take a felt tip marker and pattern around the sink. This will help you figure out where you will need to cut the tile.
Take a tile saw and use it to cut the tile accurately. Cut straight lines into the tiles for the corners and then break them off into pieces. Once you are done with this, then draw your focus towards sanding the edges of the tile. You have to do this using sandpaper that will help you smooth out the edges.
Finally, install the tile around the sink to finish it off.

How Can Tiling A Countertop With Under Mount Sink Make A Difference?
Easy To Clean
Under-mount sinks have a lip that helps support the kitchen countertop and provides continuity. That helps avoid any area where dirt and other kitchen garbage may collect. So, your cleaning experience becomes a lot easier. As a result, you can receive a cleaner kitchen experience without having to work much on it.
High On Trend
A seamless kitchen has all the fun of the fair. In recent times, it has been doing quite a few rounds in the global market. The fact that they provide exceptional style and sleekness makes them a standout in kitchen designs today. The seamless look that your kitchen can achieve with an under-mount sink also makes for a more practical choice.
Plenty Of Space
Generally, having a sink away from the countertop consumes more kitchen space. This can be a drawback for small kitchens that are craving a breath of fresh air. Thankfully, with an under-mount sink at hand, spaces become easier to achieve. So, you can easily have enough space for essential elements in the kitchen without compromising on the area.

