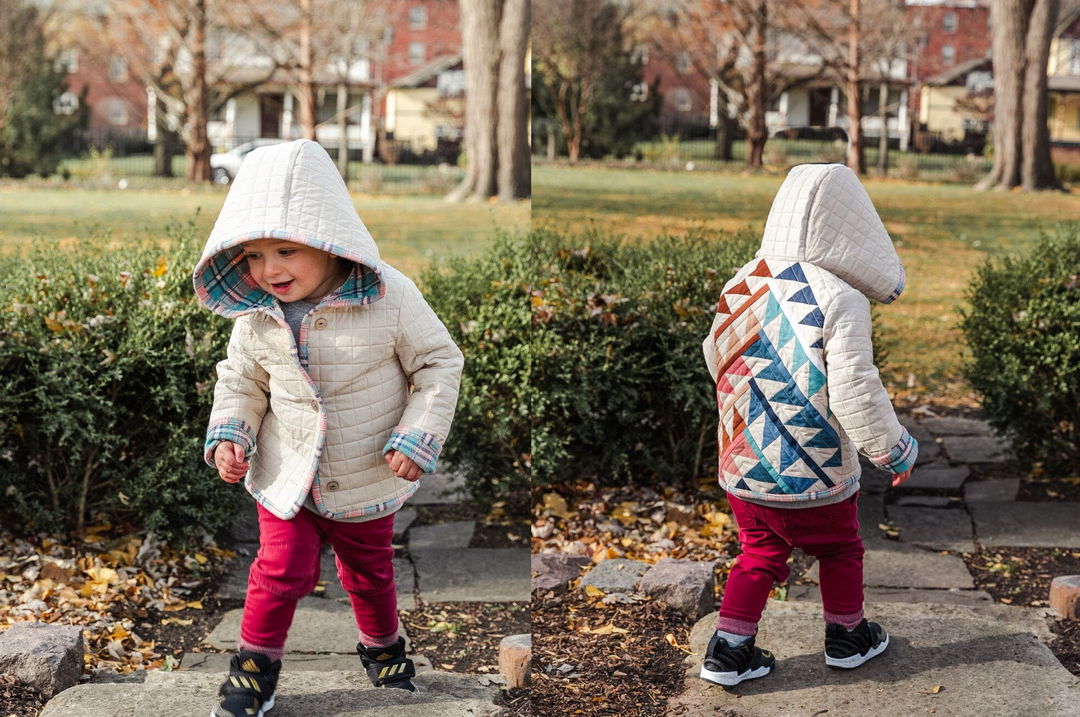
Comfortable, cozy, and relatively simple to DIY, a quilted jacket is the perfect winter wear for any toddler this winter. And, with a little creativity and sewing skills, you can turn old pieces into your toddler boy's new quilted jacket at home.
Before diving into how to make a toddler quilted jacket, make sure you're ready for this DIY project. There is no doubt that being engaged in a DIY project is a great way to distract you from your everyday problems, but some take longer to make than expected.
If you're a busy mom who is struggling to find time for a DIY project or a hardcore DIYer who wishes to produce some ideas for homemade, personalized or DIY gifts, then it’s a good idea to visit BabyOutlet and grab a great deal on a fantastic range of coats and jackets for toddler boys.
What You Will Need
- Matching thread
- Sewing machine
- Scissors
- Straight pins
- Tailor's chalk or marker/pen/pencil
- Padding
- Basting spray
- Seam ripper
- Some quilt patterns
- Your fabric of choice (old clothes or blankets)

Now, when you have everything in hand, let's start making a delightful DIY quilted jacket for your son!
Step 1: Determine Sizing
Measure your child's size or simply use any of his clothes to make a pattern for the DIY quilted jacket. Keep in mind that this jacket will be going over at least one layer of clothing. So, you don't want to make it too snugged.
Step 2: Cut and Alter The Jacket Patterns
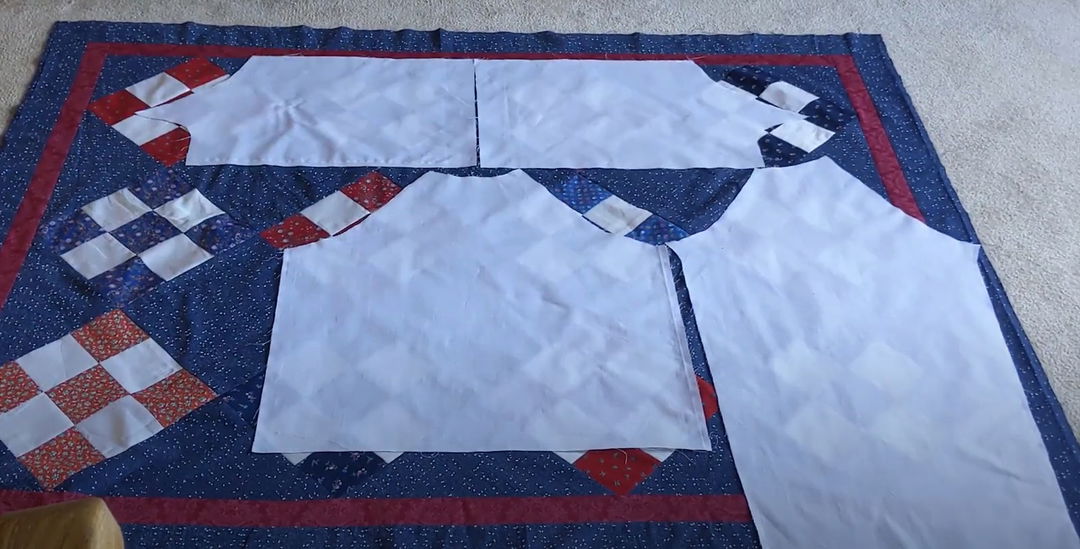
Cut out the patterns based on your kid’s measurements. You can tape them together to double-check and alter if needed.
Step 3: Trace and Cut The Fabric
Lay the body pattern piece down on the quilted fabric, it should take up all of the width (or nearly). Before tracing, check to see which way to get the most out of the remaining fabric, especially for the two sleeves.
Step 4: Make Quilted Lines
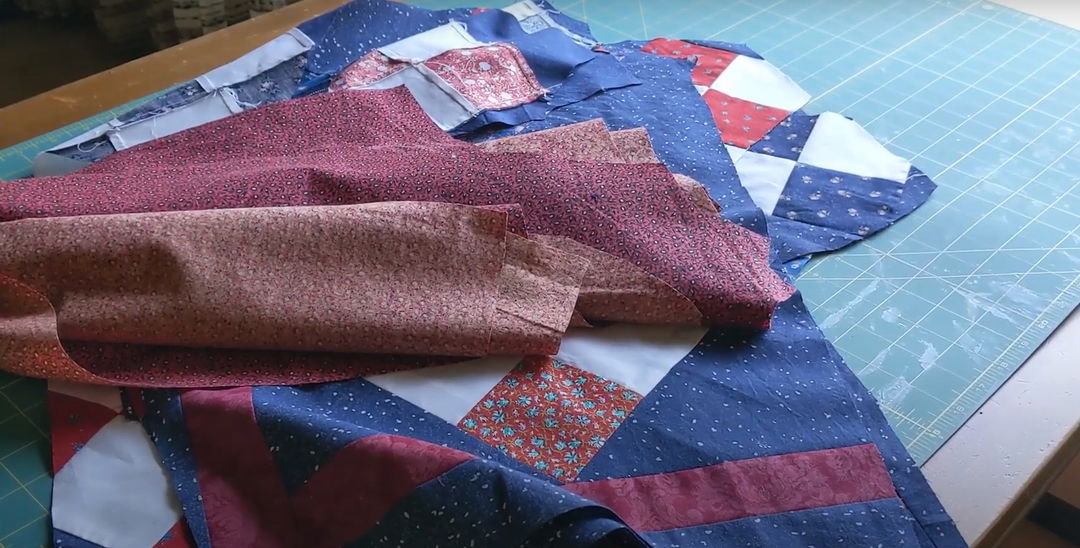
Skip this step if you use quilted fabric. But, if you decide to recycle your old clothes or use regular fabric, making quilted lines is quite simple. Starting by putting the padding between the front and back pieces using basting spray. Then, mark your quilt with your pen and ruler - the space between the lines depends on your chosen quilted pattern.
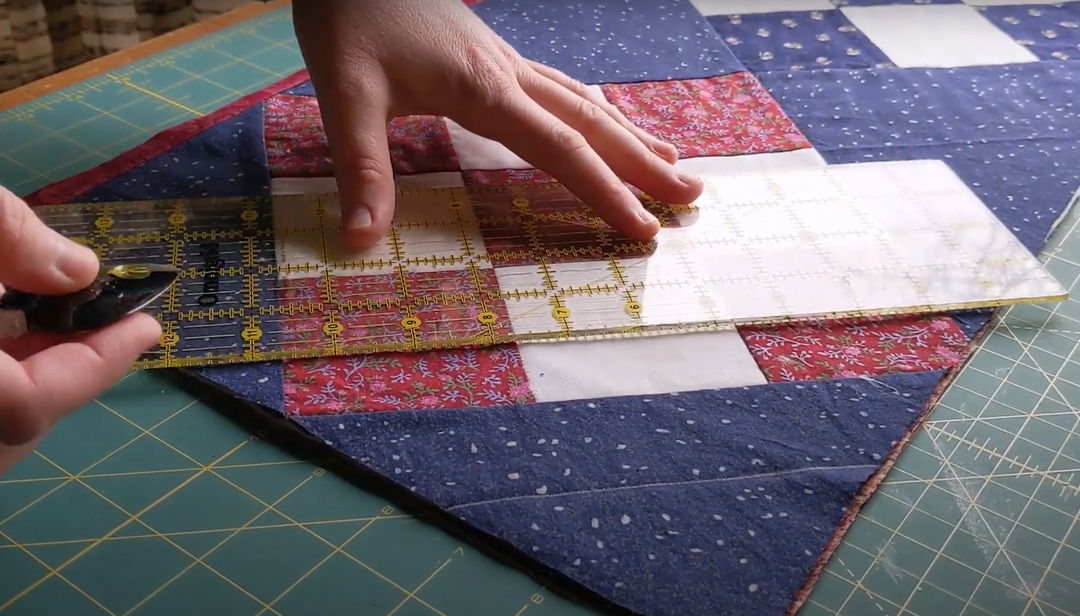
Step 5: Sew Sandwiched Pieces
Sew on the lines you just made to create the iconic quilted design. To make it easier remember to sew right after you finish those first parallel lines.
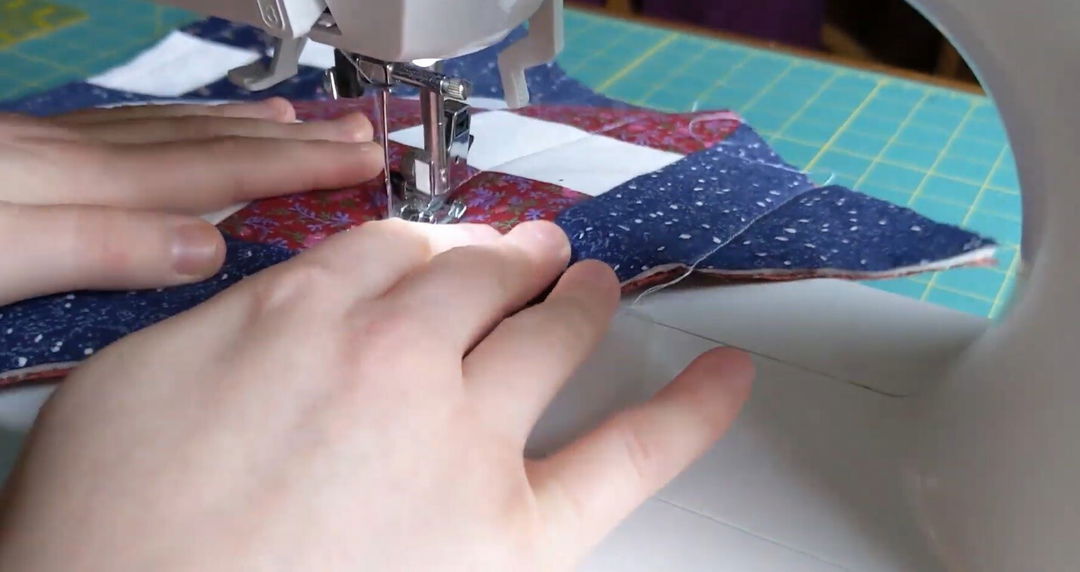
Step 6: Bind Body With Bias Tapes
Before sewing the seams together, bound the raw edge of the body and the hems of the sleeves with bias tapes. To make bias tapes, fold a strip of fabric in half and use the iron to flatten it, then open and repeat this step with the two halves on either side. Follow this bias tape tutorial for a more detailed guide.
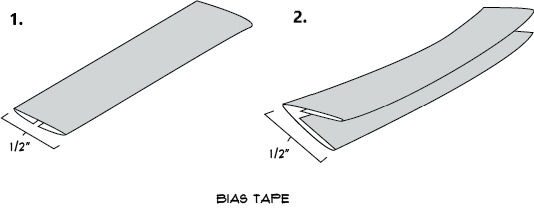
Next, take your time and sew the pieces and bias tapes together. Remember to trim off the excess before pinning the bias tapes onto the exposed seams. Once it's all pinned in place, sew it down using a regular straight stitch.
Step 7: Put Everything Together
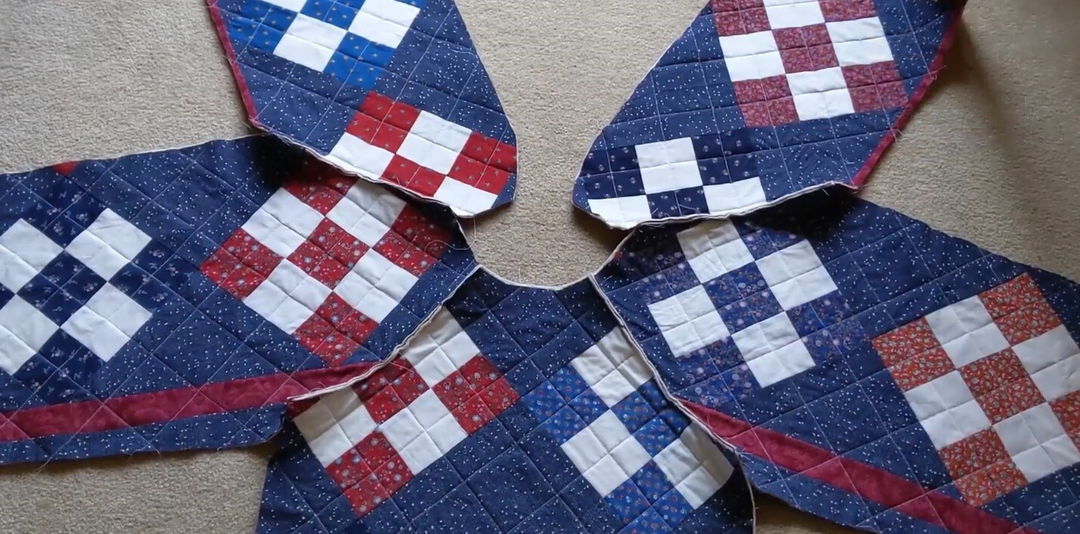
Start with the shoulder parts first. When they're finished, turn and pin the inside of the jacket together. Sew the side seams with a straight stitch to complete the quilted jacket body.
Next, take the armhole of the sleeve and pin it in the armhole of the jacket (right side to right side). After that, line up the shoulder notch and the underarm seam with the underarm notch. Pin the sleeves in the armhole of the body and sew in place.
Step 8: Pockets
Cut out whatever dimension will fit your toddler boy's hands, toys, or accessories he usually brings around with. Also, consider binding the top edge of the pocket for extra comfort. Pin and sew the pockets to your toddler’s quilted jacket.

Step 9: Finish
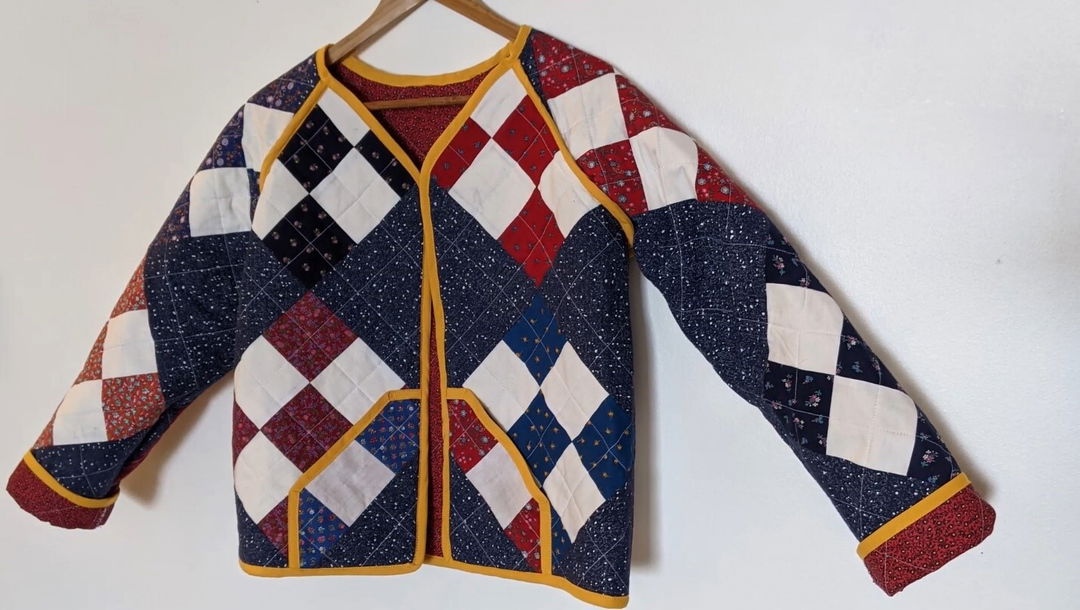
Round the corner and trim off the excess before pinning bias tapes to the remaining raw edges. Repeat the same technique and sew them to both of the cuffs and bottoms. Finally, hand sew the bias tapes on the spots that don't catch and you are done!


