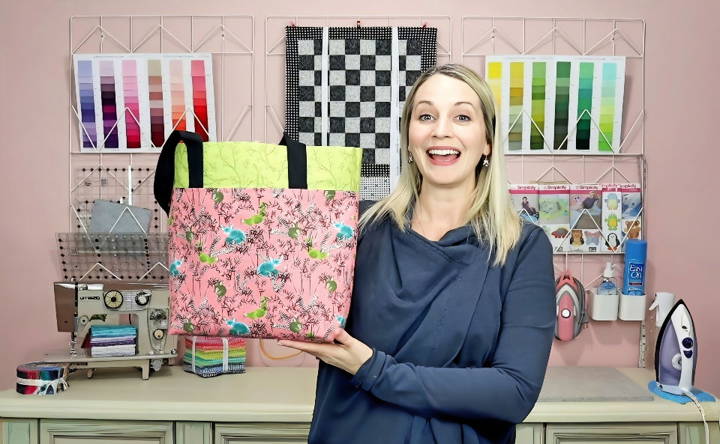
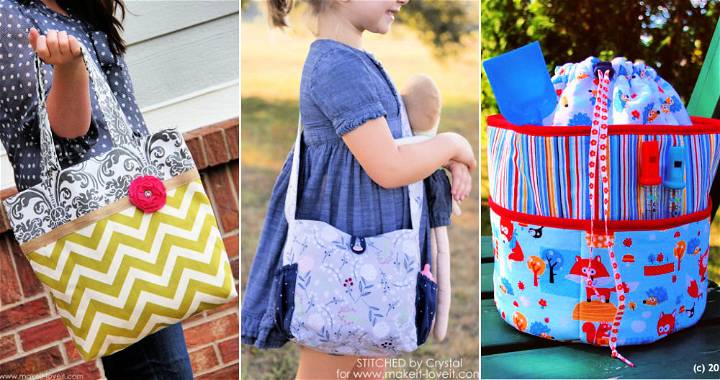
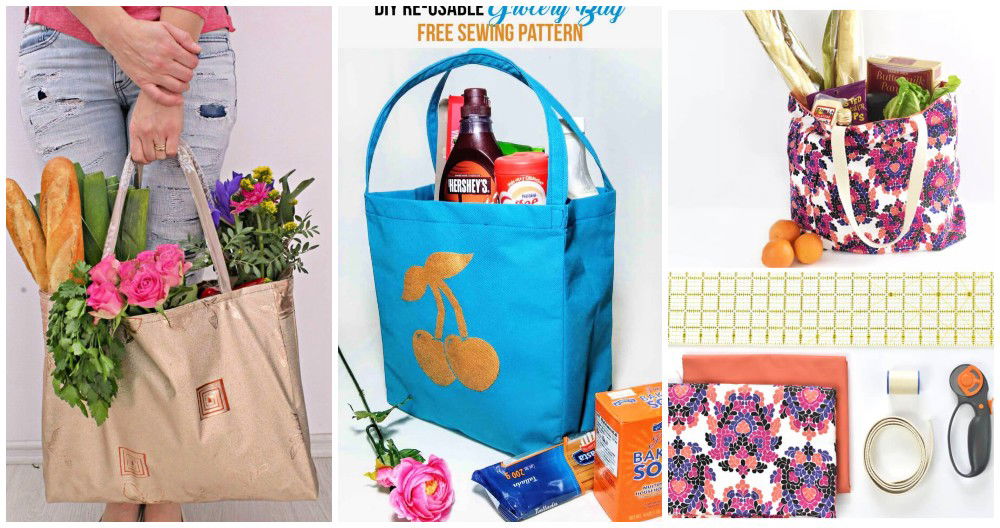
Starting to sew a tote bag pattern was a new hobby I took up during a quiet weekend. The idea seemed simple enough, and I hoped to have a practical bag that I could use daily. Following a free tote bag sewing pattern, I gathered my fabric and sewing machine, settling into a cozy corner of my room. It was not only fun but also a satisfying way to spend my time.

The pattern provided clear instructions, making it easy to follow step by step. I carefully measured and cut my fabric, then stitched it together as directed. The sense of accomplishment I felt with each completed step was gratifying.
I'm helping with this guide because I believe you can make something amazing, too. This experience has taught me that starting is the first step to success.
Materials You'll Need:
- Lining Fabric (17 inches by 36.5 inches): This will be the interior of your bag. Choose something durable yet fun to make the inside just as lovely as the outside.
- Outer Fabric (17 inches by 24.5 inches): This will be the visible part of your tote, so pick a fabric that speaks to you and can handle regular use.
- Interfacing (e.g., Pelloncraft Fuse 808): Interfacing gives your tote structure, making it stand upright and durable.
- Straps (Two 34-inch Lengths): You can repurpose straps from another bag or make your own from fabric for a fully custom look.
- Sewing Supplies: You'll need a sewing machine, thread, scissors, clips or pins, an iron, and a bit of patience.
Why these materials? The right fabric and interfacing provide both style and strength to your bag, ensuring it's not just beautiful but also practical. The straps' length is ideal for slinging over your shoulder comfortably - no elbow-sticking here!
Step by Step Instructions
Learn how to make a tote bag with our step-by-step instructions! From fabric prep to sewing the boxed bottom, get all the tips you need.
Step 1: Preparing Your Fabrics
After you've cut your fabrics to size, it's time to attach the interfacing. Remember, shiny side down because that's where the glue is. A good iron-over will fuse the interfacing to the fabric, lending it stiffness and body. Don't rush this step. Proper adhesion means no bubbling later on.
Step 2: Attaching the Handles
Measure and mark 4.5 inches from each side of your outer fabric, placing the handles at these marks. Ensuring they aren't twisted, lay your lining fabric on top, right sides together, and pin along the edges. This might feel a bit awkward since the lining is larger, but it'll work out in the end.
Step 3: Sewing It All Together
Sew the pinned edges, leaving the top open. After sewing, turn the fabric right side out, press down with an iron, and sew again a quarter inch from the edge, securing the handles more firmly. This inside-out and outside-in process might seem a bit backwards, but it's essential for those French seams that ensure a clean, professional finish without any raw edges poking out.
Step 4: Making the Boxed Bottom
To give your tote that nice, flat bottom so it can stand on its own, you'll need to sew boxed corners. Simply pinch the bottom corners into triangles, measure 1.5 inches from the point, and sew straight across. Flip and do it again on the inside to hide those seams - voila, a boxed bottom.
Tips and Tricks for Success
- Double-check your measurements: Ensuring everything is even from the start makes the whole process smoother.
- Take your time with the interfacing: A well-adhered interfacing is the secret to a tote that stands the test of time.
- Handle placement is key: Misplaced handles can throw off the balance and look of your finished tote. Measure twice, sew once!
Customization Ideas for Your DIY Tote Bag
Making a tote bag that's uniquely yours is not only fun but also adds a personal touch to your everyday carryall. Here are some simple yet creative ways to customize your DIY tote bag:
Add Pockets for Extra Functionality
- Inside Pockets: Sew a simple rectangle pocket on one side of the lining before assembling the bag. It's perfect for keeping small items secure.
- Outside Pockets: Add a patch pocket to the exterior for easy access to frequently used items like your phone or keys.
Choose Your Fabric Wisely
- Canvas: Durable and sturdy, ideal for a bag that needs to withstand daily use.
- Cotton: Lightweight and comes in a variety of prints for a more casual look.
- Denim: Recycle old jeans for an eco-friendly option with a cool, edgy vibe.
Experiment with Size and Shape
- Mini Tote: Shrink the pattern for a cute mini version that's great for quick errands.
- Oversized Tote: Enlarge the dimensions for a spacious bag that can carry groceries or gym gear.
Personalize with Color and Patterns
- Color Blocking: Use contrasting colors for different parts of the bag for a bold statement.
- Patterns: Mix and match patterns like stripes and florals for a playful twist.
Embellish with Decorative Elements
- Embroidery: Hand-stitch your initials or a simple design for a crafty touch.
- Appliqué: Cut out shapes from fabric scraps and sew them onto your bag for a pop of color and texture.
Make It Adjustable
- Straps: Add buckles to the straps so you can adjust the length for comfort.
- Closures: Incorporate magnetic snaps or Velcro for a bag that stays closed and secure.
Functional Upgrades
- Zipper: Install a zipper at the top of your bag for added security.
- Lining: Choose a contrasting lining color for an unexpected pop when you open your bag.
The key to a successful DIY project is to have fun and let your creativity shine. These ideas are just a starting point—feel free to mix, match, and modify them to suit your style and needs.

Pattern Variations for Your DIY Tote Bag
When it comes to DIY tote bags, one size does not fit all. That's why offering pattern variations can cater to the diverse needs and styles of your readers. Here's how you can present different pattern options:
Size Adjustments
- Mini Tote: Ideal for a quick trip to the store or as a gift bag. Simply reduce the original pattern dimensions by 50%.
- Large Beach Tote: Perfect for summer days. Increase the pattern dimensions by 30% and add a waterproof lining.
Shape Variations
- Square Bottom: Modify the bottom corners of your pattern to make a tote with a flat base, ideal for carrying books or groceries.
- Rounded Edges: Soften the look of your tote by rounding the edges, which is great for a more stylish, casual bag.
Closure Options
- Magnetic Snap: Easy to install and gives your tote a professional finish while keeping your belongings secure.
- Drawstring Closure: Add a playful touch and the ability to cinch your bag closed with a drawstring.
Strap Variations
- Adjustable Straps: Add sliders to your straps for adjustable length, making your tote more versatile.
- Rope Handles: For a nautical theme, replace fabric straps with thick rope, knotted inside the bag for a sturdy hold.
Lining Choices
- Contrast Lining: Use a lining in a contrasting color or pattern to add an element of surprise when the bag is opened.
- Padded Lining: For those carrying electronics, add a padded lining to protect your devices.
Pocket Styles
- Zippered Pockets: Offer security for valuables with an internal zippered pocket.
- Elastic Pockets: Great for keeping water bottles or umbrellas in place.
Decorative Techniques
- Appliqué: Add fabric shapes to the exterior for a 3D effect.
- Sashiko Stitching: Incorporate this traditional Japanese technique for a unique, reinforced design.
Offering these variations lets readers craft a tote bag tailored to their needs and style. Urge them to mix and match features for a unique item.
Advanced Techniques for Experienced Sewers
For those who have mastered the basics of sewing and are looking to challenge themselves, here are some advanced techniques to elevate your DIY tote bag:
Incorporate Interfacing for Structure
- Interfacing: Use fusible or sew-in interfacing to give your tote bag more structure. This will help it stand upright and maintain its shape over time.
Add a Lining with Pockets
- Lining: Not only does lining add durability, it also provides an opportunity to add more pockets. Consider making a lining pattern that includes slip pockets, zippered pockets, or even pen holders.
Experiment with Different Fastenings
- Magnetic Clasps: For a professional touch, add magnetic clasps to your tote bag. They're sleek and secure.
- Buttonholes and Buttons: If you're up for a challenge, try adding a button closure. Making a buttonhole can be tricky, but it's a valuable skill to learn.
Try Quilting Techniques
- Quilting: Add quilted patterns to your tote bag for extra padding and a decorative touch. This can be as simple as straight lines or as complex as detailed motifs.
Work with Leather Accents
- Leather Straps: Replace fabric straps with leather for a chic, durable alternative. You'll need a heavier needle and possibly a walking foot for your sewing machine.
Make a Reversible Bag
- Reversible Tote: Design your tote bag to be reversible. This involves careful planning and sewing so that seams are hidden and the bag looks great inside out.
Sew a Zippered Top Closure
- Zippered Closure: A zippered top closure adds security to your tote bag and keeps your belongings safe. It's a more advanced technique that requires precision but is highly functional.
Advanced Decorative Techniques
- Appliqué: Advanced sewers can make intricate appliqué designs. This involves sewing smaller pieces of fabric onto a larger piece to make a picture or pattern.
- Embroidery: If you're skilled with a needle and thread, consider adding hand-embroidered details to your tote bag.
Enhance your sewing skills and make a stylish, functional tote by trying advanced techniques. Practice makes perfect, so embrace new challenges.
FAQs About DIY Tote Bag Pattern
Discover answers to all your questions about DIY tote bag patterns, including materials, techniques, and tips to make your perfect tote bag.
When selecting a pattern, consider:
Size: Ensure the pattern fits your intended use, whether it’s for groceries, books, or beach essentials.
Difficulty: If you’re a beginner, look for patterns labeled as ‘easy’ or ‘for beginners’.
Features: Decide if you want pockets, zippers, or a particular shape like a flat bottom or boxed corners.
Yes, tote bags are a great project for beginners. Look for patterns that are designed for beginners, which will include simple styles and clear instructions. Start with an unlined tote bag to keep it straightforward.
To use a PDF sewing pattern:
Download the pattern to your computer.
Print the pattern at 100% scale to ensure the size is correct.
Assemble the printed pages by taping them together according to the instructions.
Cut or trace the pattern pieces to start sewing.
For a durable tote bag:
Use heavy-weight fabrics like canvas or upholstery fabric.
Consider lining your tote bag for extra strength.
Reinforce the handles and seams with extra stitching.
Add a flat bottom with interfacing to provide structure and durability.
To add pockets to your tote bag:
Cut the pocket pieces according to your pattern or desired size.
Fold the top edge of the pocket piece down twice to make a hem, and stitch it in place.
Position the pocket on the right side of one of your tote bag pieces where you want it to be.
Pin the pocket in place, making sure it's straight.
Sew around the sides and bottom of the pocket, reinforcing the top corners with extra stitching.
Final Thoughts
With patience and attention to detail, I completed my tote bag pattern, and it turned out great. Making something with my own hands was incredibly fulfilling. I encourage you to try this, as it can be both productive and enjoyable. It might become your new favorite pastime!


