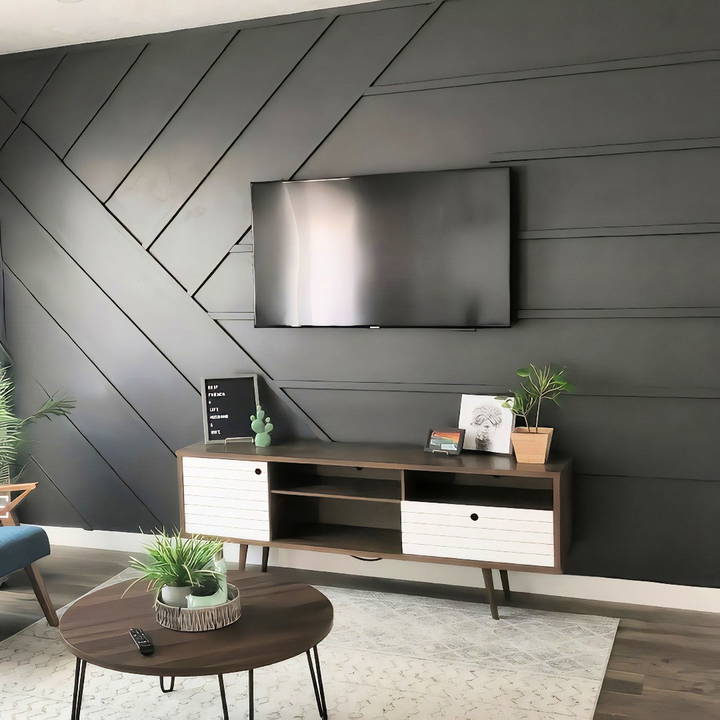
Building an accent wall behind your TV can dramatically enhance the aesthetic of your living room. If you're considering this project, you'll be pleased to know it's achievable even for DIY beginners. With the right tools, materials, and a bit of planning, you can build a modern, eye-catching TV accent wall for under $150.
Here's a comprehensive guide on how to design and execute your own TV accent wall, inspired by a step-by-step project.
Why Choose a TV Accent Wall?
A TV accent wall serves both functional and decorative purposes. It highlights the focal point of your living room—your TV—while adding texture, color, and depth to the space. Whether your style is sleek and modern or rustic and cozy, a DIY accent wall can be tailored to fit.
Tools and Materials You'll Need
Discover essential tools and materials needed to create a stunning tv accent wall, enhancing your living space with style and functionality.
Essential Tools:
- Brad Nailer
- Sander
- Miter Saw
- Shop Vac
- Level
- Spackle
- Caulking Gun
- Nail Set
Materials:
- MDF Trim Boards (pre-sanded and pre-primed)
- Liquid Nails Adhesive
- Wood Filler
- 2-inch Brad Nails
- Paint (e.g., a deep shade like “Mountain Shadow”)
Step by Step Instructions
Transform your space with our step-by-step guide to making a stunning tv accent wall. From design to decoration, we've got you covered!
Step 1: Planning Your Design
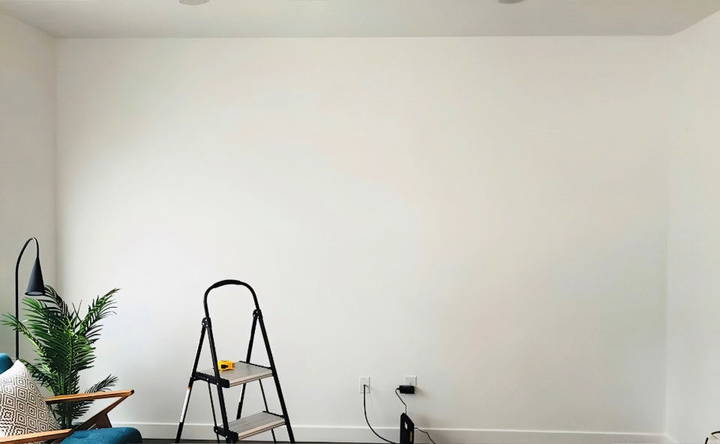
Before grabbing any tools, invest time in planning. Start by sketching your design on graph paper, including precise measurements. Consider:
- TV Placement: Leave enough space around your mounted TV for a balanced look.
- Outlets and Baseboards: Avoid covering outlets or interfering with baseboards. If needed, adapt the design to maintain functionality.
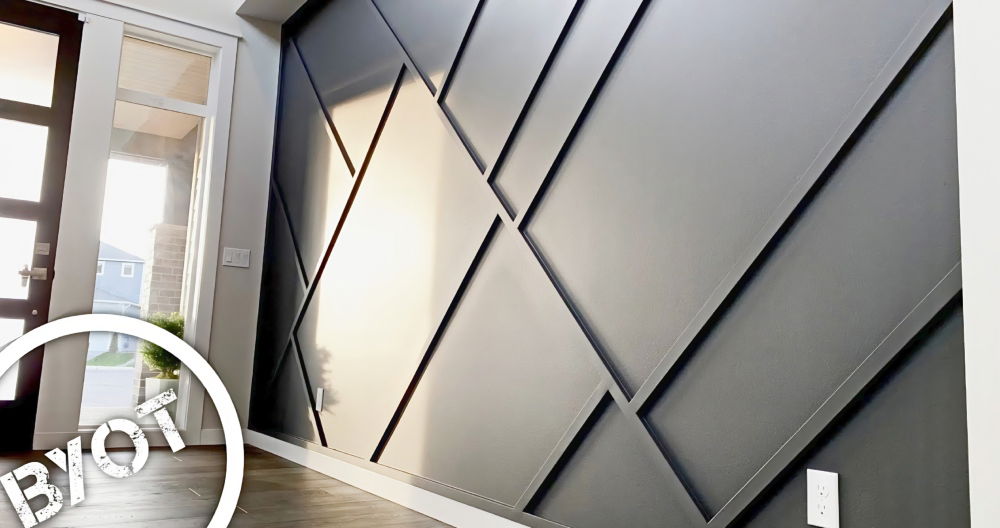
- Style: A modern grid or a board-and-batten design can create clean lines that work well with most TVs.
Having a plan ensures you purchase the right materials and execute the design efficiently.
Step 2: Preparing the Wall
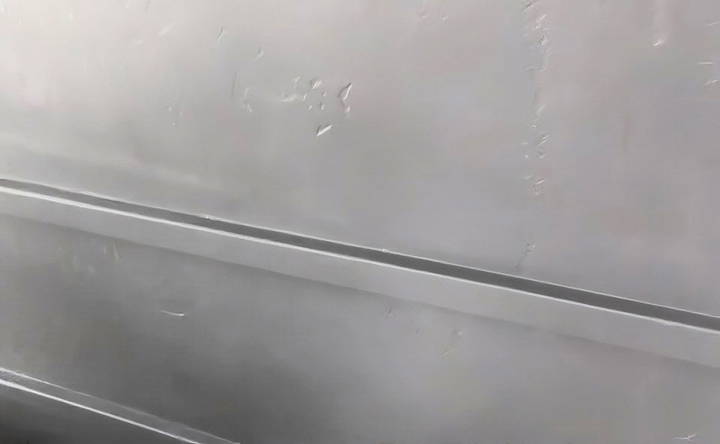
- What About Textured Walls? Textured walls don't have to be a dealbreaker. You can mount boards directly on the texture for added depth. Alternatively, for a smoother finish, consider covering the wall with flat panels before applying your design.
Step 3: Choosing the Right Wood
- MDF Trim Boards: Medium-density fiberboard (MDF) trim boards are ideal for accent walls because they're:
- Lightweight
- Pre-sanded and pre-primed, reducing prep time
- Cost-effective
Choose thinner boards for a sleek, modern look and to avoid bulk where the boards meet your baseboards. If your baseboards are high-profile, consider cutting the boards at a 45-degree angle or removing the baseboards entirely.
Step 4: Cutting and Installing the Boards
Learn essential cutting tips for beginners and follow our step-by-step installation process for perfect board cutting and installation.
Cutting Tips for Beginners
Using a miter saw for the first time? Don't worry. Most cuts for this project will either be at 0 or 45 degrees. A speed square is invaluable for ensuring precise angles.
Installation Process
- Start with the Border: Frame the wall by attaching trim boards around the edges.
- Attach Diagonal and Horizontal Pieces: Begin with the trickiest angles, such as diagonal sections, and then move on to the simpler horizontal or vertical strips.
- Spacing Consistency: Use a spacer (cut from one of your MDF boards) to ensure uniform gaps between pieces.

Apply a small amount of liquid nails to the back of each board before securing it with a brad nailer. This ensures a strong bond and minimizes shifting over time.
Step 5: Mounting the TV
Integrating a mounted TV into an accent wall requires careful planning:
- Measure the width and height of your TV and mount before starting the design.
- Leave an unadorned space on the wall where the TV will be positioned.
- Mount the TV brackets directly into wall studs for stability, ensuring the decorative boards don't obstruct the hardware.
For added style, you can angle the edges of the boards surrounding the TV to create a polished finish.
Step 6: Finishing Touches: Caulking, Sanding, and Painting
After installing the boards, the real transformation begins:
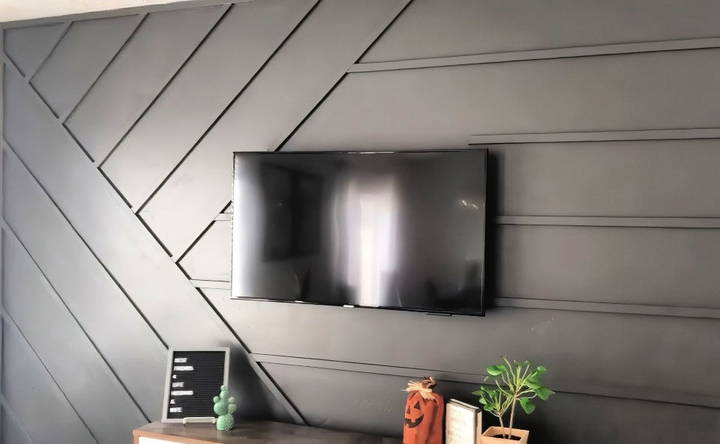
- Caulking: Fill gaps between boards and around edges with caulk for a seamless appearance.
- Sanding: Smooth out imperfections and ensure all nail holes are filled with wood filler, sanded, and flush with the surface.
- Painting:
- Use a brush to cut in along the edges and corners.
- Roll on at least two coats of paint for full coverage.
Deep, bold colors like “Mountain Shadow” create a striking backdrop that complements most TVs.
Mistakes to Avoid
- Nail Alignment Issues: If nails don't sink fully, remove and re-nail rather than forcing them further.
- Incorrect Measurements: Double-check all dimensions to avoid uneven gaps or ill-fitting pieces.
- Paint Bleed: Use high-quality painter's tape and ensure it's properly sealed to avoid smudges.
Step 7: Troubleshooting Common Issues
Even with careful planning, DIY projects can come with challenges. Here's how to address some common problems you might encounter while building your TV accent wall:
- Nail Holes and Gaps: If nails protrude slightly or create gaps in the wood, use a nail set to countersink them. Fill the resulting holes with wood filler, sand them smooth, and paint over them for a flawless finish.
- Misaligned Boards: Always double-check measurements before cutting. If a piece is slightly too short, you can fill small gaps with spackle or caulk. For larger gaps, it's better to recut the board.
- Paint Bleed or Uneven Edges: To prevent paint bleeding under the tape, press the edges of the painter's tape firmly against the surface. You can also use a clear sealant along the edge of the tape to block bleeding before applying paint.
- Textured Walls Causing Uneven Adherence: If you're mounting boards directly on textured walls, apply extra liquid nails adhesive to ensure a strong bond. For a smoother appearance, lightly sand the wall surface before starting.
Step 8: Decorating Your TV Accent Wall
A well-designed TV accent wall is a stunning feature on its own, but the right decor can enhance its impact. Here are some ideas to style your new wall:
- Floating Shelves: Install floating shelves on either side of the TV to balance the visual weight and provide space for decorative accents like plants, books, or framed art.
- LED Backlighting: Add LED strips behind the TV to create ambient lighting that accentuates the wall's texture and color, especially if you've used a darker shade.
- Minimalist Approach: Let the accent wall shine by keeping the area around it uncluttered. A mounted TV, a sleek media console, and a few carefully chosen decorative elements are all you need.
- Seasonal Decor: Change up the look with seasonal accents, such as pumpkins for fall or greenery for the holidays, to keep the space fresh and inviting.
Cost Breakdown and Budget Tips
One of the most appealing aspects of this DIY project is its affordability. Below is an approximate cost breakdown based on the project details:
- MDF Trim Boards: $50
- Paint and Supplies: $30
- Adhesive and Caulking Materials: $20
- Tools (if not already owned):
- Brad Nailer: $70 (one-time investment)
- Miter Saw: $100+ (one-time investment)
Total Estimated Cost: $150 (excluding tool purchases)
Tips to Stay on Budget:
- Borrow or rent tools like a miter saw if you don't plan on frequent DIY projects.
- Look for sales or discounts on materials at local hardware stores.
- Reuse leftover materials from previous projects where possible.
Key Takeaways from the DIY Process
- Anyone Can Do It: Whether you're a seasoned DIYer or a complete beginner, this project is approachable. The learning curve for tools like a miter saw and brad nailer is manageable with practice.
- Planning Is Everything: Detailed planning, from sketching your design to accounting for outlets and TV mounts, ensures a smoother process and a better final result.
- Embrace Imperfection: DIY projects rarely go perfectly on the first try. Use mistakes as opportunities to learn and improve for future projects.
- Celebrate Your Work: The satisfaction of making something with your own hands is worth the effort. Show off your accent wall to friends and family—they'll be impressed by the transformation.
Conclusion: Transform Your Living Room with Confidence
Building a TV accent wall is more than just a home improvement project; it's an opportunity to learn new skills, express your creativity, and transform your living room into a modern, stylish space. For under $150 and with a weekend of effort, you can create a feature wall that serves as the focal point of your home.
So, gather your tools, plan your design, and take the plunge into DIY. The results will not only enhance your living space but also give you the confidence to tackle future projects.
FAQs DIY TV Accent Wall
Discover answers to FAQs about DIY tv accent walls. Perfect tips and tricks to enhance your living space with a stylish focal point.
Apply caulk along the edge of the tape and smooth it out with your finger before painting. This seals the tape and minimizes bleeding. Alternatively, paint the edge of the tape with the wall’s base color first, then apply your accent color.
Yes, you can. Textured walls can enhance the final look by adding dimension. If you prefer a smoother finish, consider using flat panels or lightly sanding the wall.
Use cable management solutions like in-wall cable conduits or surface-mounted raceways. These options conceal wires effectively and maintain a clean look.
A satin or semi-gloss finish is ideal for accent walls, as it reflects light subtly and is easy to clean. Matte finishes are also popular for a more understated look.
Yes, liquid nails can cause damage when removed. To minimize this, apply it sparingly and opt for adhesive that is easier to strip without causing significant harm.
Measure your wall's dimensions and divide by the width of the boards, accounting for spacing. For example, the creator used 20 eight-foot-long MDF boards for a standard-sized wall.
No, standard nail guns are not suitable for concrete. Instead, use concrete nails, masonry screws, or adhesive specifically designed for masonry.
Leave at least 6 inches between the trim of doors or windows and the accent wall design. This keeps the layout balanced and visually appealing.
Dark-colored walls and textured surfaces can make dust more visible. Clean the wall periodically with a microfiber cloth or vacuum to maintain its appearance.
Painting the boards beforehand can prevent paint bleed and reduce touch-ups. After installation, only touch up the nail holes and joints for a clean finish.


