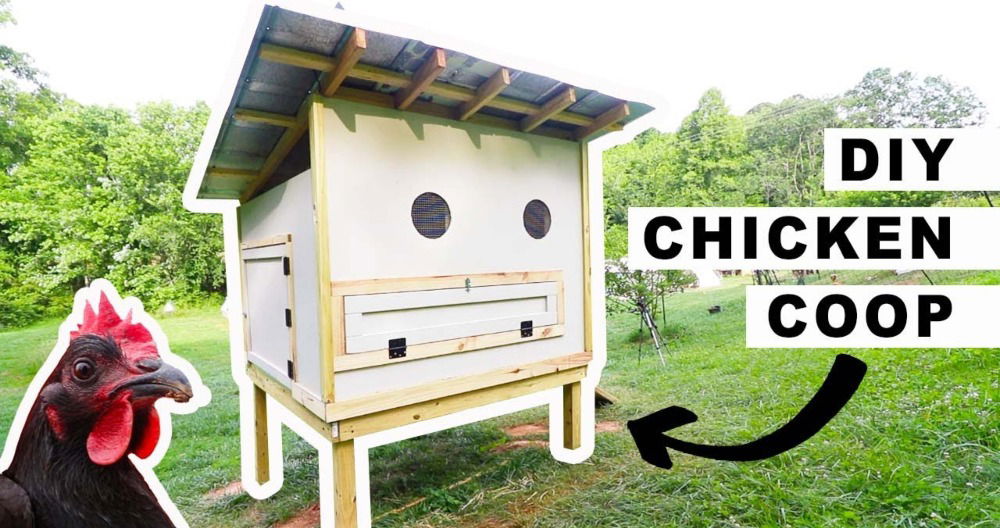
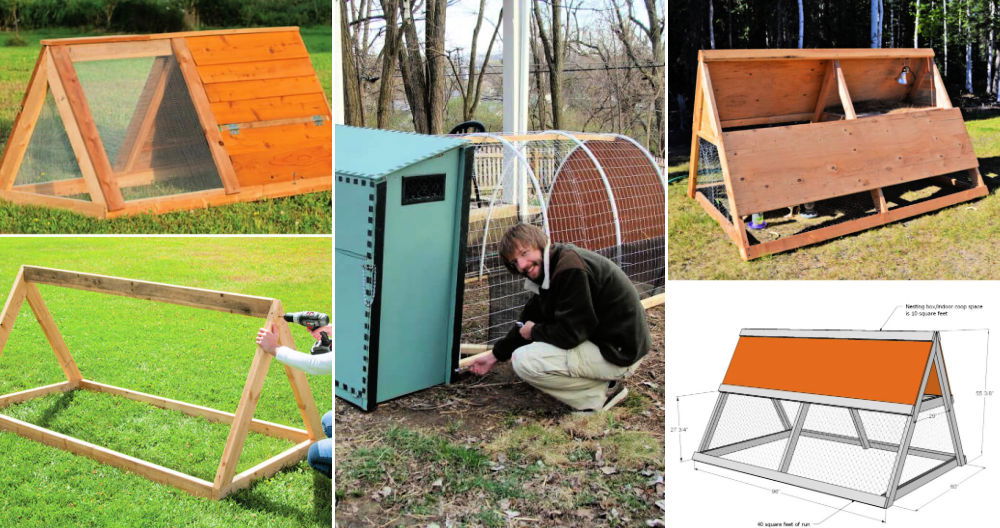
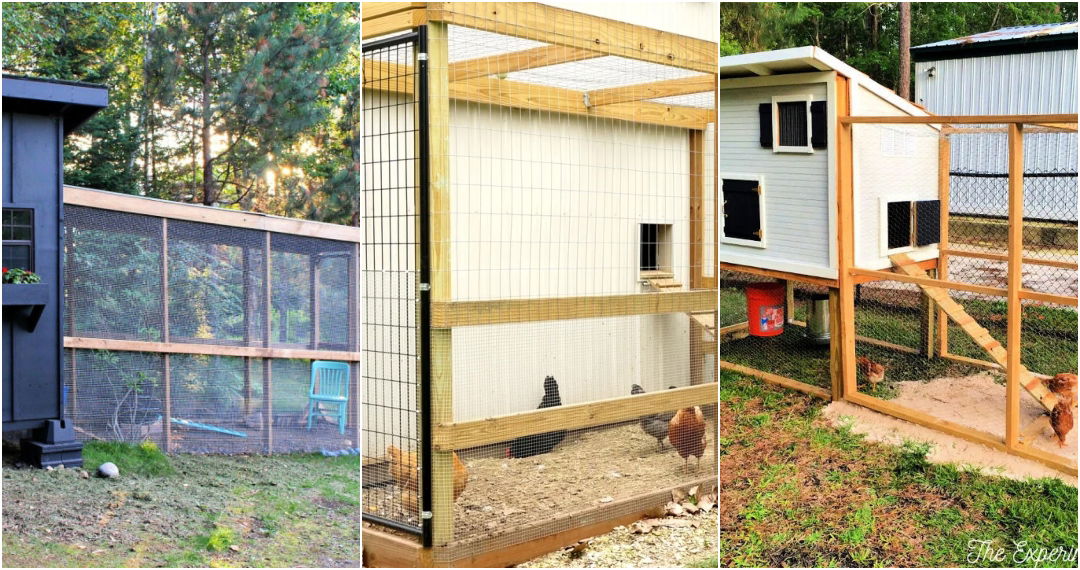
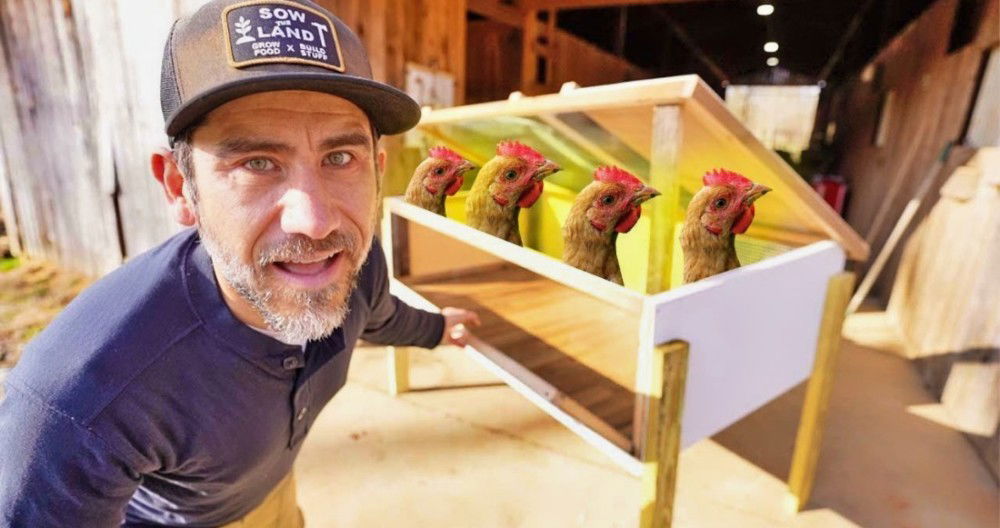
A couple of years ago, my family and I moved into this property, which allowed us to finally realize our dream of owning chickens. However, convincing my partner was not an easy task—until I decided to take advantage of a week when she was out of town. My motto? It's easier to ask for forgiveness than permission. And so, the project to build the ultimate chicken coop began.
Day 1: Planning and Gathering Materials
Why Each Material Matters
Before anything else, I knew the foundation of this coop had to be solid and movable. For that, treated lumber was essential for making a durable and relocatable base. Screws and joist hangers ensure stability, while gravel helps level the ground, preventing moisture from seeping in.
OSB plywood and 2x4 lumber were selected for the structure. The plywood offers a sturdy surface for the walls and the roof, while the 2x4s build the framework. Each material was explicitly chosen for its balance of cost, durability, and ease of use.
Day 2-3: Constructing the Base and Walls
Step-by-Step Foundation and Framing
- Building the Treated Platform: I constructed this platform upside down to allow forklift access beneath it for future movements. This approach also made it easier to attach the 2x4s I'd use to distribute the weight evenly.
- Installing the Joists: Angled screws held the joists in place temporarily before securing them with joist hangers for long-term stability.
- Laying the Gravel Base: After marking the coop's location, I spread gravel to ensure a level surface. This would help prevent any settling over time and keep the wooden base dry.
- Framing the Walls: Utilizing 2x4 construction, I buildd the walls on the prepared platform, keeping in mind that our coop needed to be both sturdy and easy to clean.
Day 4: Roofing and Gravel Adjustments
Constructing a Durable Roof
A lean-to roof seemed the best choice for simplicity and water drainage. Halved plywood sheets for the roof and galvanized nails in the joist hangers ensured that the structure would withstand the elements. The gravel around the base was adjusted post-construction to further ensure stability and drainage.
Day 5: Adding Windows and Doors
Building Functional Openings
Windows were crucial for ventilation, and the doors for accessibility. I chose to make the windows from scratch and opted for polycarbonate panels due to their durability and the cool visual effect they added. For doors, simple 2x4 and plywood designs sufficed, fitted with hinges and latches sourced from our local hardware store.
Day 6: Painting and Detailing
Aesthetic Touches
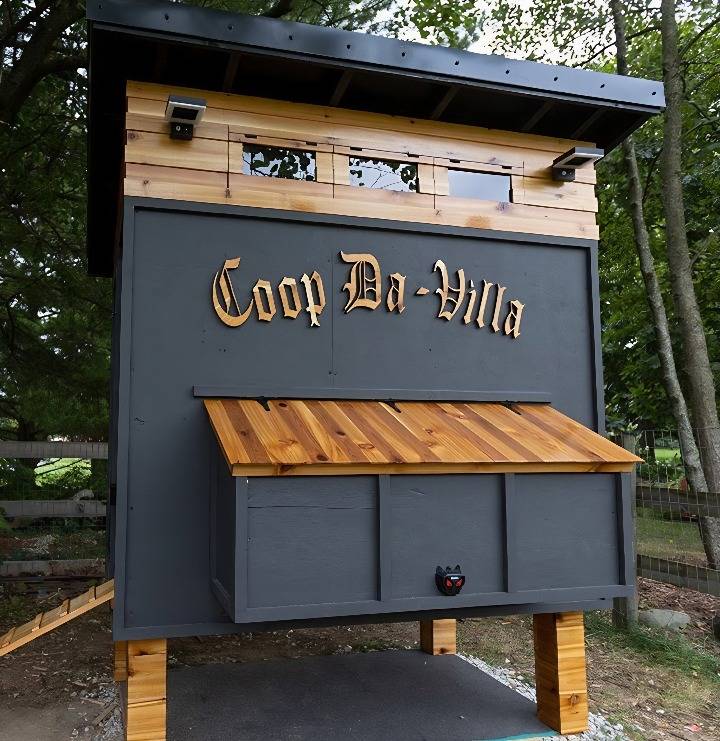
Choosing a paint color was surprisingly the most challenging decision. I settled on a shade called iron ore for its elegance and how it complemented our property. For the coop's floor, vinyl peel and stick flooring was a practical choice. It's easy to clean and install, and by sealing the wood beneath it first, I ensured a durable finish.
Day 7: The Finishing Touches
It's All in the Details
The last day was all about those final touches: installing an automatic coop door for security and convenience, adding the nesting boxes where our future chickens would lay their eggs, and making roosting bars inside for them to sleep on.
Throughout this process, I learned not just about building techniques but about patience and dedication. And when my partner returned, her joy and surprise at seeing the coop made every moment of hard work utterly worth it. The chickens, now a beloved part of our family, have a safe and beautiful home.
Building a chicken coop required planning, perseverance, and creativity, teaching me valuable lessons. Whether experienced or new, I hope my journey motivates you to pursue your dreams confidently.
Design Customization Ideas for Your DIY Chicken Coop
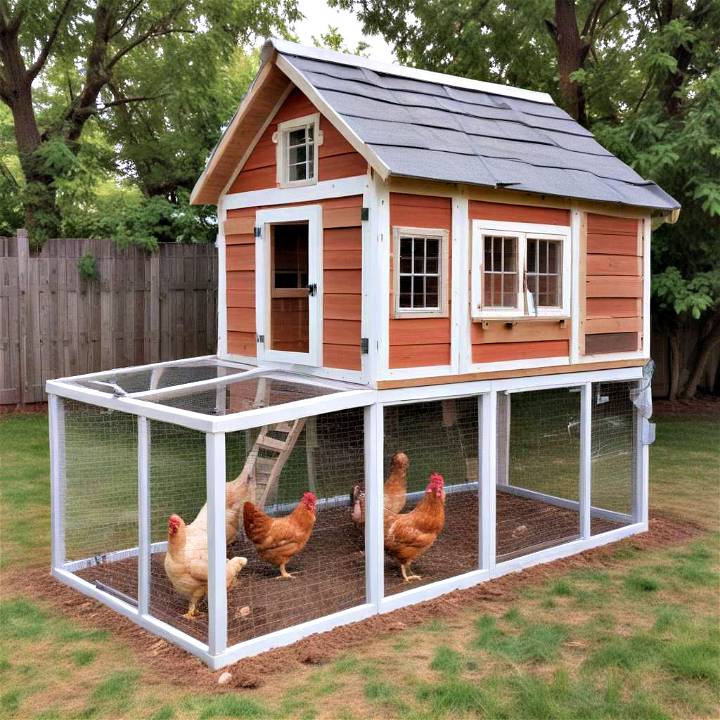
Building a chicken coop that's both functional and stylish can be a rewarding DIY project. Here are some ideas to help you customize your chicken coop, making it a perfect home for your feathered friends.
Choose the Right Size
Start by considering the number of chickens you plan to keep. As a general rule, you'll need about 2-3 square feet per chicken inside the coop, and 8-10 square feet per chicken in an outside run.
Selecting Materials
Opt for durable materials that can withstand the elements and keep predators out. Cedarwood is a great choice for its resistance to rot and insects. For a budget-friendly option, consider plywood with a weatherproof finish.
Roofing Options
A sloped roof will prevent water accumulation and can be covered with shingles, metal roofing, or even recycled materials like old license plates for a unique touch.
Nesting Boxes
Nest boxes should be cozy and dark to encourage egg-laying. One box for every 3-4 hens is usually sufficient. You can use materials like wood, sturdy baskets, or even repurposed drawers.
Perches and Roosts
Chickens need a place to roost at night. Install horizontal bars made of natural materials like branches or wooden dowels. Make sure they are smooth and free of splinters.
Ventilation
Good airflow is crucial. Install vents or windows near the top of the coop to allow warm air to escape, and make sure they're securely covered with predator-proof mesh.
Easy Cleaning
Design your coop with removable trays or doors for easy cleaning. Sloped floors towards a central drain can also help with maintenance.
Personal Touches
Finally, add some personal touches. Paint the coop in bright colors, add flower boxes for aesthetics, or install solar-powered lights for a warm glow at night.
FAQs About DIY Chicken Coops
When embarking on the journey of building a DIY chicken coop, many enthusiasts have questions. Here's a detailed section addressing some of the most common inquiries, designed to be helpful and easy to understand.
How Big Should My Chicken Coop Be?
Size matters when it comes to chicken coops. You'll need 2-3 square feet per chicken inside the coop and about 8-10 square feet in the run. This ensures they have enough space to live comfortably and stay healthy.
What Materials Are Best for Building a Coop?
Durability and safety are key. Use untreated wood like pine or cedar, and secure the structure with galvanized hardware. For the run, use chicken wire or hardware cloth to keep predators out.
How Many Nesting Boxes Do I Need?
A good rule of thumb is one nesting box for every three hens. Ensure they're placed in a quiet, dark area of the coop to encourage egg-laying.
What Should I Consider for Coop Ventilation?
Proper ventilation is crucial. Include vents or windows near the top of the coop, and make sure they're covered with predator-proof mesh to keep your chickens safe.
How Can I Make Cleaning Easier?
Design your coop with removable trays for easy cleaning. Consider a sloped floor towards a central point to make washing out the coop more efficient.
Do Chickens Need Perches?
Yes, chickens need perches to roost on at night. Install them at varying heights, and ensure they're wide enough for the chickens to comfortably sit on.
How Do I Protect My Coop from Predators?
Security is vital. Bury your fencing at least 12 inches underground, and consider adding an electric fence for extra protection.
Can I Insulate My Chicken Coop?
Insulation can help keep chickens warm in winter. Use natural materials like straw or hay, and ensure there's still adequate ventilation.
Conclusion:
In conclusion, building the ultimate DIY chicken coop is a rewarding project that can benefit both you and your feathered friends. With proper planning and construction, you can create a functional and stylish coop to keep your chickens safe and happy. Happy crafting!


