There is a lot of information to weed through in the wide world of heat transfer vinyl - no crafting pun intended. Getting lost, and maybe even a little overwhelmed, when you first get started is completely normal, especially when the seasoned crafters make it look so easy.
But don’t worry! We have made it simple for beginners to understand all the basics of heat transfer vinyl (also known as HTV) with this easy-to-follow guide. We have also included some helpful tips so you have no problems getting started using heat transfer vinyl to make your first shirt. Then in no time, you’ll be creating everything from custom t-shirts to tumblers to totes. Heat transfer vinyl is a fun and affordable way to add a personal touch to a gift, or to create something totally unique for yourself, your friends or your clients.
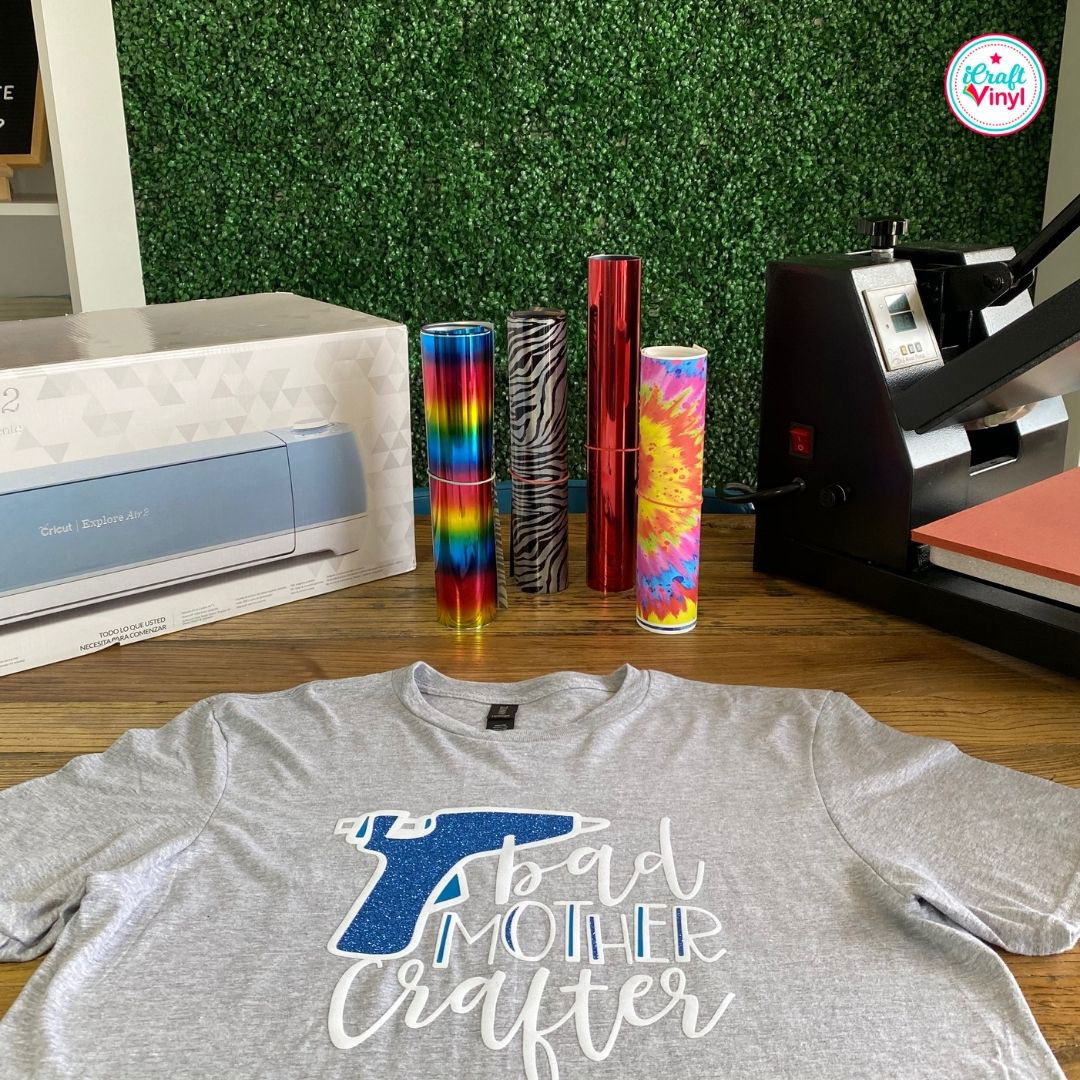
Before we move into how to use heat transfer vinyl to decorate a shirt, let's go over a few fundamentals to answer any questions you may have about the material and the process.
What is the difference between HTV and Iron on?
One of the most confusing parts of this craft industry is for sure all of the different terms. Heat transfer vinyl, which we already mentioned is commonly referred to as HTV, is also known as iron on vinyl (or iron on). So just to keep it simple, there is no difference between heat transfer vinyl and iron-on vinyl, and you will see that variations of both are used interchangeably throughout the industry and in this blog.
It is important to note, however, that there is a difference between heat transfer vinyl and adhesive vinyl. While we will be focusing on HTV for this beginner’s guide, adhesive vinyl does not need heat to be applied. It is more like a sticker and it is commonly used for car decals and home decor.
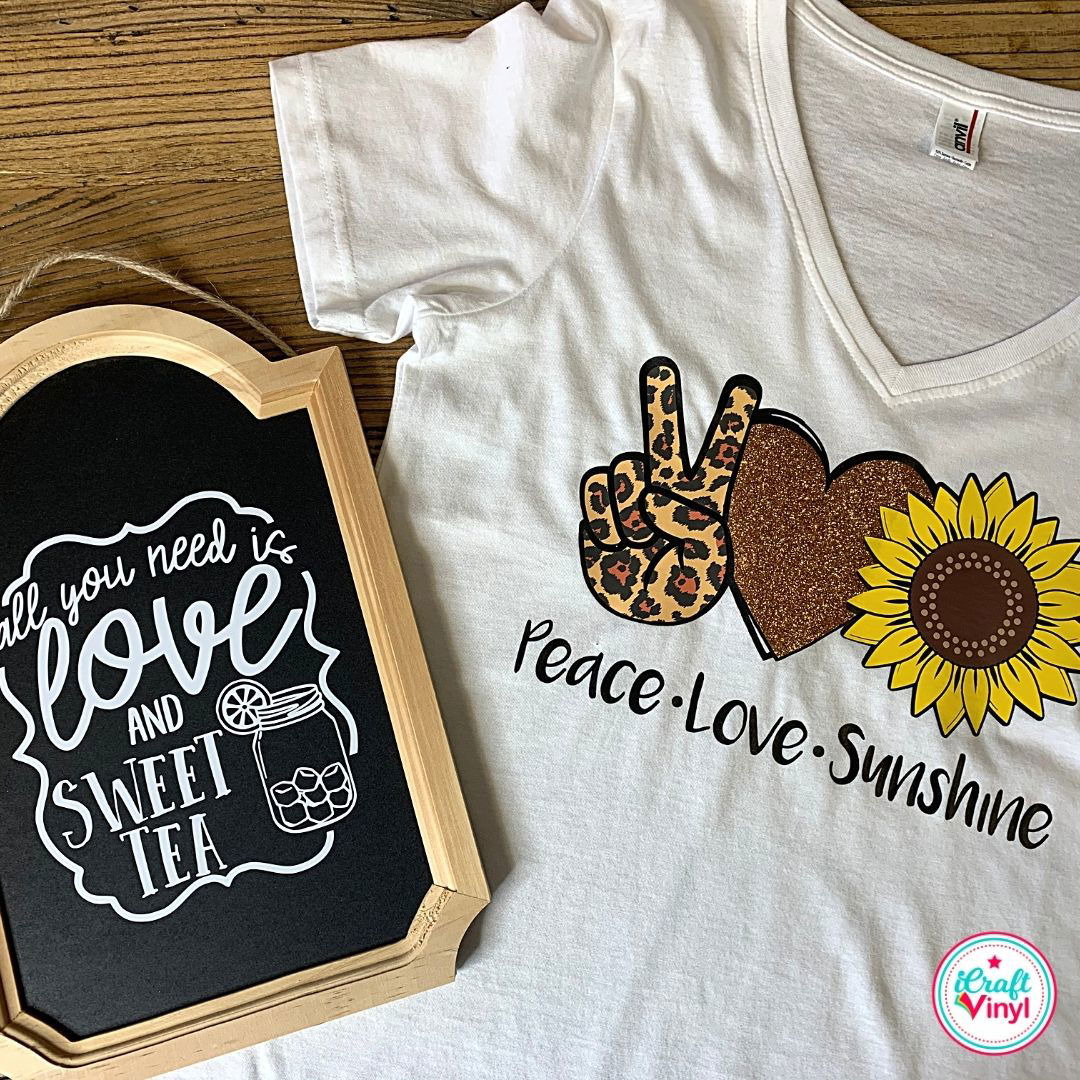
What kind of shirts can HTV be applied to?
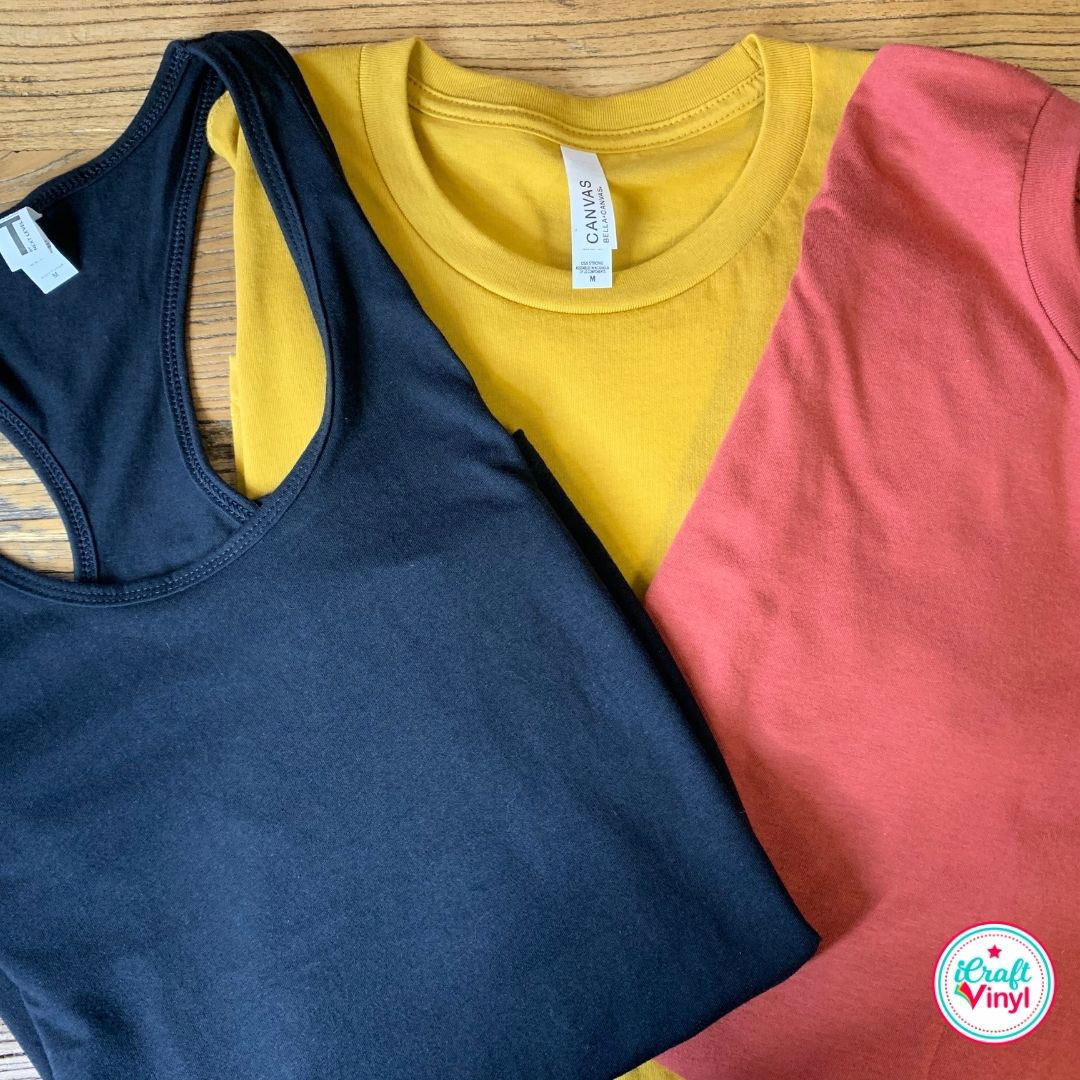
There is so much that you can apply heat transfer to! Really, the options are pretty limitless. As long as the garment or item you’re applying it to can withstand the heat, you’re good to go! Items you can apply iron on vinyl include socks, canvases, hats, yoga pants, flip flops and TONS more, however, the most common application is usually for t-shirt making!
You can press HTV on shirts made of cotton, polyester, poly blends, cotton blends, spandex, silk, rayon and more! Just be sure to adjust your heat setting depending on the material you’re using. A sensitive silk garment could burn if you use the same high settings you would for cotton. We will discuss proper heat settings for shirts a little further down in the blog.
Different HTV Materials
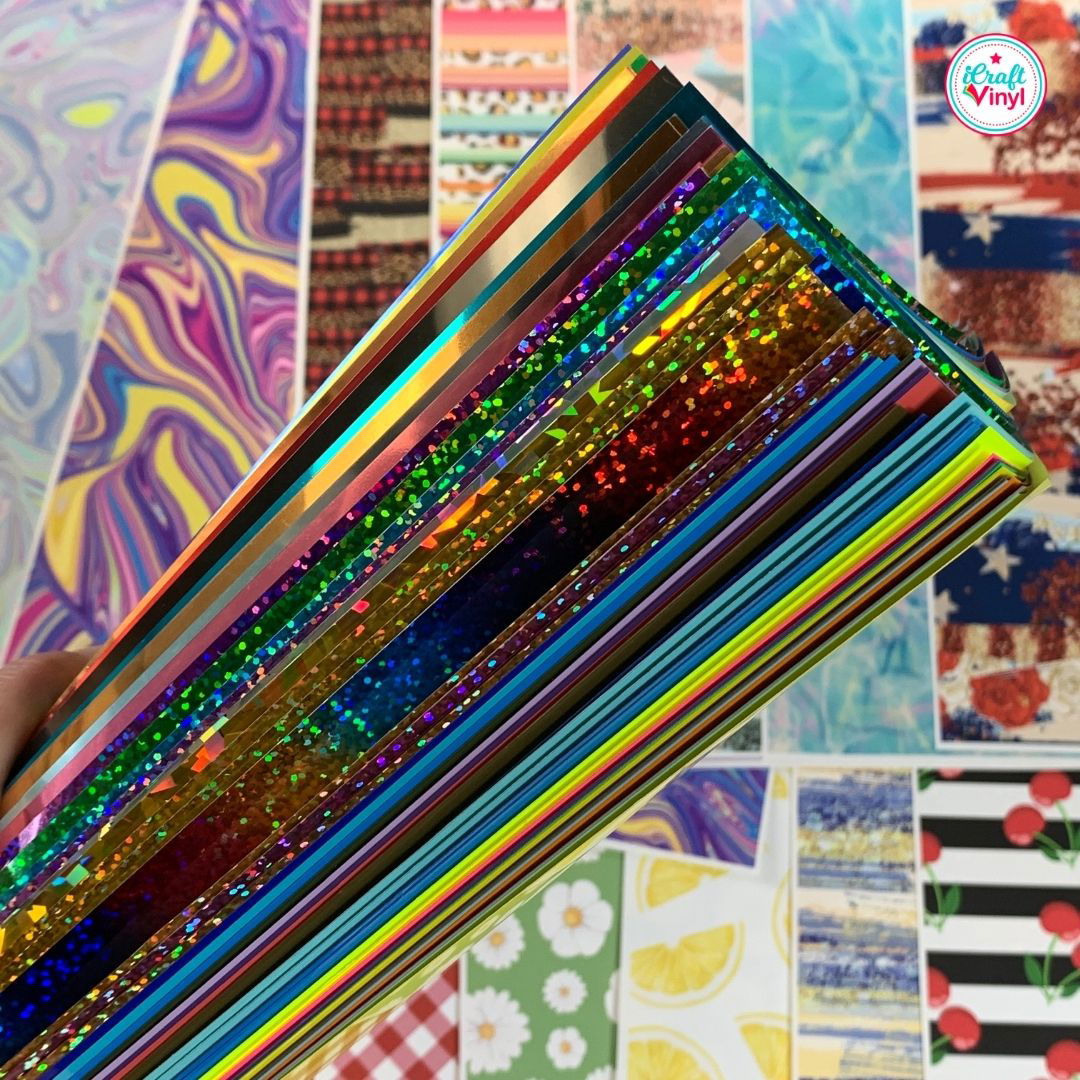
Now that we have covered a few of the things you can make, let's talk about the different HTV materials you can use to decorate your items. You will be surprised by how many different types of heat transfer vinyl materials are available for your crafting pleasure.
You can stick with a basic, but classic, material like matte HTV, or you go with something a little more eye-catching like glitter, liquid metallic, spectrum or patterned iron on. All of these materials are great for different reasons, and which you choose usually depends on the project and the person who will be receiving it. You can even get materials with awesome special effects like glow in the dark HTV or puff HTV, which literally puffs up when heat is applied.
Ready to Use HTV? Let’s Dive in!
To get started making your first HTV project, make sure you have all the right supplies at hand.
Supplies you’ll need:
- A cutter (Cricut and Silhouette are popular choices),
- A tool for weeding,
- Scissors,
- Your heat transfer vinyl of choice,
- The shirt you’re applying your design to, and
- A heat press or home iron

Step 1: Prepare your File
Using your cutter’s software, you can either design a custom file, which will then be cut and applied to you garment of choice, or you can download a file that is already made by a professional designer for free or for a small fee. The design you make or download is known as a cut file, and while most users will use an SVG, some will use other files including a .dxf .jpg or .png. When you’re just starting out, we suggest one-color files but once you get the hang of using HTV, you can layer multiple colors and materials together on one shirt!
Once the design is ready in your cutter’s software, you will want to size it for the project you are doing. If you’re creating a shirt, start with 8 inches wide for adult mediums, and then you can size up or down from there. For other projects like koozies, mugs or totes, you will need to measure the item to determine the size of the HTV design you would like to apply.
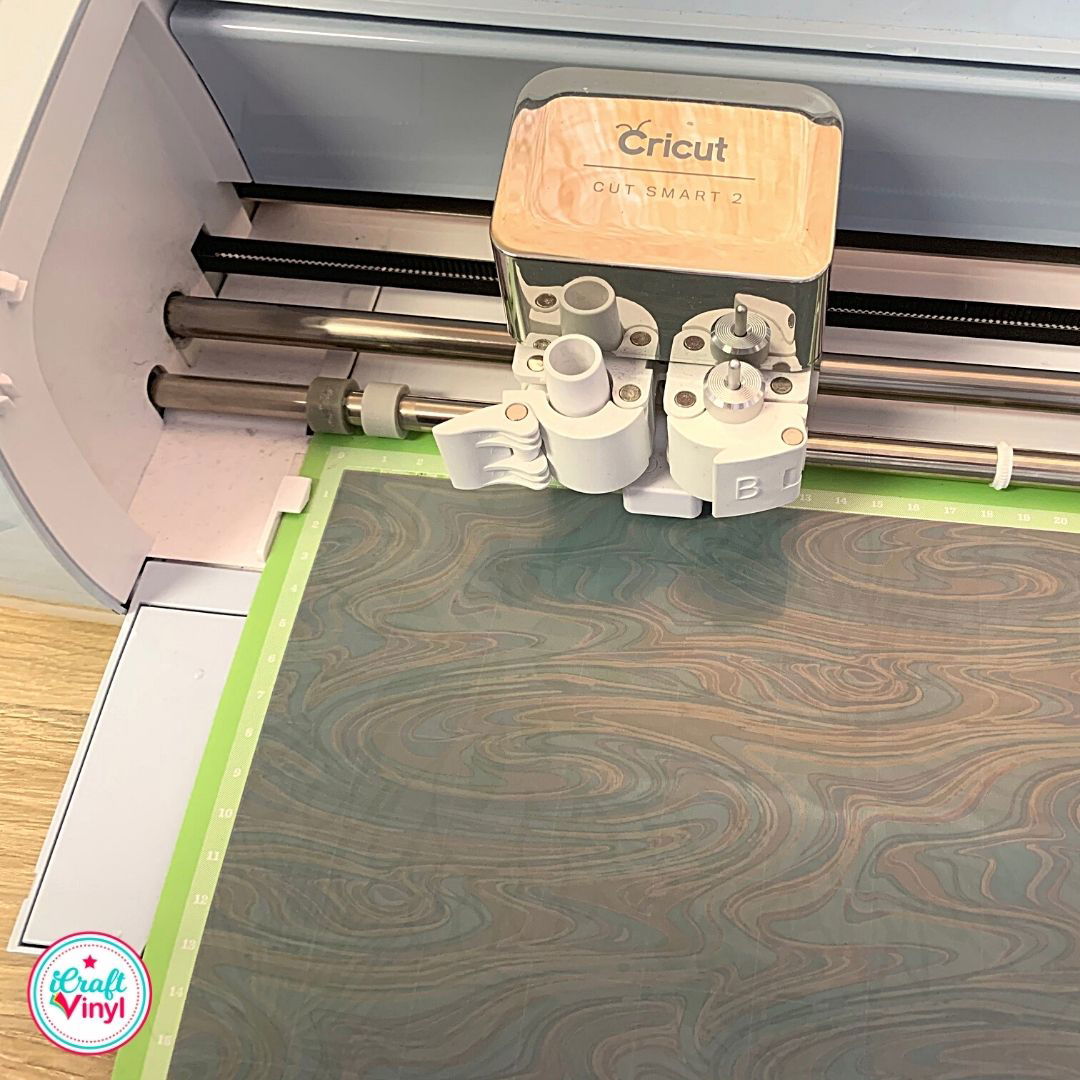
After you have determined the ideal size of your design, it is time to cut it out on your cutter. But before you do that, always make sure you mirror your design. Since there is a carrier sheet attached to HTV, you want to be sure you’re only cutting through the vinyl and not the carrier sheet. You also want to be sure you place the HTV with the shiny side (carrier sheet side) down on your cutter’s cutting mat.
Step 2: Cut your Design
Now that your material is loaded on your mat, you need to make sure you select the correct cut settings for the material you selected. Materials like matte and liquid metallic HTV will not require a cut with as much pressure as a thicker material like hologram or glitter. This is where test cuts come in. If you’re working with a new material or a new machine, you always want to do a small test cut to make sure you're getting a proper cut. You will know if your HTV is cut correctly when you can easily peel away the excess material.
Step 3: Weed out any Excess Material
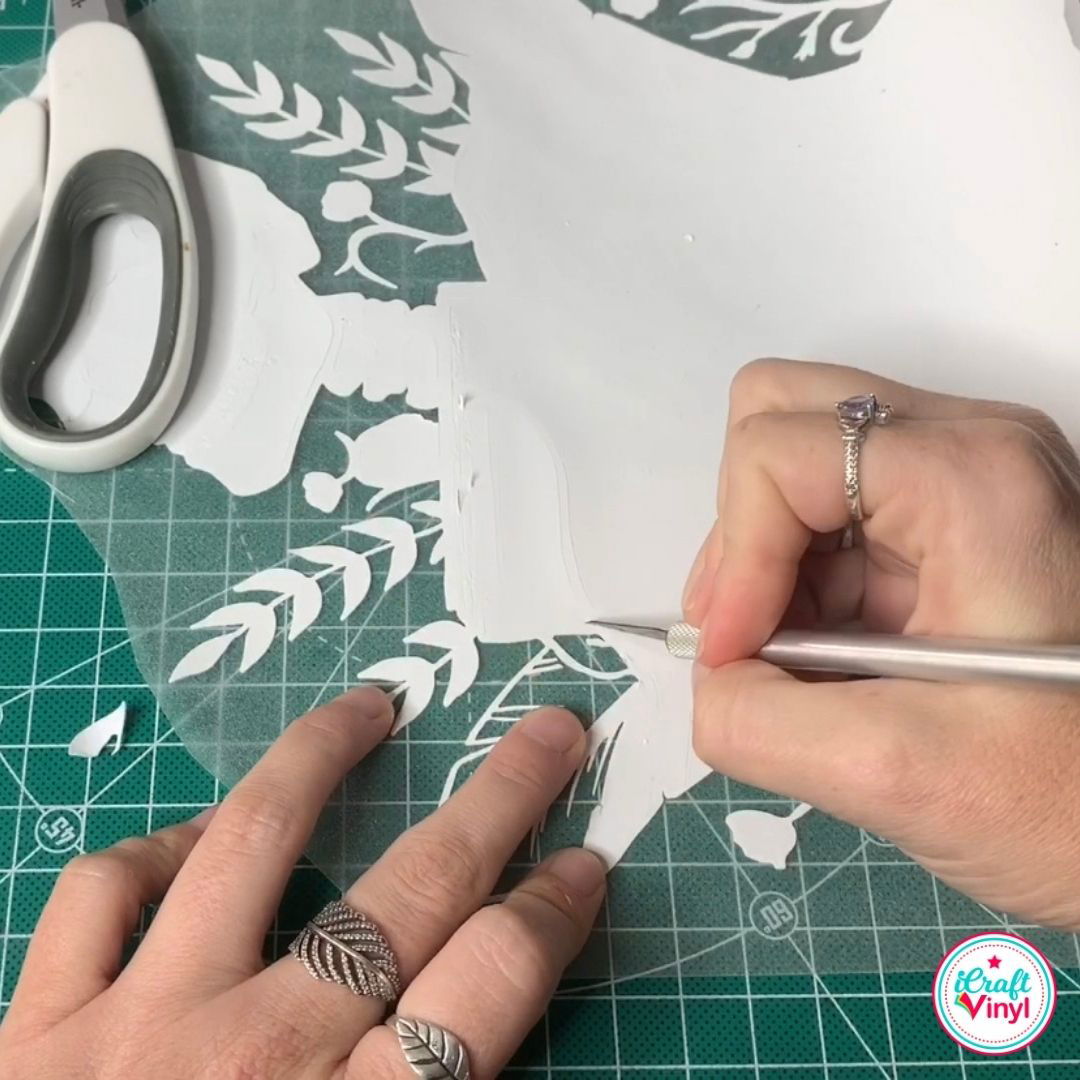
That brings us to our next step, which is weeding your design. That is just what HTV crafters call using a special tool, like a hook or craft knife, to remove the negative (or excess) parts of your design. To save as much material as possible, use your scissors to cut around the design before you weed it out. Then start from the outside and work your way in until all of the unneeded parts of the design are removed.
Now you’re ready for the final step - applying your HTV!
Step 4: Center design
Before you use heat, let’s make sure you have your design centered. We recommend folding your shirt in half vertically and giving it a light press or iron to create a crease down the center. This will be your guide. Then take your design and fold it in half with the sticky side facing out. Create a crease in the carrier sheet and then line that crease up with the crease on the shirt. You should get a perfectly centered design every time!
Step 5 (a): How to Apply HTV with Iron
If you plan to use an iron, make sure you’re pressing on a sturdy surface or even on a towel on the ground. Using an ironing board or flimsy table won’t allow you to get the firm pressure you need to ensure your design adheres and stays adhered.
Make sure you do not use any steam when pressing with your iron and turn it up to the highest setting. Grab a piece of parchment paper, a thin towel or a Teflon sheet to cover your design when pressing. Then using firm pressure, press the design for 15-20 second intervals. Do not slide the iron back and forth. If the design is large, press it in sections.
You then need to let the design cool before you remove the carrier sheet. Then you can remove the carrier sheet, cover the design again with your parchment paper, and do a final iron for 15-20 seconds.
Step 5 (b): How to Apply HTV with Heat Press
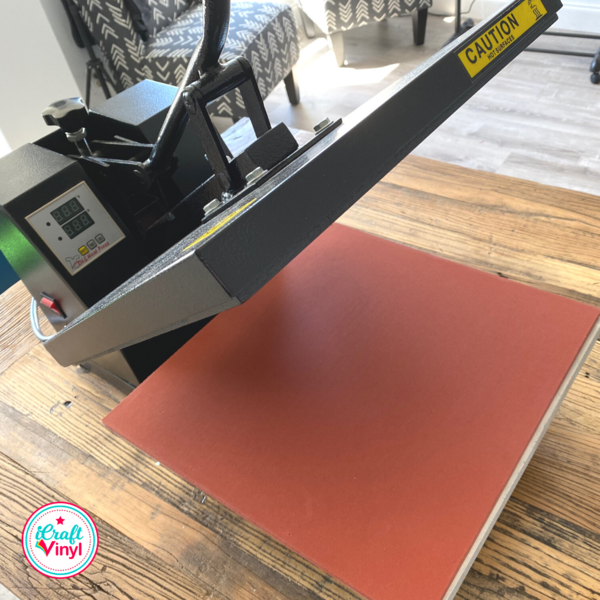
You should always check your manufacturer’s heat settings for a heat press before you press your design. But typically you will turn your heat press to 305-310º. Then you can press your design for 8-10 seconds, remove the carrier sheet and then do a final press for 10 seconds. Depending on the material you’re pressing, you may need to let the design cool down before you remove the carrier sheet, but for some materials, you can remove it right away. If you notice the material is not adhering, you may need to adjust your pressure settings or make sure you don’t have any cool spots on your heat press using a temperature gun.
And that’s it! Now you know how to use heat transfer vinyl to make your very own t-shirt. We hope this basic guide helps you on your crafting journey and answers any questions you have about getting started with iron on vinyl.
The author of this post is the Co-Founder of iCraftVinyl.com. Be sure to check out their heat transfer vinyl collections.

