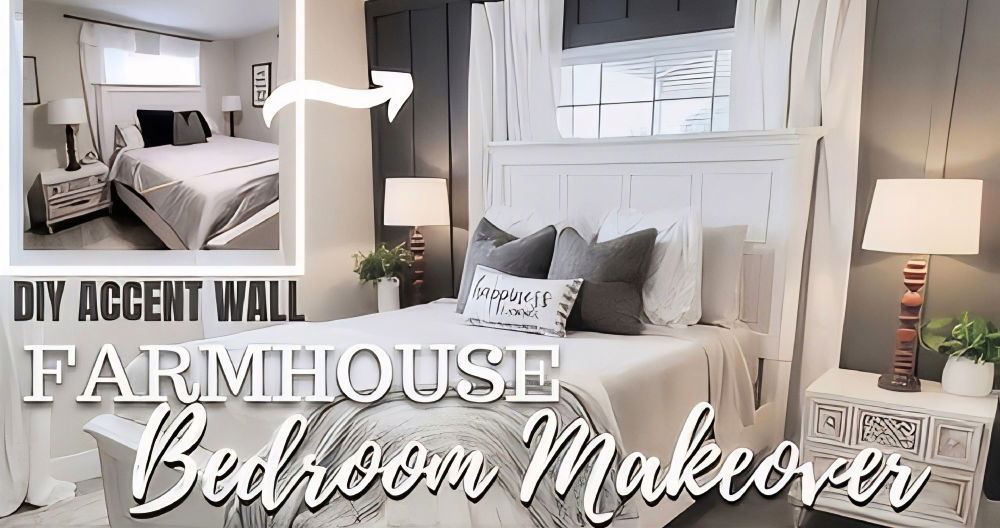
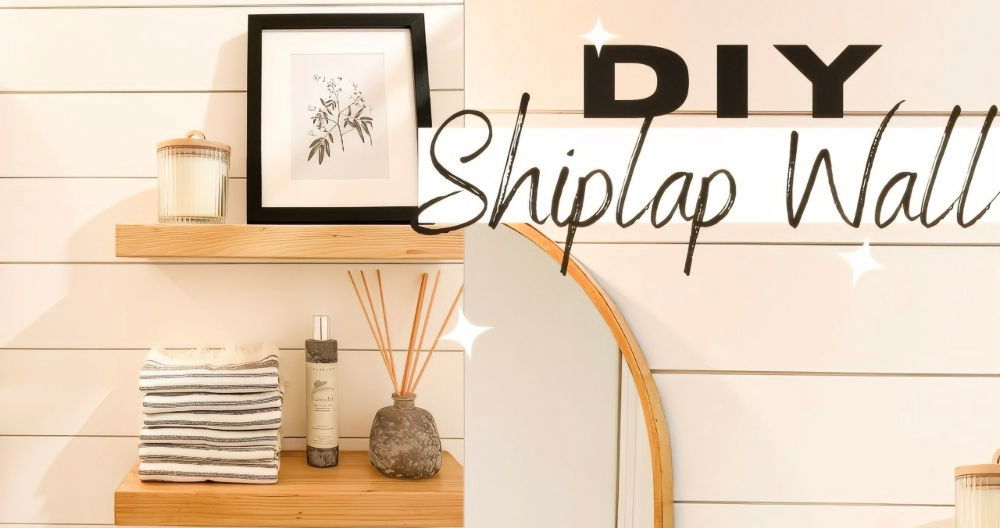
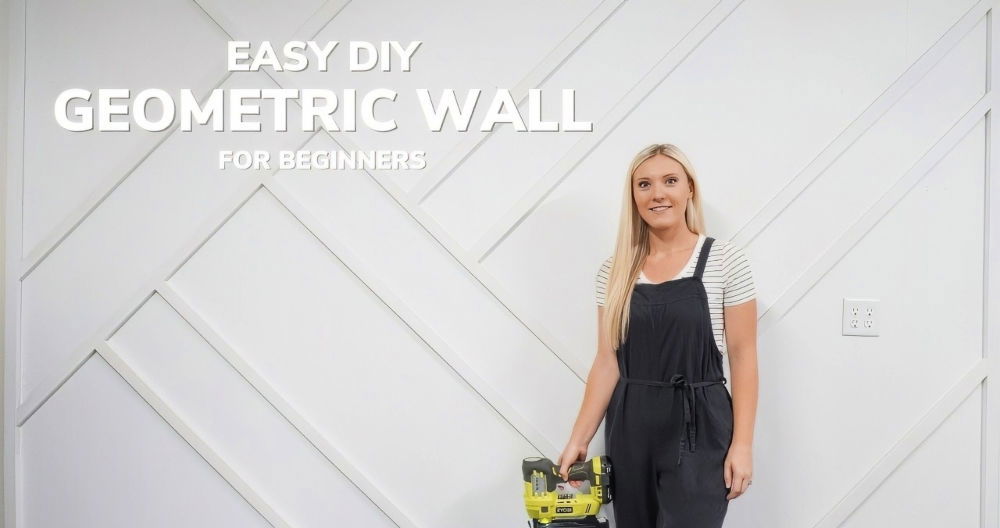
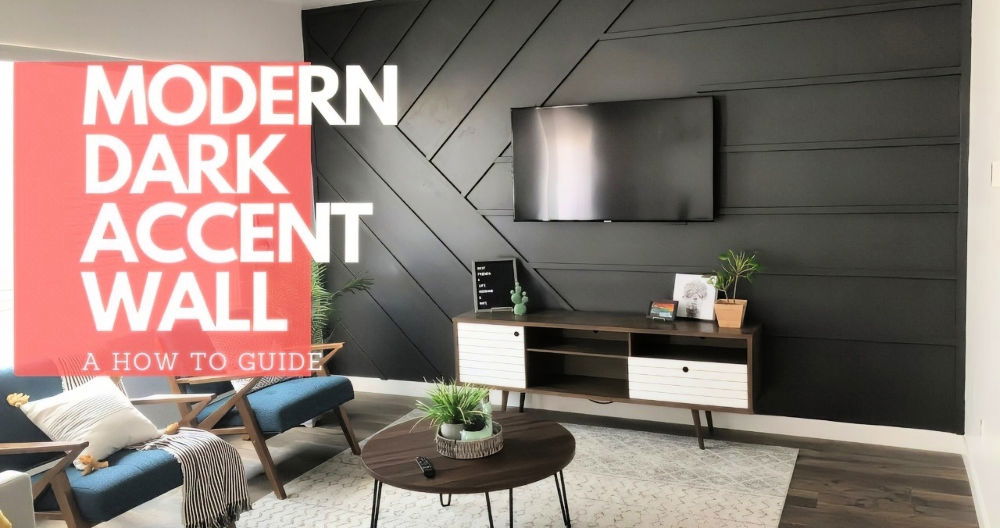
Transforming a bland wall into a stunning focal point doesn't have to be complicated. A wainscoting accent wall is an excellent DIY project that can elevate the aesthetic of your home while being budget-friendly and straightforward. Below, we'll show you the complete process, from picking the right materials to perfecting the final details. With the right tools, materials, and a bit of planning, even novice DIYers can achieve professional-looking results.
What is Wainscoting?
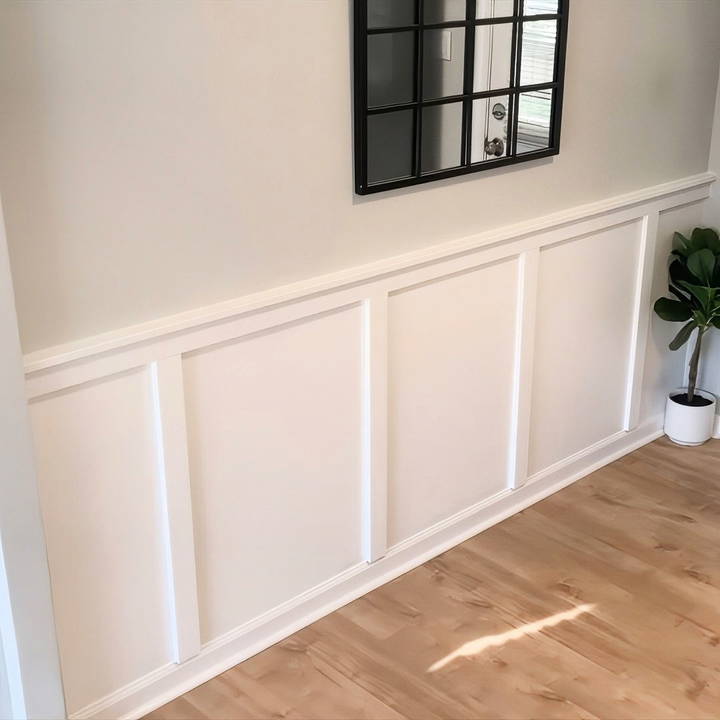
Wainscoting is a decorative wall treatment where wooden panels are installed on the lower portion of a wall. Historically used to provide insulation and protection, modern wainscoting primarily adds character and depth to a room. It's versatile and suits various interior styles, from traditional to contemporary.
Materials and Tools Needed
To build a simple and stylish wainscoting accent wall, gather the following:
Materials:
- MDF Boards: 1"x3" and 1"x2" dimensions for the rails and battens.
- Construction Adhesive: For secure attachment.
- Caulk: To fill seams and gaps for a polished look.
- Paint: Choose a color that complements your room's theme (e.g., ultra-pure white).
- Painters Tape: To protect edges and surfaces during painting.
- Drywall Anchors: If hanging accent pieces like mirrors.
Tools:
- Brad Nailer: Essential for attaching MDF to walls.
- Miter Saw: For precise cuts, though a circular saw or hand saw can suffice.
- Level: To ensure straight, plumb boards.
- Tape Measure and Pencil: For accurate measurements and marking.
- Paint Tools: A roller, brush, and paint pan for even application.
- Sandpaper: To smooth any rough edges on the MDF.
Step by Step Instructions
Enhance your home with our step-by-step guide to wainscoting accent walls. Get expert design tips, installation steps, and finishing ideas!
Step 1: Plan Your Design
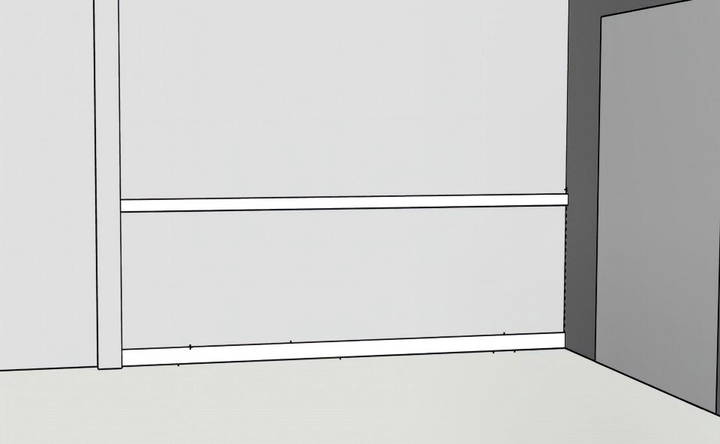
Start by envisioning how the wainscoting will look on your wall. Decide the height of the panels (usually around one-third of the wall height) and the spacing between vertical battens. For accuracy:
- Use graph paper or 3D modeling software to map out your design.
- Measure the total width of the wall and divide it into sections based on the width of your boards and desired spacing.
Step 2: Prepare the Wall
Before installation:
- Clean the wall surface.
- Patch any holes or imperfections.
- Paint the wall in your chosen color if desired, as painting beforehand can simplify touch-ups later.
Step 3: Install the Top Rail
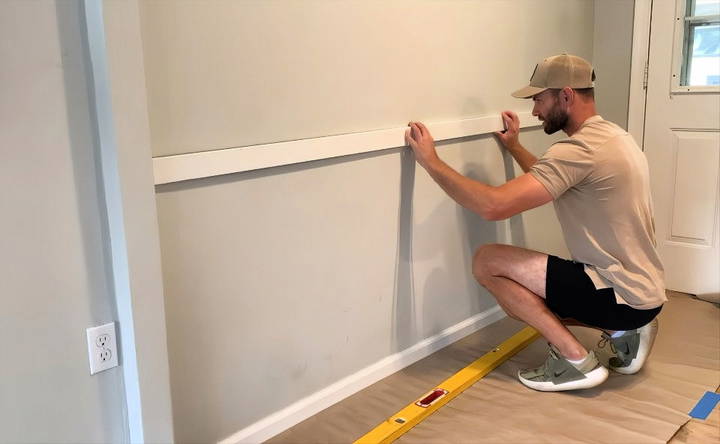
- Measure and cut the MDF board for the top rail to the wall's width.
- Mark the desired height (e.g., 35.5 inches from the floor).
- Use a level or laser level to draw a straight guideline.
- Attach the rail to the wall with construction adhesive and secure it with brad nails into studs or drywall.
Step 4: Install Vertical Battens
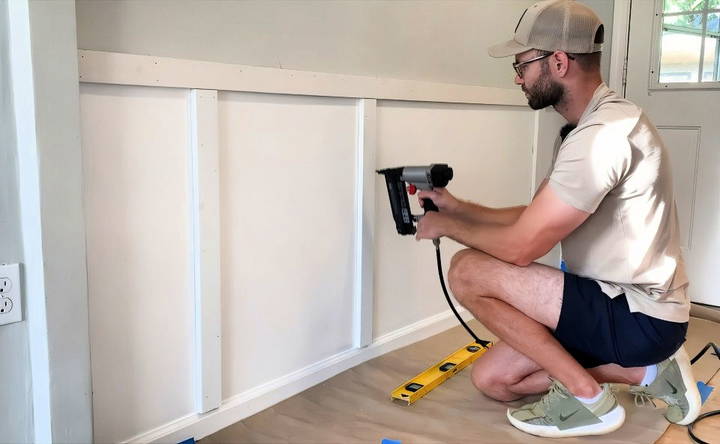
- Measure the height for each batten individually, as floors can vary slightly in level.
- Cut the MDF battens accordingly.
- Apply construction adhesive to the back of each batten and position it on the wall using the predetermined spacing.
- Secure with brad nails, ensuring each batten is plumb.
Step 5: Add the Top Cap
For a refined finish:
- Cut a 1"x2" MDF board to the width of the wall.
- Attach this top cap above the top rail using adhesive and nails, ensuring a seamless look.
Step 6: Caulk and Fill Gaps
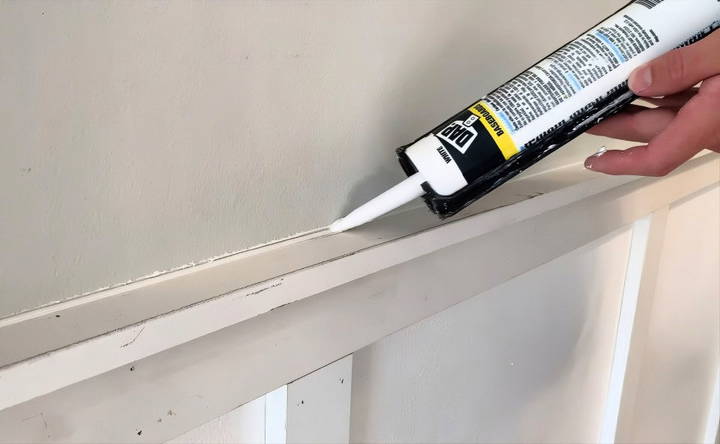
- Use caulk to fill seams between boards and gaps where MDF meets the wall.
- Smooth the caulk with a damp finger or tool for a clean finish.
- Fill nail holes with wood filler and sand smooth after drying.
Step 7: Paint
- Apply a primer if necessary.
- Paint the wainscoting with a roller for broad areas and a brush for corners and edges.
- Apply additional coats as needed for full coverage.
Enhancing Your Wainscoting Accent Wall
Transform your space with enhancing wainscoting accent walls. Discover tips on choosing the right color for stunning decorative additions.
Decorative Additions
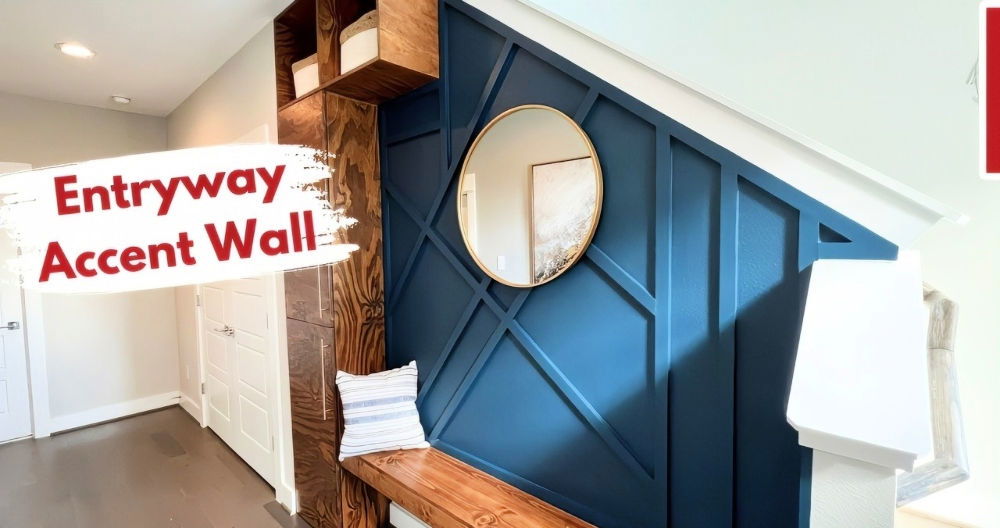
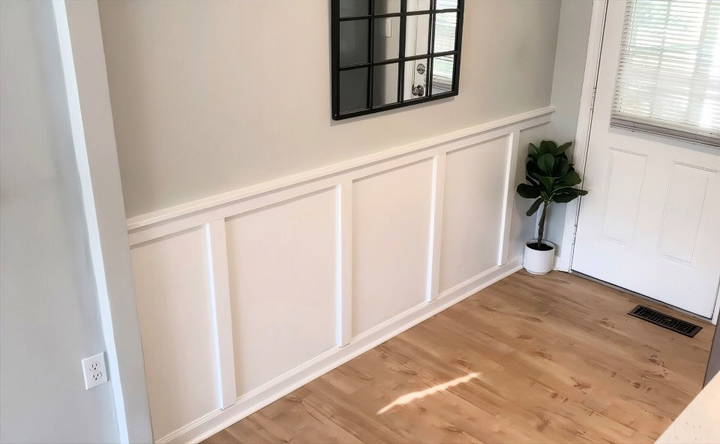
- Accent Mirror: Center a decorative mirror above the wainscoting to draw attention to the feature wall.
- Plants: Place a houseplant or faux greenery in a corner for added texture and color.
- Lighting: Use sconces or picture lights to highlight the wainscoting details.
Choosing the Right Color
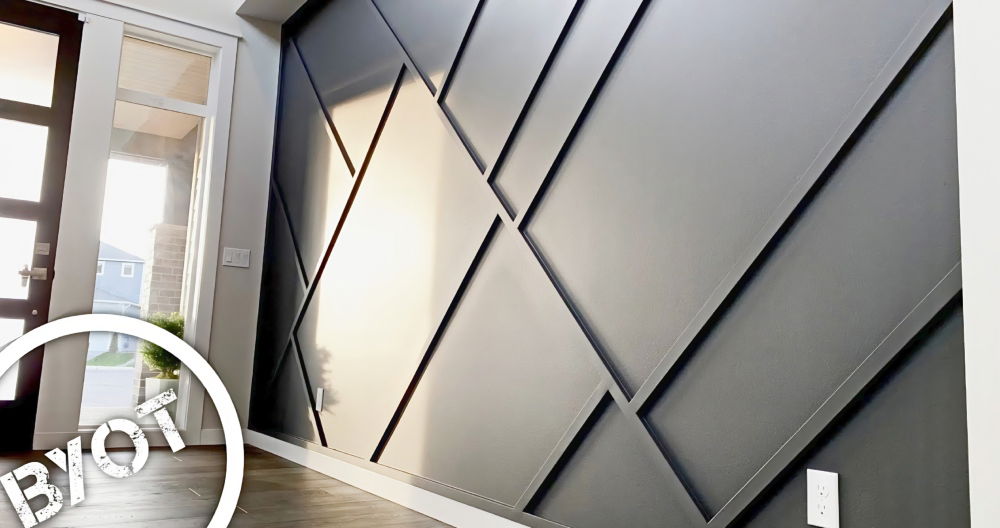
While white is a timeless choice, consider bold hues like navy, charcoal, or even black for a dramatic effect. These shades work well in modern or moody interior designs.
Tips for a Successful Project
- Measure Twice, Cut Once: Double-check all measurements to avoid waste or uneven installation.
- Use Quality Adhesive and Nails: Ensures durability and prevents boards from detaching over time.
- Sand MDF Edges: Smooth edges give a more polished appearance after painting.
- Work Methodically: Install boards in sequence and let adhesives dry thoroughly before moving to the next step.
Common Challenges and Solutions
- Uneven Floors or Walls: Solution: Measure each vertical batten individually. Use caulk to bridge minor gaps between the wall and MDF.
- Visible Gaps After Installation: Solution: Apply extra caulk and paint over seams for a seamless finish.
- Paint Streaks or Uneven Coverage: Solution: Use a high-quality roller and apply thin, even coats. Allow each layer to dry completely before reapplying.
Why Choose Wainscoting for Your Accent Wall?
- Affordable Elegance: Achieve a high-end look without spending a fortune.
- Customizable: Tailor the design, height, and color to suit your personal style.
- Easy to Install: With minimal tools and materials, it's beginner-friendly.
- Timeless Appeal: Fits well with both modern and traditional decor.
Conclusion:
A wainscoting accent wall is a fantastic way to elevate your space with minimal effort. By following this step-by-step guide, you can achieve a professional finish that transforms your room into a visually appealing haven. So grab your tools, unleash your creativity, and give your walls the makeover they deserve.
FAQs About DIY Wainscoting Accent Wall
Discover expert answers to common DIY wainscoting accent wall FAQs. Enhance your walls with these practical tips and insights.
You can use 2"x4" or 2"x6" MDF, PVC, or pine wood for baseboards. For a sleek look, try square-style baseboards that align with the vertical battens. Adding trim on the inside edge can help match other moldings in your home.
To smooth textured walls, sand them down or apply a skim coat of joint compound. For minimal effort, use thicker MDF boards to hide uneven textures and ensure seamless adhesion.
Ultra-pure white paint works well for a clean, modern look. Use a satin or semi-gloss finish for durability and easy cleaning. Always test colors to ensure they match the room’s lighting and design.
For a polished look, taper the bottom edge of the vertical boards with a chop saw or use cove molding to tie the baseboard and wainscoting together. Alternatively, replace the baseboard with a flat, wide board to avoid overhangs.
MDF is affordable, easy to paint, and free of knots that can soak up paint unevenly. It’s also lightweight and easier to cut, making it ideal for beginners.
Yes, apps like RoomSketcher or MagicPlan can assist in calculating dimensions and visualizing the design. These tools are user-friendly and suitable for planning complex layouts.
While replacing baseboards can enhance the overall finish, it’s not mandatory. If you prefer not to replace them, ensure the baseboards align neatly with the vertical battens to avoid gaps or overhangs.
Use a damp sponge or tool to smooth the caulk after application. For stubborn areas, painters’ tape can help ensure straight, clean lines.
Space depends on the wall width and desired aesthetic. Measure the total width, subtract the batten widths, and divide the remaining space evenly between gaps. Adjust to achieve balanced proportions.
For ceilings 8-9 feet high, a height of 28-30 inches is traditional. Adjust according to your design preference and the room's proportions for a cohesive look.


