If you've noticed a crack in a pillar attached to your home or property, you may be wondering whether it's fixable or if you need to call in a professional. The good news is that depending on the severity of the crack and the pillar's purpose, you can often repair it yourself. This guide will walk you through the steps to assess the damage, decide on a repair approach, and execute the fix safely and effectively.
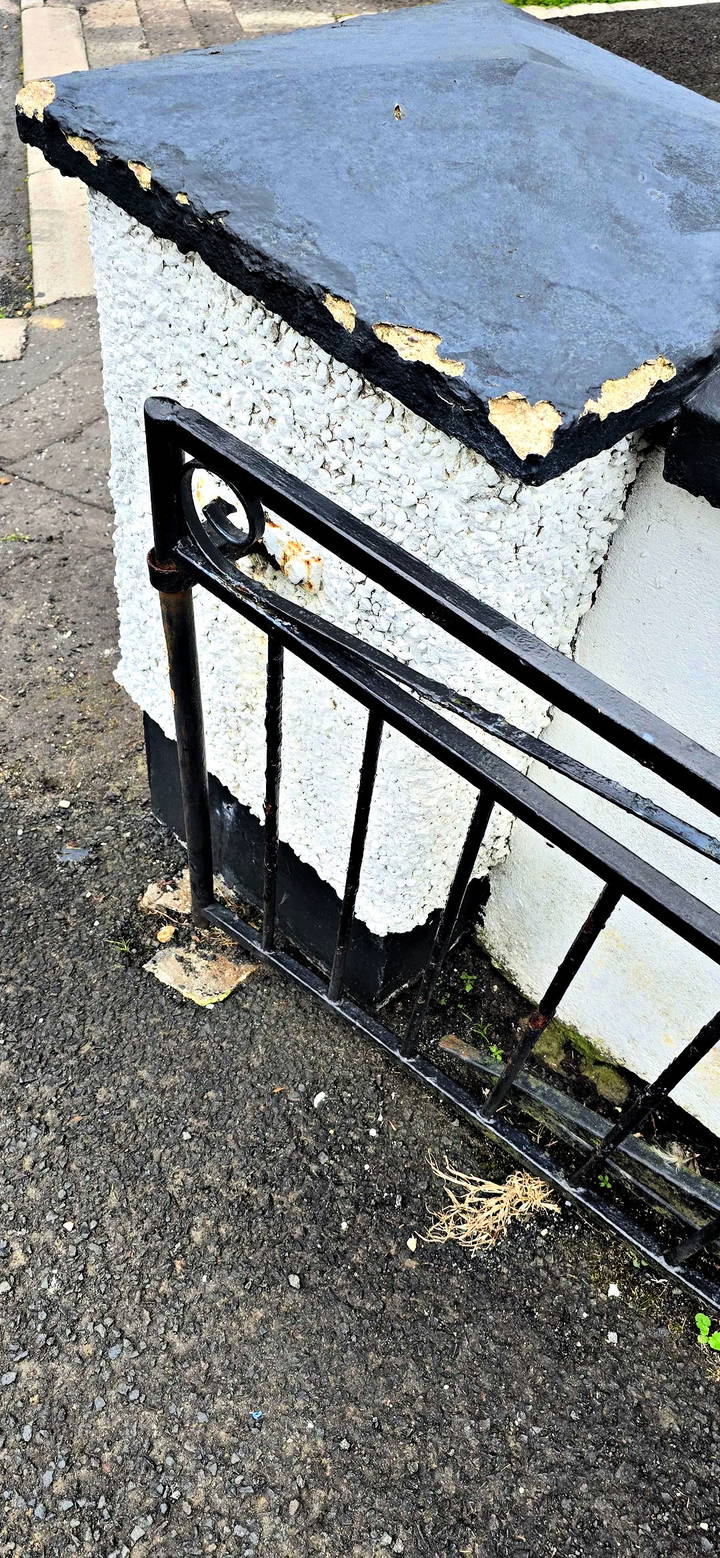
Understanding the Problem: Assessing the Crack
The first step in tackling a cracked pillar is to assess the extent and nature of the damage. Here's how to approach it:
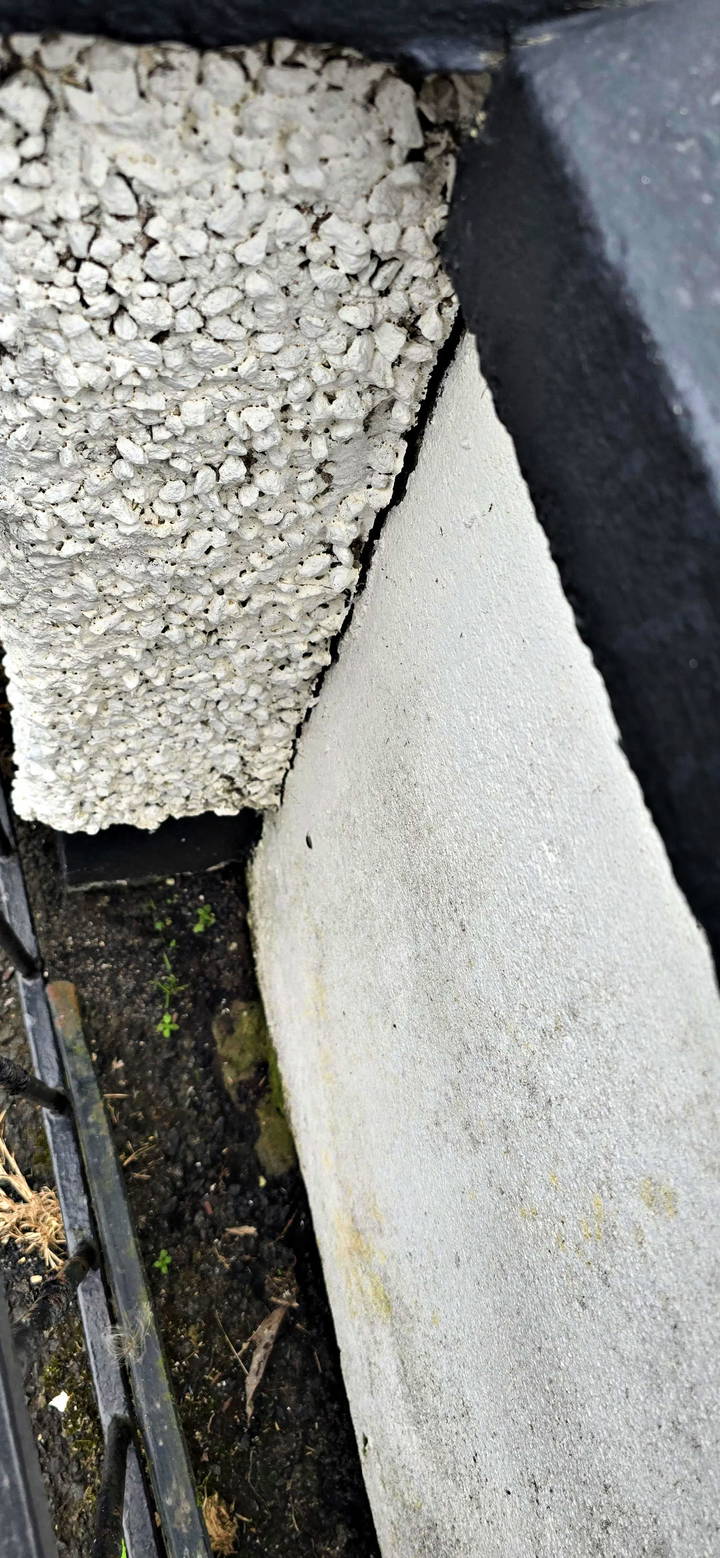
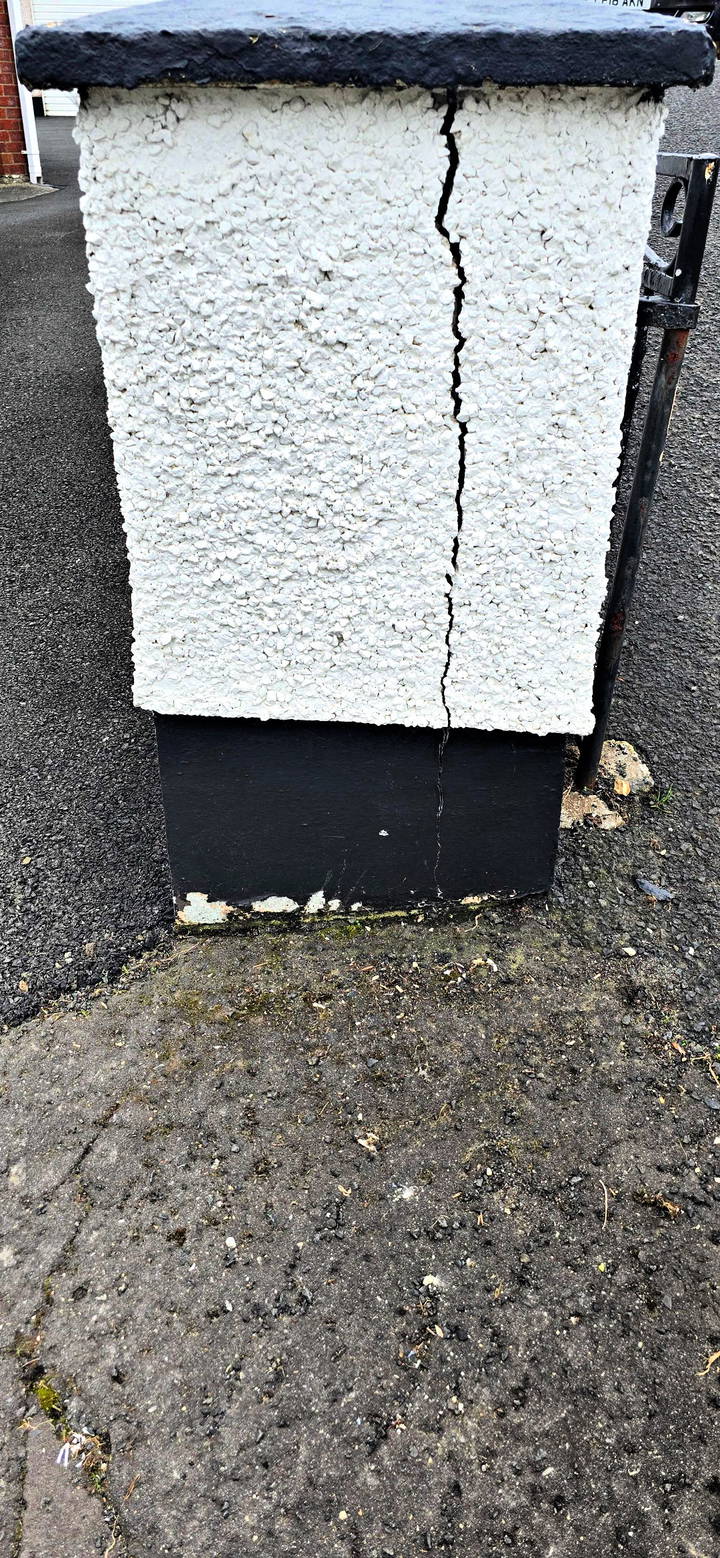
- Inspect the Crack: Determine if the crack goes all the way through the pillar or if it's a surface crack. If it's only superficial, it's likely less of a concern. However, if the crack splits the pillar entirely or runs deep, it's more serious.
- Check the Material: Pillars can be made from various materials, such as concrete, brick, or a combination covered with stucco or render. Understanding what your pillar is made of will help you choose the right materials for repair.
- Determine Structural Importance: Not all pillars are created equal. Some are purely decorative, while others might be load-bearing. If the pillar is structural, it's crucial to approach the repair with more caution and consider consulting a structural engineer.
- Possible Causes: Consider what might have caused the crack. Was it an impact, such as a vehicle accidentally hitting the pillar? Is it due to natural wear and tear, ground movement, or poor construction?
Step-by-Step Repair Options
After assessing the damage and understanding what you're dealing with, there are several repair options you can consider based on the severity of the crack and your comfort level with DIY repairs.
1. Superficial Cracks: Quick Patch Fix
If the crack is not deep and the pillar is not structural, a simple patch job can suffice:
- Materials Needed: Masonry crack sealer or mortar, paint, and basic tools like a putty knife or trowel.
- Steps:
- Clean the crack area thoroughly to remove any loose debris.
- Apply a masonry crack sealer or mix some mortar to fill the crack.
- Smooth it out using a putty knife or trowel.
- Allow it to dry as per the product instructions.
- Once dry, paint over the repaired area to match the rest of the pillar.
- Pros: Quick and cost-effective.
- Cons: This is a temporary fix and may need to be redone in a few years.
2. Deeper Cracks: Reinforcement with Epoxy and Clamps
For deeper cracks that may compromise the integrity of the pillar, a more robust solution is required:
- Materials Needed: Epoxy repair kit, disposable epoxy gun, large clamps, sandpaper, and paint.
- Steps:
- Clean the crack thoroughly to ensure the epoxy will adhere properly.
- Inject the epoxy into the crack using the disposable epoxy gun, filling it as much as possible.
- Use large clamps to hold the pillar together while the epoxy sets. This may require multiple clamps, depending on the size of the crack.
- Wait for the epoxy to cure fully as per the manufacturer’s instructions (usually 24-48 hours).
- Remove the clamps and sand down any excess epoxy to smooth out the surface.
- Paint over the repair to match the existing pillar color.
- Pros: Provides a strong bond that can extend the life of the pillar significantly.
- Cons: Requires more time and precision. There is still a risk of future cracking if the underlying issue is not resolved.
3. Rebuilding or Replacing the Pillar
If the crack is extensive or the pillar is structurally important, rebuilding might be the safest and most effective option:
- Materials Needed: New bricks or blocks, mortar mix, rebar (if needed), tools for bricklaying, and finishing materials.
- Steps:
- Carefully dismantle the cracked pillar, removing the damaged sections while leaving the base intact if possible.
- Rebuild the pillar from the ground up using new materials. Ensure you use proper techniques for structural stability.
- Reinforce with rebar or additional supports as needed, especially if the pillar is load-bearing.
- Finish the new pillar with stucco, paint, or any covering that matches the existing architecture.
- Pros: A long-term solution that can ensure safety and stability.
- Cons: Requires more skill, time, and investment. Involves heavy lifting and precise work.
Tips and Considerations
- Consult a Professional: If you are unsure about the structural importance of the pillar or if it is heavily cracked, consulting a structural engineer or a professional mason is a wise choice. They can provide insights on whether the repair can be a DIY project or needs professional handling.
- Safety First: Always wear safety gear, such as gloves, goggles, and a mask, when working with masonry or chemicals like epoxy. Ensure the work area is well-ventilated.
- Tools Matter: Quality tools can make a significant difference in the outcome of your repair. Investing in a good epoxy gun, clamps, and trowel can help achieve a cleaner, more durable fix.
- Future Prevention: To avoid future cracks, check the surrounding area for potential causes like ground movement, drainage issues, or vehicle traffic. Addressing these problems can prevent further damage.
Conclusion: DIY or Call in the Pros?
Deciding whether to tackle a cracked pillar yourself or call in a professional comes down to understanding the crack's severity, the pillar's role, and your comfort with DIY repairs. Minor cracks can often be fixed with simple masonry products or epoxy, giving the pillar a few more years of life. However, for significant cracks or structural pillars, consulting with a professional may save time, money, and potential safety hazards in the long run.
By taking the time to assess the damage properly, choosing the right repair method, and considering future prevention, you can ensure that your pillar remains both functional and aesthetically pleasing for years to come.
FAQ: Repairing a Cracked Pillar
To supplement the detailed guide on repairing a cracked pillar, this FAQ section addresses additional questions and concerns that homeowners might have.
If you notice the crack widening or the pillar shifting, it indicates a more serious problem. The worsening crack could mean the underlying issue, such as soil settlement or structural stress, is progressing. In this case:
Immediate Action: Avoid quick patch jobs as they won’t address the root cause.
Consult a Structural Engineer: It's crucial to get professional advice to assess the structural integrity of the pillar and surrounding areas.
Possible Solutions: Reinforcement with steel or concrete, rebuilding the pillar, or stabilizing the foundation may be necessary.
While regular cement can fill some cracks, it may not be the best option for a lasting repair:
Drawbacks: Cement can be brittle and might not bond well with existing materials, especially if the pillar moves slightly or the crack expands.
Better Alternatives: Use specialized masonry crack sealers, epoxy, or hydraulic cement, which are designed for better adhesion and flexibility.
An epoxy repair can last several years, depending on various factors:
Factors Affecting Longevity: Proper application, the extent of the crack, environmental conditions, and whether the pillar bears weight.
Expected Duration: With proper preparation and application, an epoxy repair can last 5-10 years. However, it may be less if the underlying cause of the crack is not addressed.
DIY repairs are generally safe for non-structural, decorative pillars. For structural pillars:
Risks: Incorrect repairs can lead to further damage, safety hazards, or even collapse in extreme cases.
Recommendation: If the pillar supports part of your home or any load, it's safer to consult a professional to ensure proper repair techniques and materials are used.
Besides epoxy and mortar, there are other reinforcement methods:
Steel Plates and Bolts: Installing steel plates across the crack and bolting them together can provide additional strength.
Fiber Reinforced Polymer (FRP) Wraps: These wraps provide high-strength reinforcement and are often used in structural repairs.
Reinforced Concrete Jacket: Adding a layer of reinforced concrete around the pillar can restore its strength.
To prevent future cracks, it’s important to address potential causes:
Check Drainage: Ensure proper drainage around the pillar's base to avoid water damage or soil erosion.
Monitor Ground Movement: If your area is prone to ground movement, such as expansive clay soils, consider more flexible repair materials and regularly inspect the pillar.
Use Expansion Joints: In areas where thermal expansion or contraction could cause cracks, consider adding expansion joints to accommodate movement.
Yes, cleaning the crack is essential for a durable repair:
How to Clean: Use a wire brush, compressed air, or a vacuum to remove loose debris, dust, and any crumbling material from inside the crack.
Importance: A clean surface ensures better adhesion of repair materials, such as epoxy or mortar, and helps achieve a stronger bond.
For brick and mortar pillars, repairs may vary slightly:
Use Appropriate Materials: Use brick-specific repair products like brick mortar for small cracks or specialized epoxy for larger gaps.
Consider Repointing: If the mortar between bricks is deteriorating, repointing (removing and replacing old mortar) can restore the pillar’s strength and appearance.
Painting over a crack without proper repair is not advisable:
Why It Doesn’t Work: Paint alone will not fix the crack; it only provides a temporary aesthetic cover.
Proper Approach: Always repair the crack first using appropriate methods, then repaint to match the rest of the pillar.
Rebuilding can be more cost-effective in the long run for severely damaged pillars:
Cost Comparison: While the upfront cost of rebuilding is higher, it can prevent the need for repeated repairs and reduce long-term maintenance costs.
When to Rebuild: Consider rebuilding if the pillar is heavily cracked, has shifted significantly, or is structurally compromised.
Certain signs indicate the need for urgent repair:
Visible Shifts or Tilting: If the pillar is leaning or tilting, it could be unstable.
Continuous Widening of the Crack: Rapid widening of a crack suggests ongoing stress or movement.
Crumbling Material: If chunks of material are falling off, it’s a sign of severe deterioration.


